I remember standing in my first real fabrication shop back in the late seventies, the air thick with the sharp, metallic scent of heated iron and the low hiss of gas. I watched an old-timer adjust his regulators, his movements slow and deliberate, while the bright, dancing blue cone of his flame cut through the dim light of the workshop. He wasn’t just melting metal; he was listening to it. Most folks today think they can just grab a modern machine and skip the fundamentals, but if you want to truly master oxy fuel welding, you have to understand the relationship between the heat and the material. You can’t just force it; you have to learn the rhythm of the torch.
In this guide, I’m not going to feed you any of that high-priced, polished nonsense you find in those glossy instructional manuals. Instead, I’m going to give you the straight truth based on forty years of getting my hands dirty. I’ll show you how to set your flame, how to read the puddle, and why rushing your work is the fastest way to ruin a perfectly good piece of steel. We aren’t here to make things look pretty for a weekend; we are here to build things that last.
Table of Contents
Proper Gas Welding Equipment Setup for Real Results
Before you even think about striking a light, you need to make sure your gear is sorted. I’ve seen too many young fellas rush straight into a job only to realize they’ve got the wrong setup for the thickness of the metal they’re working on. Start with your regulators; check them for any signs of grit or old residue. When you’re dialing in your regulator pressure settings, don’t just eyeball it. You want a steady, consistent flow. If your gauges are jumping around like a nervous horse, you’ve got a leak or a bad seal somewhere, and that’s a recipe for a bad day.
Once the tanks are ready, pay close attention to your welding torch tip selection. Using a tip that’s too large for a thin piece of sheet metal is just a quick way to blow a hole right through your workpiece. You want a tip that matches the scale of the task at hand. I always keep a few different sizes laid out on my bench so I don’t have to hunt for them mid-job. It’s about having the right tool for the specific heat you need to apply.
Why Correct Regulator Pressure Settings Prevent Wasted Metal
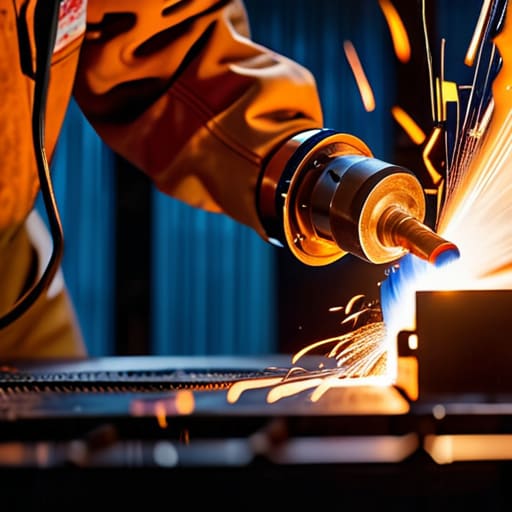
You can have the most expensive setup in the shop, but if your regulator pressure settings are off, you’re just playing with fire. I’ve seen plenty of young fellas walk into a workshop thinking they can just crank the valves and hope for the best. That’s a quick way to ruin a perfectly good workpiece. If your acetylene pressure is too high, you’re looking at a dangerous, unstable flame; too low, and you won’t get the heat needed to actually penetrate the metal. You want a steady, predictable flow, not a sputtering mess that eats through your material before you’ve even had a chance to steady your hand.
Getting these settings right is also about managing your flame temperature and types. If you’re running a torch that’s too hot because your oxygen is surging, you’ll end up oxidizing the metal, leaving you with a pitted, brittle mess that’s more trouble than it’s worth to fix. Precision is everything when you’re trying to marry two pieces of steel together. Take the extra five minutes to check your gauges and dial it in properly; it’s much easier to adjust a regulator than it is to grind away a botched weld.
Five Rules to Keep You from Ruining Your Work
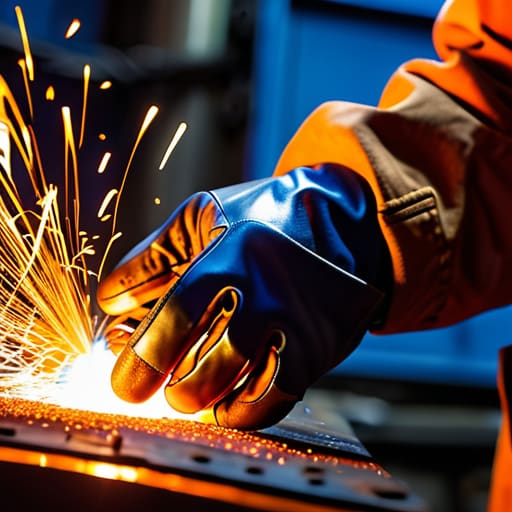
- Watch your flame color like a hawk. If you aren’t seeing that crisp, neutral blue inner cone, you’re either running too hot and burning the metal or too cool and just making a mess of the puddle. A dirty flame is a wasted effort.
- Don’t go chasing the heat with your torch tip. You need to let the metal soak up the warmth evenly. If you try to force a weld by blasting one spot with intense heat, you’ll end up with brittle metal that’ll crack the moment it cools down.
- Keep your filler rod clean, plain and simple. I’ve seen too many young folks try to weld with rod that’s got rust or oil on it. You’re just welding that junk into the joint, and it’ll never hold the way it ought to.
- Learn to read the puddle, not the flame. The flame is just your tool, but the molten pool of metal is what’s actually telling you the story. If the puddle isn’t flowing smooth and consistent, stop what you’re doing and adjust your heat.
- Always clean your work area before you even think about striking an arc or lighting the torch. Even a little bit of grit or old grease can contaminate your weld. If you don’t take the five minutes to prep the surface, you’re just setting yourself up for a headache later.
Lessons from the Workbench: What to Remember
Don’t treat your regulators like set-and-forget gadgets; check your pressures every single time you light up to avoid blowing through your workpiece or wasting expensive gas.
A clean setup is a safe setup, so keep your hoses and tips free of grease and grit, or you’ll end up with a mess that’s more dangerous than it is productive.
Respect the flame you’ve built, because if you haven’t dialed in that neutral cone correctly, you aren’t welding—you’re just burning through good metal.
## Respect the Flame
“You can’t bully a torch into doing your work for you; if you aren’t listening to the sound of the puddle and watching how the heat settles into the metal, you aren’t welding, you’re just making a mess that’ll need fixing later.”
Alistair Fenwick
The Long View on the Torch
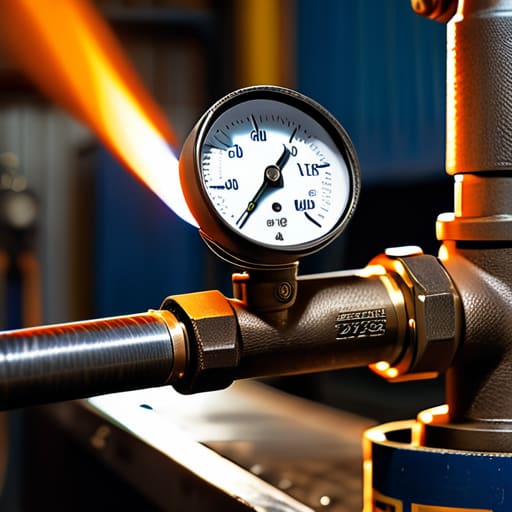
At the end of the day, mastering oxy-fuel welding isn’t about how fast you can melt a bead; it’s about the discipline you show before you even strike a light. We’ve talked about why your equipment setup matters and why those regulator settings are the difference between a clean weld and a pile of scrap metal. If you skip the prep or ignore the pressure gauges, you aren’t just risking a bad seam—you’re wasting good material and your own hard-earned time. Take the time to check your hoses, tune your flame, and respect the physics of the heat. If you do the groundwork right, the metal will tell you when it’s ready.
I know the modern world wants everything done yesterday, but in this shop, we work on a different clock. Learning to weld by hand gives you a kind of freedom that a store-bought replacement never will. It turns you from a consumer into a maker and a fixer, someone who looks at a broken piece of machinery and sees a project instead of a problem. Don’t let the fear of a little heat or a messy start keep you from picking up the torch. Stick with it, keep your eyes sharp, and remember that true craftsmanship is built one steady flame at a time.
Frequently Asked Questions
How do I know if I’ve got the right flame color for the specific metal I'm working on?
You’re looking for a neutral flame—what I call a “clear blue.” If you see a bright, roaring inner cone, your flame is too oxidizing; you’ll burn through the metal before you even realize it. If it’s lazy and smoky, you’re running too rich, which just coats your workpiece in soot. Aim for a sharp, distinct inner cone with a soft blue outer envelope. That’s the sweet spot where the heat is steady and the metal stays clean.
Is it safe to use oxy-fuel welding on thin sheet metal without blowing right through it?
You can certainly weld thin sheet, but you’ve got to respect the heat. If you come in too hot or stay in one spot too long, you’ll blow a hole right through it before you even realize it. Use a smaller tip, keep your flame tight, and keep that torch moving constantly. It’s all about heat management and patience. Don’t try to rush the puddle, or you’ll just end up with a scrap pile.
What's the best way to clean my tips so I don't end up with a sputtering, uneven flame?
Listen, a sputtering flame is usually just a sign of a clogged tip, and trying to force it is a recipe for a mess. Grab yourself a proper tip cleaner set—those little needle files. Don’t just poke at them blindly; you need to clean the orifice from the inside out, following the direction of the hole. If you’re too aggressive, you’ll round out the edges and ruin the tip entirely. Be gentle, be precise, and keep that flame steady.
