I remember sitting in a cramped fabrication shop back in ’84, watching a kid try to force a heavy-duty copper fitting onto a steel frame using nothing but a cheap, low-temp solder and a prayer. He thought he was saving time, but the moment that assembly took any real load, it snapped like a dry twig. People today seem to think there’s a one-size-fits-all solution for every joint, but if you don’t respect the chemistry of your materials, you’re just asking for trouble. Understanding the various metal brazing applications isn’t about following a fancy manual; it’s about knowing exactly how much heat a specific alloy can take before it loses its soul.
I’m not here to sell you on expensive, high-tech gadgets that’ll end up in a junk drawer by next Tuesday. What I want to do is sit down and show you how to actually use these techniques so your work stands the test of time. We’re going to look at the real-world uses for brazing—from repairing vintage tools to heavy industrial joins—without any of the fluff. My goal is to make sure that when you finish a job, it stays fixed for good.
Table of Contents
- Understanding Industrial Brazing Processes Without Cutting Corners
- Mastering Capillary Action in Brazing for High Strength Metal Joints
- Five Rules of Thumb to Keep Your Brazing Joints from Failing
- The Bottom Line for a Job Done Right
- ## The Cost of a Quick Fix
- The Final Inspection
- Frequently Asked Questions
Understanding Industrial Brazing Processes Without Cutting Corners
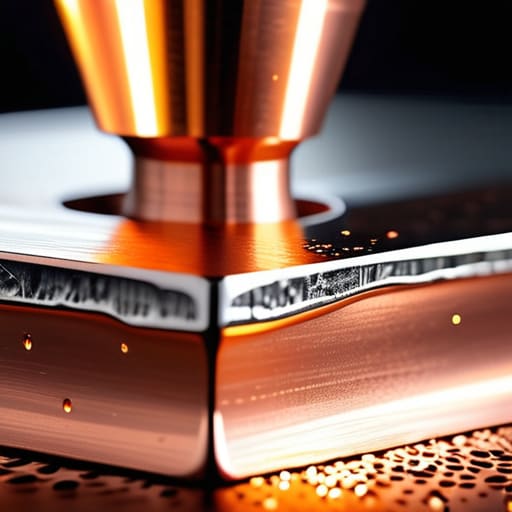
Now, before you strike an arc or light a torch, you need to understand that brazing isn’t just “weak welding.” When people ask me about a brazing vs welding comparison, they’re usually looking for a quick fix, but they miss the point of the physics involved. In welding, you’re melting the base metals together to create a single piece. In brazing, you’re using a filler metal that flows into the tight spaces between your parts. It’s all about capillary action in brazing—that’s the force that pulls the liquid filler into the joint, even if it’s a microscopic gap. If your fit-up is sloppy or your surfaces are greasy, that capillary action won’t happen, and you’ll end up with a joint that looks fine but fails the moment it sees any real stress.
You also can’t ignore the chemistry. Proper flux application for brazing is what keeps the oxides from forming while you’re heating things up. If you don’t use enough flux, or if you apply it unevenly, the filler metal will just bead up like water on a waxed car instead of soaking into the seam. You’ve got to watch your heat closely; if you’re too cool, the metal won’t flow, and if you’re too hot, you’ll burn off your flux and ruin the work. It takes a steady hand and a lot of patience, but that’s the only way to get a joint that actually holds.
Mastering Capillary Action in Brazing for High Strength Metal Joints
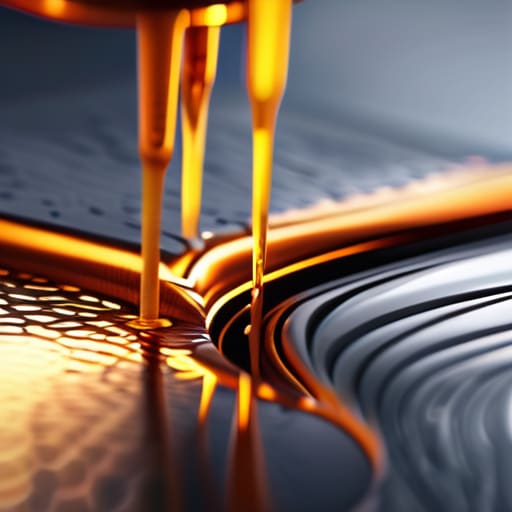
Now, if you want to get those high-strength metal joints to actually hold under pressure, you’ve got to stop thinking about just melting metal and start thinking about physics. The whole secret lies in capillary action in brazing. It’s that silent force that pulls the molten filler material into the tightest gaps of your joint, even where the torch can’t reach. If your gap is too wide, the filler won’t “wick” in; it’ll just puddle and sit there like a mess. If it’s too tight, you’ll never get the material through. I’ve seen plenty of young fellas ruin a good piece of copper or steel simply because they didn’t respect the clearance.
You also can’t neglect your flux application for brazing. If you don’t coat those surfaces properly, oxidation will build up faster than you can heat it, and that capillary action will die right on your doorstep. You need a clean, chemically active surface to let that liquid metal flow where it’s supposed to go. It’s not about brute force; it’s about creating the right environment so the physics can do the heavy lifting for you.
Five Rules of Thumb to Keep Your Brazing Joints from Failing
- Clean your surfaces until they shine; I don’t care if the metal looks “fine” to the eye, because any bit of grease, scale, or oxidation is going to act like a barrier and stop your filler metal from flowing where it needs to go.
- Watch your heat like a hawk and don’t just aim it at the filler rod; you need to get the base metal up to temperature so the alloy flows into the joint on its own, otherwise you’re just slapping cold metal onto a hot surface.
- Mind your gaps, because if you leave too much space between your parts, capillary action won’t do its job, and you’ll end up with a weak, porous mess instead of a solid bond.
- Don’t get impatient with the cooling process; let the joint settle naturally rather than dousing it in water to speed things up, unless you want to deal with the stress fractures and brittleness that come from thermal shock.
- Always test your work with a light tap or a visual inspection under a magnifying glass, because it’s a lot easier to fix a small void now than it is to rebuild a whole assembly after it snaps under a load.
The Bottom Line for a Job Done Right
Respect the temperature; if you aren’t watching the color of the metal and managing your heat, you aren’t brazing, you’re just melting filler.
Cleanliness isn’t optional—any bit of oil, scale, or oxidation left on that surface will act like a barrier and ruin your capillary action before it even starts.
Choose your filler metal based on the job’s actual purpose, not just what’s easiest to find in the drawer, because a weak joint is a waste of everyone’s time.
## The Cost of a Quick Fix
“I’ve seen too many young fellas treat brazing like they’re just gluing metal together with heat. If you aren’t respecting the flow of that filler into the joint, you aren’t building a connection—you’re just making a temporary patch that’s destined to fail the moment it actually sees some real work.”
Alistair Fenwick
The Final Inspection
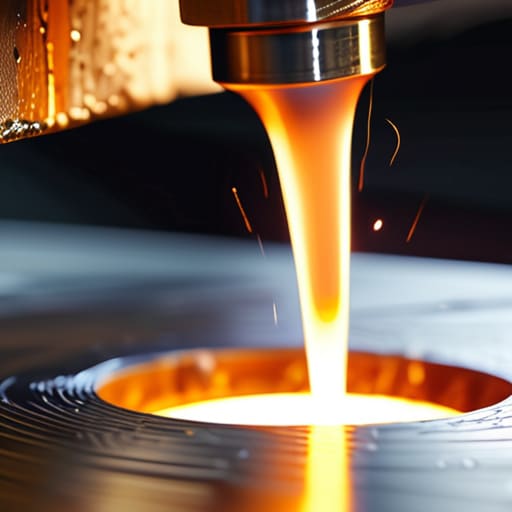
At the end of the day, whether you’re working on a heavy industrial assembly or just mending a piece of vintage hardware in your garage, the principles remain the same. You have to respect the physics of the joint, control your heat precisely, and let that filler metal flow where it’s supposed to go via capillary action. If you try to force the process or skip the cleaning stage, you aren’t just making a mistake; you’re compromising the structural integrity of the entire piece. Remember, a good braze isn’t just about getting two pieces of metal to stick together—it’s about creating a bond that can withstand the stresses of real-world use without failing when the pressure is on.
I know the modern world wants everything done fast and cheap, but that’s not how we do things in a proper workshop. Take your time, watch the color of the metal, and don’t be afraid to pull back if the heat starts getting unruly. There is a deep, quiet satisfaction in looking at a finished joint and knowing it was done right the first time. My advice is simple: build things to last, not just to get through the week. If you treat your tools and your materials with the respect they deserve, your work will stand the test of time long after the trendiness of the day has faded away.
Frequently Asked Questions
How do I know when I've pushed the heat too far and actually damaged the base metal instead of just getting it ready for the filler?
You’ll see it in the color and the texture. If the metal starts looking like a bruised fruit—dark, mottled, or even scaling off in flakes—you’ve gone too far. If the surface gets grainy or “sugary,” you’ve likely overheated the grain structure, and that’s a sign the strength is gone. Watch for a dull, oxidized finish instead of that clean, bright glow. Once it looks cooked rather than heated, you’ve ruined it.
If I'm working with dissimilar metals, like copper to steel, how do I pick a brazing alloy that won't fail when the temperature shifts?
When you’re joining copper to steel, you’re dealing with two different expansion rates. If you pick the wrong filler, that joint will crack the first time the temperature swings. You need a silver-based brazing alloy with a bit of “give.” Don’t go for the cheap, brittle stuff. A high-silver content alloy handles those thermal stresses much better, acting like a buffer so the metal doesn’t fight itself and snap the bond.
What's the best way to clean up old, oxidized surfaces so the capillary action actually works instead of just sitting on top of the grime?
If you leave that oxidation on the surface, your filler metal is just going to bead up like water on a greasy plate. You can’t expect capillary action to pull through a layer of grime. I always start with a stiff wire brush to knock off the heavy scale, then move to some medium-grit sandpaper—I usually keep a bit in my pocket for this very reason. If it’s really stubborn, use a bit of acetone to strip the oils. Get it down to bright, shiny metal. If it doesn’t shine, it isn’t ready.
