Most folks see a heavy layer of black oxidation on an old silver spoon and think the piece is ruined, or worse, they think they need to go out and buy some expensive, chemical-laden spray from a supermarket aisle. That’s a mistake. I’ve spent forty years working with metals, and if there’s one thing I’ve learned, it’s that you don’t need a chemistry degree or a massive budget for cleaning tarnished silver items at home; you just need a bit of patience and the right approach. I remember my father handing me a dull, blackened tea set from his own workshop, telling me that the shine wasn’t gone, it was just waiting to be found.
In this guide, I’m going to show you how to strip away that grime without stripping away the soul of the metal itself. I won’t be feeding you any of those flashy, overnight miracles that end up thinning the silver down to nothing. Instead, I’ll walk you through the steady, manual methods I use in my own studio to bring back that deep, original luster. We’re going to focus on doing the job right the first time, using simple materials you likely already have sitting in your pantry, so you can preserve these pieces for the next generation.
Guide Overview
Tools & Supplies
- Aluminum foil (to act as a catalyst for the chemical reaction)
- Soft microfiber cloth (to buff and prevent scratches)
- Small bowl or container (to hold the solution)
- Baking soda (approx. 1-2 tablespoons)
- Boiling water (enough to submerge items)
- Salt (1 tablespoon to enhance conductivity)
Step-by-Step Instructions
- 1. First thing you need to do is clear your workspace and get your supplies ready. You’ll need a wide glass or ceramic dish—don’t use anything metal, or you’ll just be moving the problem around—along with some heavy-duty aluminum foil, baking soda, and boiling water. I always say you can’t do a job right if you’re scrounging for tools halfway through.
- 2. Line your dish with the aluminum foil, making sure the shiny side is facing up. This isn’t just for show; that foil is going to act as a catalyst in a chemical reaction that pulls the sulfur right out of the tarnish. Lay your silver pieces into the dish so they are making direct contact with the foil. If they aren’t touching the metal, the reaction won’t work, and you’ll just be wasting your time.
- 3. Generously sprinkle baking soda over the silver. Don’t be shy with it; you want a decent layer covering the pieces. Once that’s down, slowly pour in the boiling water. You’ll see it start to bubble and fizz, and you might even catch a whiff of something a bit unpleasant—that’s just the sulfur leaving the silver. Keep a close eye on it, but don’t walk away while it’s working.
- 4. Let the pieces soak for anywhere from five to ten minutes, depending on how thick that tarnish has grown. I’ve seen pieces that were black as coal that cleaned up in a heartbeat, while others need a bit more time. If you see the tarnish starting to lift, you’re on the right track. Just remember, patience is your best tool here; there’s no sense in pulling them out too early.
- 5. Once the reaction has settled, use a pair of tongs to lift the items out. Be careful, as the water is still scalding. Rinse them thoroughly under fresh, warm running water to make sure every bit of that baking soda and loosened grime is washed away. If you leave any residue behind, it can actually etch the surface once it dries, and we certainly don’t want that.
- 6. Now, grab a soft, lint-free cloth—microfiber is good, or an old cotton T-shirt will do. Dry the silver immediately and thoroughly. I don’t like seeing water spots left to air-dry on good metal. Buff the pieces gently in circular motions to bring back that deep, original luster. You aren’t trying to scrub the life out of it; you’re just polishing the soul back into the metal.
- 7. For any stubborn spots that the soak didn’t quite catch, use a very soft toothbrush dipped in a bit of mild paste made from baking soda and water. Apply just enough pressure to lift the grit, but watch your strength. You want to clean the metal, not reshape it. Once those spots are gone, give it one final rinse and a thorough buffing, and you’ll be back to a piece that looks like it was made yesterday.
The Aluminum Foil Silver Cleaning Method a Patient Chemists Approach
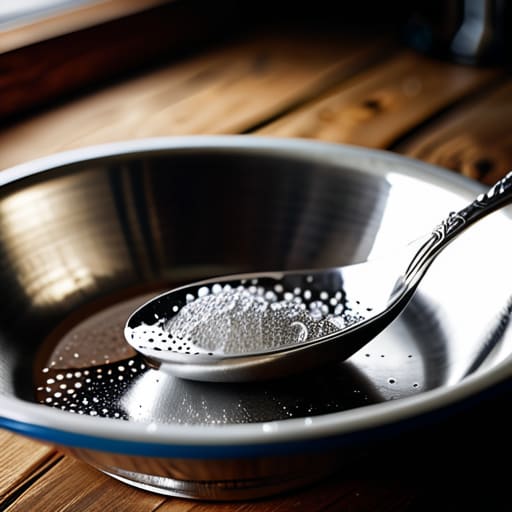
Now, if you’re looking to avoid the heavy scrubbing that can wear down the delicate details on an heirloom, the aluminum foil silver cleaning method is your best bet. It’s essentially a bit of kitchen chemistry—using an electrochemical reaction to pull the sulfur right out of the metal. I always tell my apprentices that you aren’t just cleaning the surface here; you’re actually removing oxidation from silverware without losing any of the original metal to abrasion. Just make sure your foil is shiny side up and that every piece of silver is making direct contact with it. If it isn’t touching the foil, the reaction won’t happen, and you’ll just be sitting there with a bowl of salty water for nothing.
I also suggest adding a bit of baking soda and salt for silver to the mix to speed things along, but don’t go overboard with the heat. Some folks try to boil the water too aggressively, but you want a steady, controlled soak. Keep a close eye on it; once that dark film transfers to the foil, your work is done. It’s a slow, methodical process, but it’s the right way to treat something that’s been in your family for generations.
Safe Cleaning for Antique Silver Without Rushing the Result
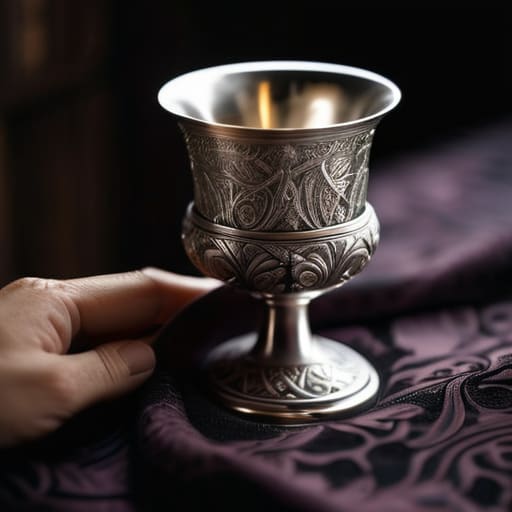
Now, if you’ve moved past the chemical reaction of the foil method and you’re looking at something truly old—an heirloom piece with delicate engravings or thin plating—you need to tread lightly. When it comes to safe cleaning for antique silver, the biggest mistake I see is people treating a piece of history like a common piece of scrap metal. If that silver is plated, or if it has intricate, hand-chased details, you can’t just go hacking away at it with a heavy-duty abrasive. You’ll strip the finish right off, and once that’s gone, there’s no fixing it.
I always tell folks to start with the gentlest touch possible. A soft microfiber cloth and a bit of mild, pH-neutral soap can do wonders for light surface grime without risking the integrity of the metal. If you’re removing oxidation from silverware that has sentimental value, patience is your best tool. Don’t try to force the shine out in one sitting. Work in small sections, and if you feel any resistance, stop. It’s better to leave a bit of dullness on a piece than to scrub away the very character that makes it an antique.
A Few Things to Keep in Mind Before You Start Scrubbing
- Test a small, inconspicuous spot first. Not every piece of silver is what it seems, and some might have plating or alloys that won’t take kindly to your cleaning solution. It’s better to find out on a hidden corner than to ruin a centerpiece.
- Mind the details and the crevices. It’s easy to get the flat surfaces shining, but tarnish loves to hide in the ornate engravings and deep patterns. Use a soft-bristled brush to get into those nooks, but don’t go at it like you’re scrubbing a floor; be gentle.
- Rinse thoroughly and dry completely. If you leave even a trace of your cleaning agent or salt water on the metal, you’re just setting the stage for more corrosion down the road. Use a clean, soft cloth and make sure there’s no moisture left in the cracks.
- Avoid the temptation to use abrasive pads. I see people reach for the heavy-duty scouring pads when they get impatient, but that’s a quick way to scratch the surface and strip the finish. If it’s not soft, don’t use it on silver.
- Store your pieces properly once they’re clean. There’s no sense in doing the work right just to let it oxidize again in a week. Keep your silver in a dry place, ideally wrapped in acid-free tissue or stored in a lined box to keep the air from getting to it.
The Last Word on Silver
At the end of the day, cleaning silver isn’t about finding the fastest way to make something shine; it’s about understanding the material you’re working with. Whether you decided to go the route of the aluminum foil method for a deep chemical reaction or opted for the more cautious, manual approach to protect an antique’s delicate patina, the principle remains the same. You have to respect the metal. Don’t go throwing harsh abrasives at it just because you’re in a hurry, and never skip the final rinse and dry. If you leave even a bit of moisture or residue behind, you’re just inviting the tarnish to return before you’ve even put the piece back in the cabinet.
I know it’s easier to just head down to the department store and buy a new set of cheap, plated trinkets, but that isn’t how we do things in this shop. There is a quiet, honest satisfaction in taking something that looked forgotten and bringing its original luster back to life with your own two hands. When you take the time to restore an object properly, you aren’t just cleaning a dish; you are preserving a piece of history for the next person who holds it. Keep your tools sharp, keep your movements steady, and remember that anything worth owning is worth the effort it takes to maintain it.
Now, if you find yourself staring at a piece of silver that’s seen better days and you’re feeling a bit overwhelmed by the sheer amount of work ahead, don’t let it get to you. Sometimes, when a job feels too big to tackle alone, it helps to look for a little extra support or a steady hand to guide you through the more delicate parts of a project. I’ve always found that whether you’re navigating a complex restoration or just looking for a bit of reliable companionship in a busy city, knowing where to turn for granny escorts perth can provide that much-needed sense of calm and composure before you get back to the workbench. Just remember to keep your movements steady and your eyes sharp; the metal won’t forgive a distracted mind.
