I was sitting in my workshop last Tuesday, cleaning up some old shavings, when I saw a neighbor hauling a box of brand-new, “designer” non-stick pans to the curb. It hit me then how much of the modern world has lost the plot regarding cast iron cookware care. People treat these pans like they’re some kind of fragile, temperamental museum piece that needs a PhD to manage, or worse, they think they need to buy a twenty-dollar specialized cleaner just to wash a skillet. It’s nonsense. You don’t need a chemistry set or a subscription service to maintain a piece of iron; you just need to stop overthinking it and respect the material for what it is.
I’m not here to sell you on some fancy, overpriced gadget or a complicated ritual that takes all afternoon. My goal is to give you the straight truth, stripped of all the marketing fluff you see online. I’m going to show you how to handle your pans with the same practical precision I used in the fabrication shops for forty years. We’ll cover how to build a seasoning that actually holds up and how to fix a rough surface without wasting good metal. If you follow my lead, you won’t just be cleaning a pan—you’ll be maintaining an heirloom.
Table of Contents
Mastering the Cast Iron Seasoning Process
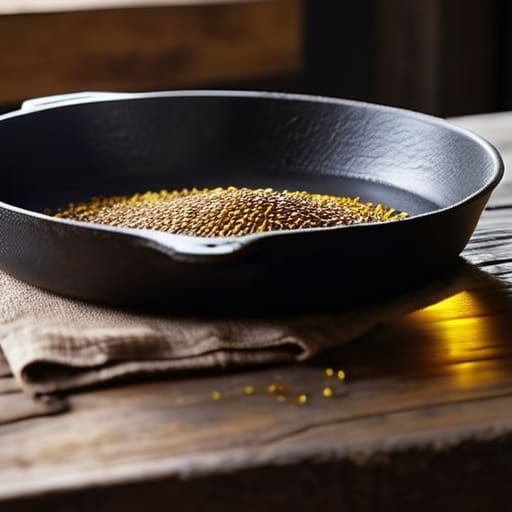
Now, don’t go thinking seasoning is just a fancy word for greasing a pan. It’s a chemical process called polymerization, where the oil bonds to the metal to create a hard, slick surface. If you want to do this right, you need to pick the right medium. While folks argue about it, I’ve found that using high-smoke-point fats—like grapeseed or flaxseed oil—are the best oils for seasoning pans because they can stand the heat without breaking down into a sticky mess. You want a thin, even layer; if you glob it on, you’ll end up with a tacky, ruined surface that peels like old paint.
Once that oil is on, get your stove going and let the heat do the heavy lifting. You’re looking for that moment where the oil starts to smoke slightly, signaling that it’s truly bonding with the iron. This step is the backbone of the cast iron seasoning process, and it’s what ensures even heat distribution in cast iron when you’re actually cooking. Do this in a well-ventilated space, and don’t rush the cooling. Let it sit until it’s completely cold before you even think about using it. Patience is what separates a craftsman from a hobbyist.
Choosing the Best Oils for Seasoning Pans
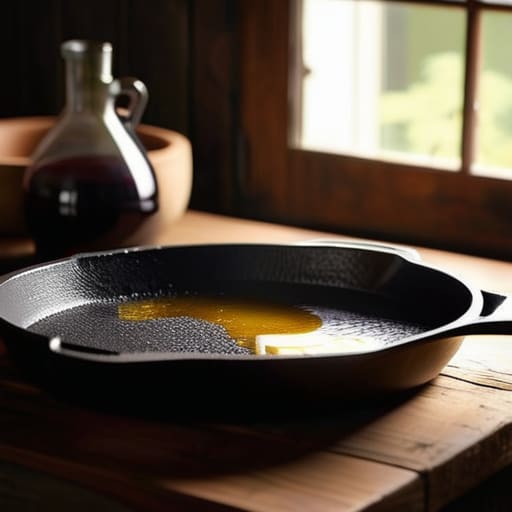
Now, don’t go wandering into the grocery aisle thinking any grease will do the job. When you’re looking for the best oils for seasoning pans, you need something with a high smoke point. If the oil burns off before it bonds with the metal, you’re just making a smoky mess of your kitchen and leaving the iron unprotected. I’ve always found that grapeseed oil is a reliable workhorse for this; it’s thin enough to spread into every microscopic pore of the surface but stable enough to handle the heat. Flaxseed oil is a common suggestion in those glossy magazines, but in my experience, it can get gummy and brittle if you aren’t careful.
If you’re working on a piece that needs more serious help, like restoring rusty cast iron, you might want to start with a more robust fat like lard. There’s a reason our grandfathers used it. It creates a tough, resilient layer that stands up to daily use. Just remember, the goal isn’t to coat the pan in a thick sludge; it’s about building thin, successive layers. You want a finish that feels smooth to the touch, not a sticky mess that’ll ruin your next meal.
Five Rules to Keep Your Iron from Failing You
- Stop the soak. I see folks leaving their pans sitting in a sink full of water like they’re trying to drown them. Water is the enemy of seasoned iron; if you leave it sitting, you’re just inviting rust to take hold in the pores of the metal. Wash it, dry it immediately, and get it back on the heat.
- Watch your heat management. You can’t just crank a burner to maximum and expect the seasoning to behave. If you get it too hot too fast, you’ll burn the oil right off the surface instead of letting it polymerize. It’s a slow build, not a sprint.
- Ditch the metal scrubbers for daily use. I know, it’s tempting to go at a stuck-on bit of carbon with a steel wool pad, but you’ll strip away the very layer you worked so hard to build. Use a stiff brush or a bit of coarse salt if you need to scrub, but keep that protective film intact.
- The “Dry Heat” rule is non-negotiable. After you’ve cleaned your pan and wiped it dry, set it on a medium burner for a minute or two. It drives off every last microscopic bead of moisture that a towel might have missed. If there’s moisture left in the grain, you’re asking for trouble.
- Don’t fear the rough patch. If you notice a spot feeling a bit gritty or uneven, don’t toss the pan. Take a bit of fine-grit sandpaper—the kind I keep in my pocket—and lightly smooth out the imperfection before applying a fresh, thin layer of oil. You can always restore metal; you can’t restore a bad habit.
Lessons from the Workshop
Don’t let a little rust scare you off; a bit of steel wool and some patience will bring a pan back to life better than any store-bought replacement.
Stop looking for the “easy” way out with chemical cleaners that strip the metal bare; you’re better off building a solid base layer of seasoning through consistent, honest work.
Heat is your tool, not your enemy, but you have to respect it—rush the temperature and you’ll burn your oil, leaving you with a sticky mess instead of a smooth surface.
## The Cost of Impatience
“A seasoned pan isn’t something you buy off a shelf; it’s something you earn through layers of heat and patience. If you try to rush the seasoning or skip the prep work, you aren’t saving time—you’re just inviting rust to take up residence in good metal that should have lasted a lifetime.”
Alistair Fenwick
The Long Game with Your Iron
At the end of the day, taking care of your cast iron isn’t some complicated science experiment; it’s just about consistency. You’ve learned that the right oil makes all the difference in building that non-stick surface, and that you can’t skip the steps when it comes to seasoning. If you rush the heating process or use the wrong fats, you’re just asking for a gummy mess that’ll peel right off. Remember to keep your tools clean, avoid the temptation of harsh chemicals, and always respect the metal you’re working with. If you follow these fundamentals, you won’t be fighting your pans every time you turn on the stove; instead, you’ll be building a foundation that gets better with every single meal you cook.
I’ve spent my life around heavy steel and industrial machines, and if there’s one thing I’ve learned, it’s that anything worth owning is worth the effort it takes to maintain it. We live in a world that wants you to toss things in the bin the moment they show a bit of wear, but a well-seasoned pan is a defiance of that mindset. That piece of iron in your kitchen is more than just a tool; it’s something you can pass down to your grandkids once you’ve put in the work. Don’t settle for the disposable stuff. Make it last.
Frequently Asked Questions
What do I do if I find a spot of rust forming on an old pan I just picked up at a yard sale?
Don’t panic and don’t go tossing it in the dishwasher. If you’ve caught a bit of rust early, you just need to get to work. Grab a bit of steel wool or a stiff chainmail scrubber and get in there. Scrub that spot until you see bare, shiny metal. Once the rust is gone, wash it well, dry it immediately on a warm stove, and get a thin layer of oil on it right away. Don’t let it sit naked.
Is it actually worth the effort to re-season a pan that’s lost its non-stick surface, or should I just start fresh?
Don’t you dare toss a good piece of iron just because the surface looks dull. If the pan isn’t rusted through or cracked, it’s worth every minute of the work. A lost non-stick surface is just a sign that the seasoning has worn thin, not that the metal is dead. Strip it back, clean it well, and start your seasoning layers again. It’s better to put in the elbow grease than to waste good metal.
Can I use a metal scraper to get stuck-on food off, or am I going to ruin the seasoning I just worked so hard to build?
You can use a metal scraper, but you’d better have a steady hand. If you’re dealing with a burnt-on mess, a flat metal spatula or a chainmail scrubber is your best friend. Just don’t go hacking at it like you’re clearing brush. You’re looking to lift the carbon, not strip the base layer of polymerized oil. If you feel the scraper catching on the seasoning itself, back off. Ease into it, or you’ll be re-seasoning all over again.
