I was hunched over my workbench last Tuesday, staring at a pitted 1920s bevel edge plane that looked more like a lump of orange scale than a precision instrument. Most folks will tell you that if you want to save a piece like that, you should just grab a heavy-duty grinder and blast through the oxidation until you hit shiny steel. That is a massive mistake. If you approach removing rust from vintage metal tools with nothing but aggression and high-speed abrasives, you aren’t restoring anything—you’re just destroying the history and the tolerances that made the tool worth owning in the first place.
I’m not here to sell you on some miracle chemical soak that promises a showroom shine in five minutes. Instead, I’m going to show you how to work with the metal, not against it. We’ll walk through the proper ways to strip that corrosion away using methods that respect the integrity of the steel, whether you’re using a simple vinegar bath or a bit of fine-grit handwork. I’ll teach you how to clean these pieces thoroughly so they stay protected, ensuring that once the rust is gone, it stays gone for another fifty years.
Guide Overview
Tools & Supplies
- Wire brush (for scrubbing loose rust)
- Steel wool (for fine polishing)
- Sandpaper (various grits for smoothing)
- White vinegar (enough to submerge tools)
- Baking soda (for neutralizing acid)
- Mineral oil (for rust prevention)
Step-by-Step Instructions
- 1. Before you even touch a cleaner, you need to get a good look at what you’re dealing with. Take a stiff nylon brush or even a dry toothbrush and scrub away the loose flakes and grit. If you jump straight into a liquid soak with heavy scale sitting on the surface, you’re just going to end up with a muddy mess that hides the real damage underneath.
- 2. Once the loose stuff is gone, it’s time to choose your soak. For light surface rust, a simple bath of white vinegar works well enough, but if you’ve got something deeply pitted, you might need a dedicated evaporative rust remover. Whatever you pick, don’t let the tool sit for days on end; you want to pull the oxidation out, not let the acid start eating into the healthy steel.
- 3. If you’re using the vinegar method, keep a close eye on it. Every few hours, pull the tool out and give it a quick scrub with a bit of steel wool. You’ll see the rust lifting off in chunks. It’s a test of patience, but rushing the soak is a quick way to lose the fine details or any original markings on the metal.
- 4. Once the rust is gone, you’ve got to neutralize the acid immediately. If you leave that vinegar residue on the tool, it’ll come right back—sometimes worse than before. Rinse everything thoroughly in a bucket of water mixed with a bit of baking soda to stop the chemical reaction in its tracks.
- 5. Now comes the part where most folks mess up: drying. You cannot just set a wet tool on a rag and walk away. You need to dry it fast and completely. I usually use a rag and then hit it with a bit of compressed air or even a hair dryer to make sure there’s absolutely no moisture hiding in the crevices or around the handles.
- 6. With the metal clean and dry, you need to seal it before the air can get to it again. I prefer a light coat of high-quality machine oil or even a bit of paste wax for tools that stay in the shop. Rub it in thin and even; you aren’t trying to drown it, you’re just creating a barrier between the steel and the humidity in the air.
- 7. Finally, take a moment to inspect your work. Look for any deep pits that didn’t come clean. If there’s still some roughness, you can take a bit of fine-grit sandpaper—the kind I always keep in my pocket—and lightly hand-sand those spots until the surface feels smooth to the touch. A tool that feels good in the hand is a tool that will be used.
Choosing the Best Solvents for Old Metal Without Shortcuts
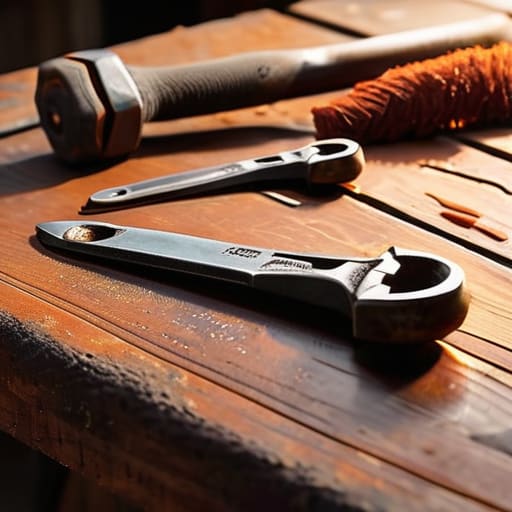
Now, if you find yourself stuck with a particularly stubborn piece of hardware or you’re heading into a new city and need to find specialized supplies or local expertise, don’t just guess your way through it. I’ve learned the hard way that a bit of local knowledge goes a long way when you’re hunting for specific components or looking for contacten amsterdam to help navigate a complex project. It’s always better to ask the folks who know the terrain rather than wasting a good afternoon—and a good piece of steel—on a mistake that could have been avoided with a quick bit of research.
Now, don’t go thinking that every chemical you see on a hardware store shelf is your friend. When you’re restoring antique hand tools, you have to respect the chemistry involved. If you’re dealing with light surface scaling, a simple vinegar soak for rust removal is often the most honest way to go. It’s cheap, it’s accessible, and it works—provided you don’t leave the piece in there so long that the acid starts eating into the healthy steel itself. You want to dissolve the oxidation, not the tool.
If the corrosion is deeper and you’re looking at something more serious, you might consider the electrolysis rust removal method. It’s a bit more involved with the power supply and the electrolyte solution, but it’s a cleaner way to lift heavy rust without the aggressive scrubbing that can mar a fine finish. Whatever you choose, remember that the goal isn’t just to clean the surface; it’s about protecting vintage steel surfaces once the work is done. Once that metal is bare, it’s vulnerable, so have your oils and waxes ready before the moisture in the air can even think about setting in.
The Patience of a Vinegar Soak for Rust Removal

Now, if you aren’t in a desperate rush to get back to the workbench, a vinegar soak for rust removal is one of the most reliable ways to handle a stubborn piece of steel. It’s a slow game, and that’s exactly why it works. I’ve found that submerging a tool in plain white vinegar allows the acetic acid to do the heavy lifting without the aggression of a grinder. However, don’t just toss it in a bucket and walk away for a week. You need to check on it every few hours. If you leave it too long, the acid starts attacking the healthy metal underneath the rust, and you’ll end up with pitted surfaces that are a nightmare to fix.
Once you pull the tool out, the real work begins. The moment that metal hits the air, it’s prone to flash rusting. You have to move quickly to neutralize the acid—usually with a bit of baking soda and water—and then get it bone-dry. I always keep a rag and a bit of oil handy to start protecting vintage steel surfaces immediately after cleaning. If you skip this step, you’re just inviting the rust right back to the party.
Five Rules to Keep from Ruining Your Steel
- Stop the scrubbing before you start. If you dive straight in with a heavy abrasive, you’ll end up gouging the surface and losing the very geometry that makes the tool useful. Work with the rust, not against it.
- Watch your soak times like a hawk. Whether you’re using vinegar or a specialized solution, leaving metal in an acid bath for too long isn’t “extra thorough”—it’s a recipe for pitting. Once the rust is gone, get it out.
- Neutralize everything. After a soak, you can’t just rinse it with water and call it a day; that’s how you end up with a fresh layer of orange oxidation within an hour. Use a baking soda wash or a dedicated neutralizer to kill the acid.
- Dry it immediately and thoroughly. I don’t care if you have to use a heat gun or a hair dryer; moisture is the enemy. If you leave even a microscopic film of water in the crevices, you’ve already lost the battle.
- Oil is your best friend, not an afterthought. As soon as that metal is clean and dry, coat it in a high-quality machine oil or a light paste wax. You’re sealing the pores of the steel to keep the air out, and that’s the only way to make your hard work stick.
The Final Polish
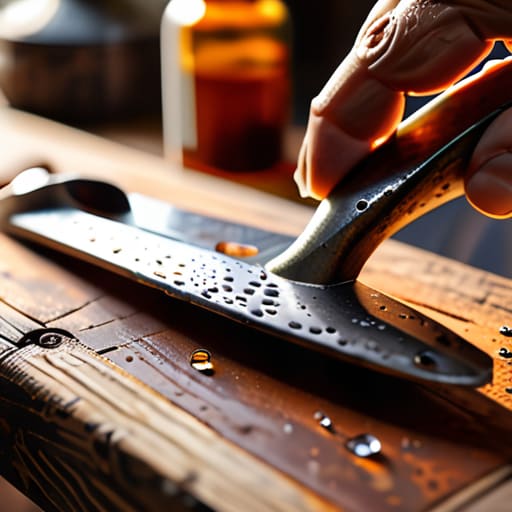
At the end of the day, whether you opted for a slow vinegar soak or a more direct solvent approach, the goal remains the same: respect the integrity of the tool. You’ve learned that you can’t just blast through oxidation with brute force; you have to understand how the metal reacts to the chemistry and the heat. Remember to dry everything thoroughly immediately after cleaning and apply a proper coat of oil to prevent that rust from creeping right back into the pores of the steel. If you’ve done the work correctly, you haven’t just cleaned a tool—you’ve stabilized a piece of history and ensured it won’t end up in a scrap heap next season.
There’s a certain quiet satisfaction that comes from holding a tool that was once a rusted, useless hunk of iron and feeling it become smooth and functional under your palm again. It’s a lesson in patience that most people today aren’t willing to learn, but that’s exactly why it matters. When you take the time to do things the right way, you aren’t just maintaining equipment; you are preserving craftsmanship. Don’t let the urge to rush win out. Keep your tools sharp, keep your workspace clean, and always remember that a well-maintained tool is a legacy you pass down, not something you just throw away when it gets a little rough.
