I remember standing in a massive industrial fabrication shop back in ’84, watching a kid try to use a glorified toy to join two thick sheets of steel. He was sweating, cursing, and probably about five minutes away from blowing a fuse or, worse, ruining a perfectly good piece of stock. Nowadays, you can scroll through half the internet and find people peddling these flimsy, plastic-looking spot welding machines that claim they can handle heavy-duty work, but they’re nothing more than expensive paperweights. They’ll promise you professional results, but the moment you actually try to pull a decent bead, you realize they lack the actual grunt needed to penetrate the metal properly.
I’m not here to sell you on some shiny new gadget or help you waste your hard-earned money on marketing fluff. My goal is to cut through the nonsense and tell you exactly what you need to look for so you can build things that stay together. I’ll be walking you through the real-world mechanics of different spot welding machines, focusing on the build quality and power delivery that actually matters when you’re standing at the bench. We’re going to talk about tools that are built to last, not just tools that look good in a catalog.
Table of Contents
Mastering the Resistance Spot Welding Process
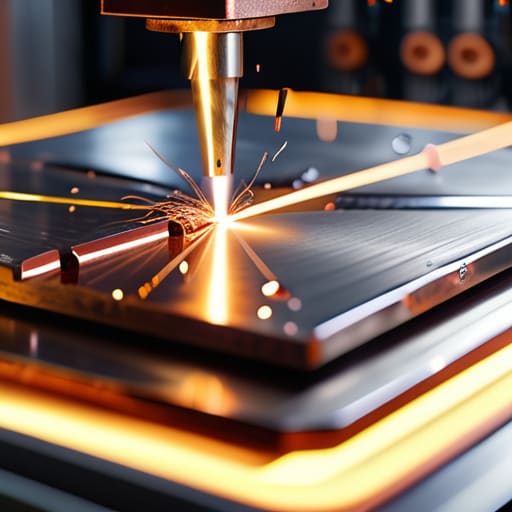
Now, if you think you can just squeeze two pieces of metal together and call it a day, you’re in for a world of hurt. The resistance spot welding process isn’t just about brute force; it’s a delicate balance of heat and physics. You’ve got to get the timing right between how much electricity you’re pushing through the joint and how hard those electrodes are clamping down. If you don’t have precise welding current and pressure control, you’ll end up with one of two things: a “cold” weld that pops apart the moment you look at it, or a scorched, brittle mess that’s ruined the temper of your workpiece.
I’ve seen many young fellas walk into a shop and assume the machine does all the thinking. It doesn’t. You need to understand your materials. Different alloys react differently to the heat, and choosing the wrong spot welder electrode types can lead to sticking or uneven heat distribution. Take your time to dial in your settings. It’s better to spend twenty minutes calibrating your machine than to spend two hours grinding out a botched seam because you were in too much of a hurry to get to lunch.
Industrial Welding Equipment vs Cheap Shop Toys
Now, don’t get me wrong—if you’re just looking to tack together some thin tin cans for a school project, a little handheld unit from a big-box store might suffice. But if you’re serious about sheet metal fabrication techniques that actually hold up under stress, you need to understand the gap between a toy and a tool. Most of those cheap units you see online lack any real welding current and pressure control, which is the heart of the whole operation. Without the ability to dial in exactly how much squeeze and heat you’re applying, you’re just guessing, and guessing leads to brittle joints that’ll snap the first time they see any real load.
When you step up to proper industrial welding equipment, you aren’t just paying for a heavier casing. You’re paying for stability and the ability to swap out different spot welder electrode types depending on the job at hand. A real machine stays consistent from the first weld to the fiftieth, whereas those flimsy shop toys tend to overheat and lose their bite halfway through a project. If you want a weld that doesn’t just look right but actually functions like it was meant to, invest in something built to endure.
Five Things I Wish I Knew Before I Burned My First Sheet
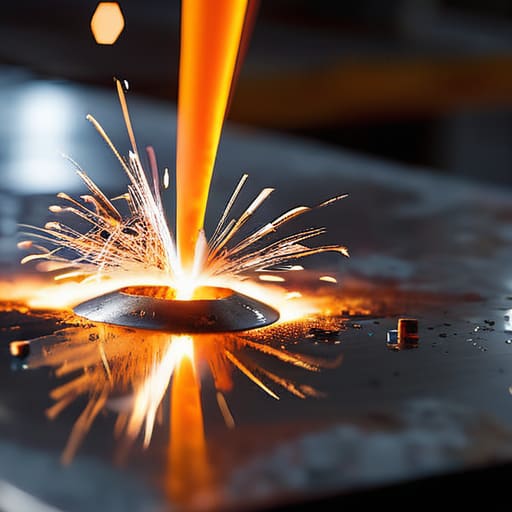
- Don’t skimp on your electrode tips. If you’re using pitted, worn-down copper, you’re just going to get inconsistent heat and a mess of a weld. Keep them clean, keep them shaped, and keep them sharp.
- Pressure is just as important as the current. If you don’t squeeze those metal sheets together with enough force, you’ll end up with a “spatter” nightmare that looks more like a burst firework than a clean joint.
- Watch your workpieces like a hawk. If there’s even a speck of oil, rust, or paint between those sheets, you’re fighting an uphill battle. Clean the metal until it shines, or don’t bother starting the machine at all.
- Learn the rhythm of your machine. Every welder has a sweet spot where the heat and the squeeze work in harmony; if you start forcing it or rushing the cycle, you’ll end up blowing holes right through your material.
- Invest in a decent set of clamps. You can have the most expensive welder in the county, but if your workpiece is shifting even a fraction of a millimeter while you’re pulling the trigger, that weld is going to be junk.
The Bottom Line Before You Strike an Arc
Stop looking at the price tag and start looking at the duty cycle; a machine that can’t handle sustained heat is just a paperweight when you’ve actually got real work to do.
Never settle for a welder that lacks proper amperage control, because if you can’t fine-tune the heat, you’re either going to burn right through your sheet metal or end up with a cold, useless joint.
Invest in a machine that’s built with serviceable parts, because the moment a component fails, you’ll want something you can actually fix rather than something you have to toss in the scrap bin.
## The Cost of a Weak Joint
A spot welder isn’t just a tool you plug in and forget; it’s a commitment to the metal. If you’re too stingy to invest in a machine that actually delivers consistent pressure and heat, you aren’t saving money—you’re just paying for the privilege of having to tear your work apart and start over when that weld fails under pressure.
Alistair Fenwick
Making the Right Call for Your Shop
At the end of the day, picking a spot welder isn’t about finding the flashiest machine with the most buttons; it’s about understanding the physics of the metal you’re working with. We’ve talked about why you can’t cut corners on the quality of your power supply and why that distinction between industrial-grade gear and a cheap hobbyist kit matters more than you might think. If you don’t respect the resistance and the heat, you’re just going to end up with pitted, weak joints that’ll fail the moment they’re put under any real stress. Invest in a machine that matches your ambition, because buying cheap usually means buying twice.
My advice to you is simple: don’t let the desire for a quick fix get in the way of doing the job right. A good welder is an extension of your own hands, and once you master the rhythm of the squeeze and the spark, you’ll realize you aren’t just joining two pieces of steel together—you’re building something that can stand the test of time. Take your time, learn the nuances of your equipment, and never settle for a weld that you wouldn’t be proud to sign your name to. That’s how real work gets done.
Frequently Asked Questions
How do I know if my current electrical setup can actually handle the draw of a decent spot welder without tripping my breakers?
Before you even plug that machine in, check your breaker. A decent spot welder pulls a massive amount of current in a split second. If you’re running a standard 15-amp circuit on an old house, you’re going to trip that breaker every single time you squeeze the trigger. Look for a dedicated 20-amp circuit if you can. If your lights flicker every time you hit the weld, your setup isn’t ready for real work.
Is it worth putting in the extra time to learn how to calibrate the pressure on my clamps, or am I just overcomplicating a simple job?
Listen, you aren’t overcomplicating it; you’re doing it right. If you just squeeze the clamps until they feel “tight enough,” you’re gambling with your material. Too little pressure and you’ll get expulsion—that nasty spray of molten metal that ruins a good sheet. Too much, and you’ll crush the workpiece into a pancake. Take the time to dial in that pressure. It’s the difference between a professional weld and a messy mistake.
When I'm working with thinner sheet metal, how do I stop the heat from blowing right through the material and leaving me with a mess of holes?
That’s the headache with thin gauge—one second too long and you’ve got a Swiss cheese project. You’ve got to dial back your weld time and bump up the pressure slightly to keep the contact tight. If you’re using a manual machine, steady hands are everything. I usually find that using copper chill blocks behind the metal helps soak up that excess heat before it ruins the sheet. Don’t rush the trigger; patience wins here.
