I remember sitting in a cramped fabrication shop back in ’84, watching a kid blow a perfectly good piece of tool steel because he thought he could “eye-ball” a measurement before checking it. He had a brand new, expensive set of digital tools, but he didn’t have the discipline to use them right. That’s the problem I see too often these days; people buy these high-end instruments thinking the tool does the thinking for them, but improper precision calipers usage will turn even the most expensive kit into nothing more than a glorified paperweight. A tool is only as honest as the hand holding it, and if you’re sloppy with your technique, you’re just measuring your own mistakes more accurately.
I’m not here to sell you on some fancy, over-engineered gadget or a complicated manual that reads like a textbook. What I want to do is show you how to actually work with these tools so you can trust your numbers every single time. I’ll be sharing the practical, hard-earned lessons I’ve picked up over forty years in the shop—the kind of straightforward advice that ensures you measure once and get it right the first time. We aren’t building things to look pretty; we’re building them to last.
Table of Contents
Mastering Internal vs External Measurement Without Guesswork
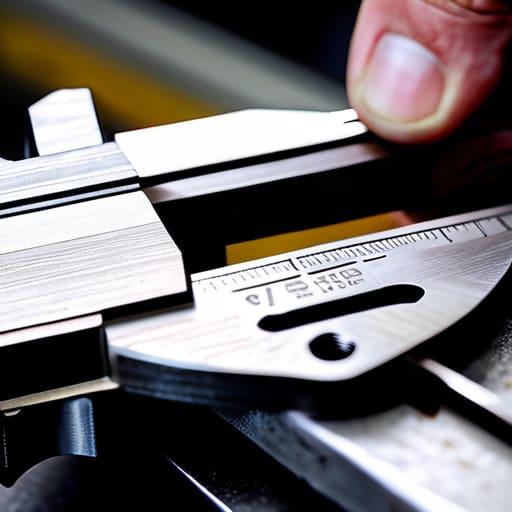
Now, most folks pick up a pair of calipers and think they can just squeeze the jaws shut and call it a day. That’s where you run into trouble. When you’re dealing with internal vs external measurement, you have to respect the geometry of the piece. For external jobs, like checking the diameter of a turned steel rod, you want those large jaws seated firmly against the metal. But if you’re measuring the inside of a bore, you’ll be using the upper jaws. Don’t just shove them in there; you need to find the true center. If you’re off by even a hair because you were rushing, you’ll find yourself machining a part that won’t fit, and that’s just wasted material you’ll never get back.
If you find yourself debating between a micrometer vs caliper for a specific task, remember that calipers are your versatile workhorse, but they require a steady hand. I’ve seen too many apprentices try to “feel” the measurement without actually checking their alignment. Whether you’re using a manual scale or zeroing digital calipers before you start, make sure the tool is clean. A single speck of grit between the jaws can throw your whole reading off, turning a precision instrument into nothing more than a glorified ruler.
Zeroing Digital Calipers Why Shortcuts Ruin Your Build
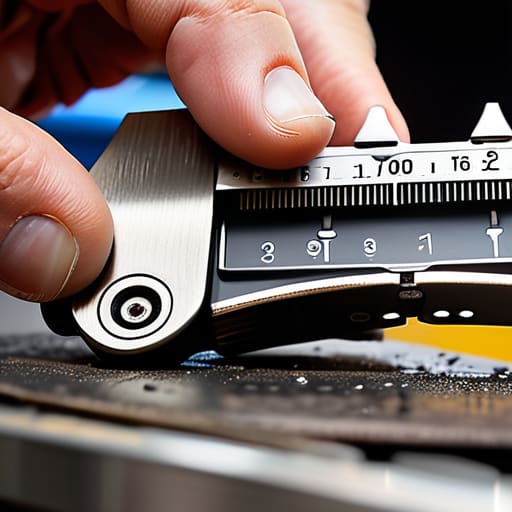
I’ve seen plenty of young fellas walk into a shop, flick on a digital display, and assume the tool is telling them the gospel truth. They skip the step of zeroing digital calipers because they’re in a hurry to get to the welding bench. That’s a mistake that’ll cost you. If there’s a speck of grit or a bit of dried oil between those jaws when you close them, your starting point is already a lie. I always take a moment to wipe the measuring faces clean with a scrap of cloth first. If you don’t start at a true zero, every single measurement you take after that is just a compounding error that’ll leave your parts fitting like a loose tooth.
It isn’t just about being picky; it’s about fundamental measuring tool maintenance. When you’re working on something tight, like fitting a bushing into a housing, you can’t rely on “close enough.” I’ve learned the hard way that even a slight deviation at the start can make a precision part look like scrap metal by the time you’re finished. Don’t trust the screen blindly—close the jaws, check the reading, and if it isn’t dead on zero, don’t you dare start cutting.
Five Hard Lessons from Forty Years at the Bench
- Check your jaws for grit before you start. I’ve seen more projects ruined by a single speck of metal shavings caught in the sliding jaw than by actual user error; if that surface isn’t clean, your reading is a lie.
- Don’t squeeze the tool like you’re trying to crush a walnut. You want just enough pressure to feel the contact, but if you’re leaning into it, you’re flexing the frame and getting a measurement that’s nothing more than wishful thinking.
- Watch your angle or lose your accuracy. If those jaws aren’t perfectly perpendicular to the workpiece, you’re measuring a diagonal instead of a true dimension, and that error will compound until your whole assembly won’t fit.
- Treat your calipers like a surgical instrument, not a hammer. I’ve seen young lads toss them onto a cluttered workbench next to a heavy wrench, and once those precision rails get a dent or a bend, they’re nothing more than expensive paperweights.
- Always double-check your work with a visual inspection. If the caliper says one thing but your eyes tell you the part looks wonky, trust your eyes and re-measure; the tool is only as good as the person holding it, and even the best tools can miss a slip of the hand.
The Bottom Line on Precision
Stop treating your calipers like a ruler; they aren’t for rough estimates, so if you aren’t reading the fine lines or the decimal points, you’re just guessing and hoping for the best.
Always clean the jaws and the workpiece before you take a reading, because even a tiny speck of grit or a smear of oil will throw your measurement off enough to ruin a tight-fitting part.
Respect the tool by checking your zero point every single time you pick it up, because a digital display that looks right but isn’t calibrated is nothing more than a way to waste good material.
## The Cost of a Loose Grip
A caliper isn’t just a fancy ruler; it’s a commitment to accuracy. If you treat your measurements like a suggestion rather than a rule, you aren’t building something meant to last—you’re just making a mess of good material.
Alistair Fenwick
Respect the Tool, Respect the Work
At the end of the day, using your calipers isn’t about showing off how much you know; it’s about having the discipline to do things right the first time. We’ve covered why you can’t afford to be lazy with your zeroing, and why you need to be deliberate when switching between internal and external measurements. If you treat these measurements like they’re just suggestions, you’ll find yourself staring at a pile of scrap metal that should have been a finished part. Remember, precision is earned through repetition, and if you start cutting corners now, those errors will only compound as your project gets more complex. Don’t let a tiny oversight in your measurement be the reason a solid piece of steel ends up in the bin.
I’ve seen plenty of young folks rush through a build, thinking they can just “make it fit” in the assembly stage, but that’s a fool’s errand. Real craftsmanship is found in those fractions of a millimeter that most people don’t even notice. When you take the time to master your tools, you aren’t just making a part; you’re building a reputation for quality and reliability. So, take a breath, check your scales, and make sure that reading is dead-on before you ever touch a saw or a lathe. Build it right, build it once, and make it last.
Frequently Asked Questions
What's the best way to tell if my calipers have gone out of calibration after years of heavy shop use?
The easiest way is a simple gauge block test, but if you haven’t got one lying around, grab a precision ground micrometer or even a known standard like a new shim stock. Close the jaws completely; if they don’t read dead zero, you’ve got a problem. Check the parallelism by measuring the same thickness at different points along the jaws. If the numbers jump around, your jaws are bent or worn, and it’s time for a new pair.
Should I be worried about using digital calipers in a shop environment where I've got metal shavings and oil flying around?
You ought to be. Digital calipers are fine for a clean desk, but a real shop is a different beast. Those little sensors and battery compartments aren’t built to swallow metal shavings or soak in cutting oil. If grit gets lodged in the slider, your readings will jump all over the place, and you’ll be chasing ghosts in your measurements. If you can’t keep ’em pristine, stick to a reliable set of dial calipers.
When am I actually going to need a micrometer instead of just sticking with my calipers?
Look, calipers are your bread and butter for most shop work, but they have their limits. If you’re just checking a bolt’s diameter or a piece of stock, they’ll do fine. But the moment you’re working on something where a thousandth of an inch is the difference between a smooth fit and a pile of scrap—like crankshaft journals or precision threading—you put the calipers down. Grab a micrometer. It’s about stability and repeatable accuracy.
