I remember sitting in my old shop back in the nineties, staring at a seized-up gear assembly that most of the boys in the fabrication wing said was headed straight for the scrap bin. The air was thick with the smell of burnt oil and old grease, and all I could hear was the rhythmic clink-clink of a junior apprentice hitting a piece of steel with far too much force and not enough thought. People today see a rusted, pitted component and think the only solution is to open their wallet for a shiny, mass-produced replacement. They’ve forgotten that reclaiming metal parts isn’t about magic; it’s about having the patience to strip away the decay and find the integrity that’s still hiding underneath.
I’m not here to sell you on some high-tech, expensive gadget that promises a miracle overnight. What I’m going to give you is the honest, unvarnished truth about how to actually bring old metal back to life using the tools you likely already have in your shed. We’re going to talk about heat, tension, and the steady hand required to do the job right. If you’re willing to put in the work, I’ll show you how to stop wasting material and start building things that last.
Table of Contents
Mastering Metal Component Restoration Techniques
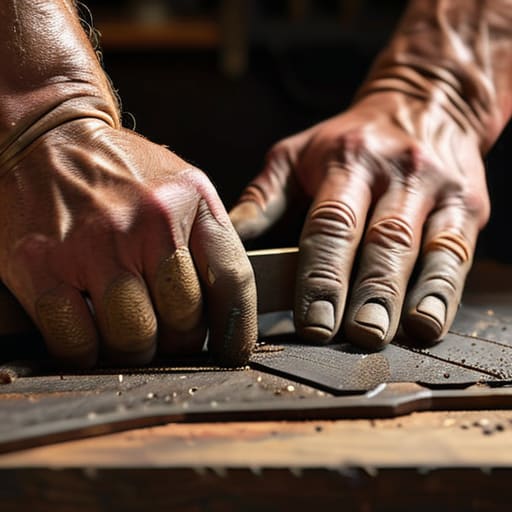
When you sit down at the workbench, you need to realize that every piece of hardware has a history written in its grain. You can’t just slap some solder on a crack and call it a day. To truly get into metal component restoration techniques, you have to start with a proper assessment of the surface integrity. I always say you should listen to the metal; if it’s pitted or deeply oxidized, you’re going to spend more time grinding than you would just buying a new part. Use a fine-grit abrasive—I keep a bit of sandpaper in my pocket for a reason—to clear away the scale before you even think about applying heat.
Don’t get caught up in the hype of modern industrial metal recycling processes that treat everything like uniform scrap. Those big machines don’t care about the soul of a tool. When I’m looking at a vintage gear or a heavy bracket, I’m calculating the cost-benefit of salvaged components based on the quality of the alloy, not just the price of the raw material. If the temper is still good, it’s worth the sweat to bring it back to life.
The Real Cost Benefit of Salvaged Components Over New Junk
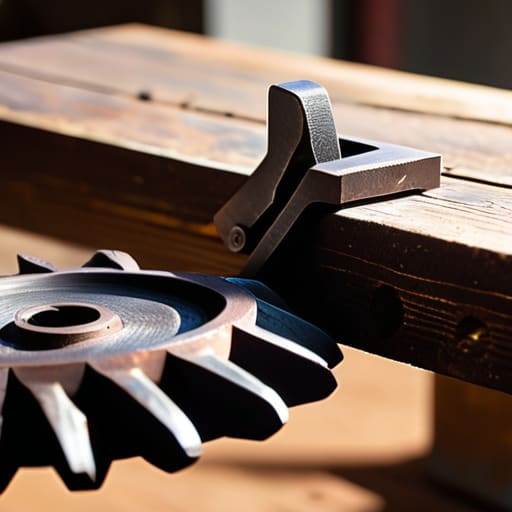
Look, most folks nowadays see a rusted bracket or a pitted gear and think it’s headed straight for the scrap bin. They see the price tag on a shiny new replacement and think they’re being smart by clicking “buy now.” But they aren’t looking at the full picture. When you buy new, you’re often paying a premium for thin, stamped-out junk that wasn’t built to survive a decade of real work. When I sit down to do a metal scrap value assessment on a piece of old equipment, I’m not just looking at the weight of the iron; I’m looking at the quality of the metallurgy. That old forged steel has a soul and a density that modern, mass-produced parts just can’t match.
The real cost-benefit of salvaged components isn’t just about the dollars saved at the register. It’s about the longevity of your tools. If you take the time to clean, stabilize, and resurface a heavy-duty part, you’ve got something that will outlast three or four of those flimsy modern replacements. It’s a small way of participating in a circular economy in metallurgy right from your own workbench. You aren’t just saving a few bucks; you’re keeping quality material in circulation instead of letting it rot in a landfill.
Five Rules of Thumb for the Workshop Floor
- Don’t go hunting for parts until you’ve cleaned the surface. You can’t judge a crack or a pit if it’s buried under forty years of grease and oxidation; get a wire brush or a bit of solvent on it first so you’re looking at the actual metal, not just the grime.
- Respect the temper of the steel. If you’re working on a part that’s been heat-treated, you can’t just go swinging a hammer or heating it up to cherry red without thinking about how you’re going to stabilize it afterward, or you’ll end up with a piece of scrap that’s as brittle as glass.
- Invest in a decent set of micrometers rather than relying on your eyes or a cheap ruler. If you’re reclaiming a bearing surface or a threaded bolt, “close enough” is just a fancy way of saying you’re going to fail, and in my shop, we don’t do “close enough.”
- Slow down your grinding. I see too many young lads rushing a buffing wheel or a grinder and burning the finish right off the metal; if the steel starts changing color from the heat, you’ve gone too far and you’ve ruined the work.
- Keep a scrap bin for practice. Before you try a new welding technique or a complex filing job on a piece you actually need, take a bit of salvaged iron and work it until your hands feel the rhythm; you don’t want your first mistake to be on the part you’re trying to save.
The Bottom Line on Salvaging Metal
Stop looking at a rusted part as scrap; most of the time, it’s just a piece of good steel waiting for a bit of patience and the right heat to find its purpose again.
Investing your time in proper cleaning and resurfacing beats the hell out of buying cheap, mass-produced replacements that’ll fail you the moment you put them under a real load.
Respect the process by working slowly—if you try to force a restoration with brute strength instead of technique, you’re more likely to ruin the piece than fix it.
## The Soul of the Machine
“A new part from a big-box store might fit the slot, but it won’t have the character of a piece you’ve brought back to life yourself; when you reclaim metal, you aren’t just saving a few dollars, you’re preserving the integrity of the machine.”
Alistair Fenwick
The Long View
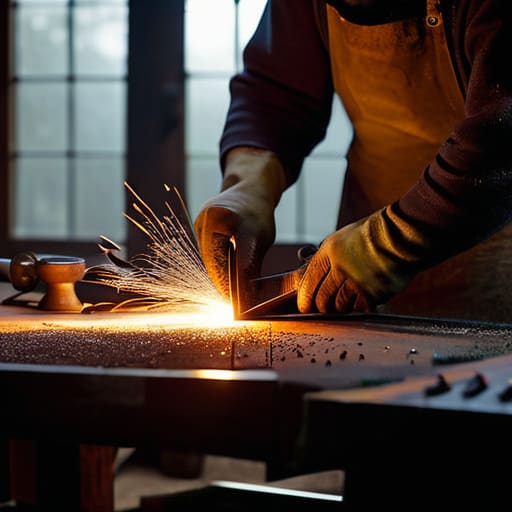
At the end of the day, reclaiming metal isn’t just about saving a few dollars at the hardware store or keeping a piece of scrap out of a landfill. It’s about understanding the relationship between the tool, the material, and the man holding them. We’ve talked about the right way to strip old coatings, the patience needed for heat treatment, and why a salvaged part often holds more integrity than the cheap, stamped-out junk you find in a modern big-box aisle. If you take the time to respect the metallurgy and follow the proper restoration steps, you aren’t just fixing a machine; you are preserving the history of the craft. It takes more sweat and a bit more time, but shortcuts are nothing more than a debt you’ll eventually have to pay back with interest.
I’ve spent forty years watching the world move toward things that are meant to be thrown away the moment they show a bit of wear. It’s a shame, really. But every time you pull a rusted gear out of a bin and bring it back to a working shine, you’re pushing back against that tide. My advice to you is simple: don’t be afraid to get your hands dirty or make a mistake. Just don’t be lazy. When you learn to fix what is broken, you gain a kind of independence that no store can sell you. Build things that last, maintain what you own, and never settle for disposable when quality is within your reach.
Frequently Asked Questions
How do I know when a piece of metal is too fatigued or structurally compromised to be worth the effort of salvaging?
You can’t just eye it and hope for the best. If you see deep, jagged cracks that look like lightning bolts, or if the metal has started to flake off in layers like old bark, walk away. That’s fatigue, plain and simple. I also look for “necking”—where the part has thinned out or stretched under stress. If the grain structure looks cooked or brittle, it’s gone. Don’t gamble your safety on a piece of scrap.
What are the best ways to clean off decades of rust and old grease without stripping away the integrity of the metal itself?
Now, listen close, because this is where most folks ruin a good piece of steel. If you go at it with a heavy grinder right away, you’ll strip the surface thin and lose that temper. Start with a soak in a mild degreaser or even just some kerosene to get the old sludge off. Once it’s clean, use a brass brush or fine emery cloth. You want to peel the rust away, not sand the metal into nothing.
Do I need a full forge and anvil to get started, or can I see real results with just basic hand tools and a steady hand?
Look, you don’t need a roaring forge or a heavy anvil to start making progress. I’ve seen plenty of folks get paralyzed by the cost of equipment before they’ve even struck a single blow. If you’ve got a decent set of files, some emery cloth, and a steady hand, you can do a hell of a lot of good. Start small. Master the art of cleaning and refining with hand tools first; respect the metal before you try to force it.
