I remember standing in a massive fabrication shop back in ’84, watching a young kid try to force a complex piece of art together using nothing but a cheap MIG welder and a whole lot of ego. He was so focused on the final shape that he ignored the way the metal was warping under the heat, and by the time he finished, his “masterpiece” looked more like a crumpled soda can than a work of art. That’s the problem with how people approach sculptural metal welding these days; they treat it like a race to the finish line rather than a dialogue with the material. They think a flashy machine can make up for a lack of fundamental understanding, but you can’t hide poor technique behind a pretty silhouette.
In this guide, I’m not going to feed you any of that high-priced, academic nonsense you’ll find in some glossy art magazine. Instead, I’m going to give you the straight truth about how to manage your heat, control your beads, and ensure your work is actually built to last. We’re going to talk about the grit and the prep work that actually matters, so you can stop fighting your metal and start commanding it.
Table of Contents
Tig Welding for Fine Art Precision Over Speed
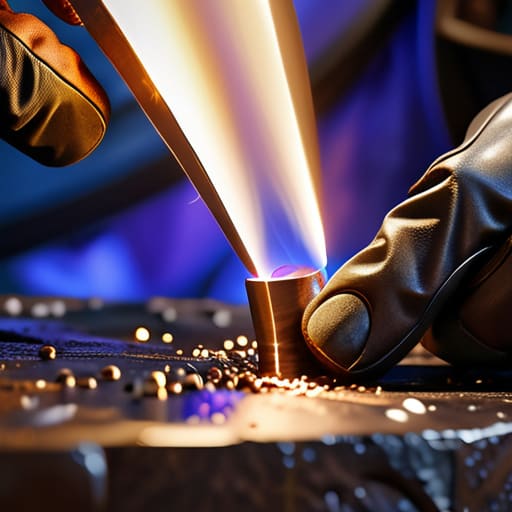
When you move away from heavy structural frames and into the realm of fine detail, you have to put down the MIG gun and pick up a TIG torch. I’ve seen too many young artists try to muscle through a delicate piece with a wire feeder, only to end up with a mess of spatter that ruins the silhouette. TIG welding for fine art isn’t about how fast you can tack a joint; it’s about the absolute control you have over the puddle. If you’re sculpting with steel and bronze, you need that surgical precision to ensure the weld looks like a deliberate part of the design rather than a structural afterthought.
The trick is learning to breathe with the machine. You’re managing the arc, the filler rod, and the foot pedal all at once, and if your rhythm is off, the metal will show it. I always tell my apprentices that the goal is seamless integration. You want your beads to look intentional, whether they are clean and tight or intentionally textured. Don’t let the machine do the work for you—you drive the heat, or the heat drives you.
Industrial Metal Art Techniques That Stand the Test of Time
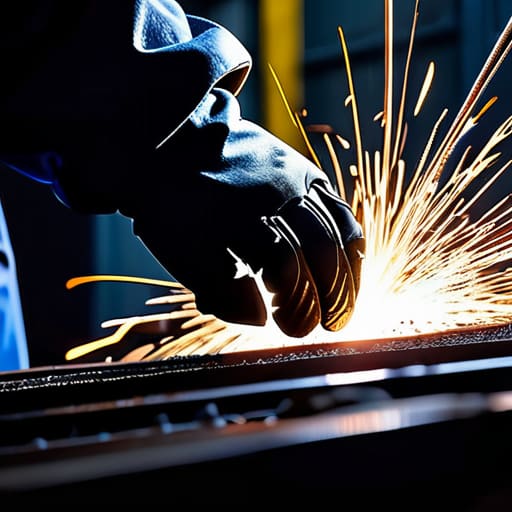
When you move away from the delicate work of TIG and start looking at larger-scale projects, you have to change your mindset from jeweler to builder. For more substantial pieces, I often lean into heavy-duty industrial metal art techniques that rely on structural integrity as much as visual appeal. If you’re sculpting with steel and bronze, you can’t just rely on a pretty bead to hold everything together. You need to understand how the weight of the material affects the joints. I’ve seen too many youngsters try to tack a heavy steel plate onto a thin frame and act surprised when the whole thing warps under its own heat.
You need to treat your workshop like a construction site, not just a studio. This means investing in proper metalworking art tools—not just the fancy stuff, but the heavy grinders, sturdy clamps, and reliable magnetic squares that keep your geometry true. Whether you are using MIG for speed on thick structural members or sticking to more traditional fabrication methods, the goal remains the same: build it so it doesn’t sag or crack five years down the line. If the skeleton is weak, the art is nothing more than a liability.
Five Hard Truths for Making Metal Art That Won't Fall Apart
- Clean your metal until it shines. I don’t care how much you’ve already spent on the material; if there’s a speck of mill scale, oil, or oxidation left on that joint, your weld is going to be garbage. Take the extra ten minutes to grind it back to bright metal. It’s better to spend time cleaning now than to spend a week grinding out a porous, ugly weld later.
- Manage your heat soak. When you’re working on smaller, delicate sculptures, it’s easy to get carried away and cook the metal right through. If you keep piling on the heat without letting the piece breathe, you’ll warp the entire structure, and no amount of hammer work is going to pull that back into shape easily.
- Don’t hide your mistakes with filler. A lot of younger artists try to glob on extra rod to cover a gap or a messy joint. That’s lazy. If the fit-up isn’t tight, stop, grind it out, and fix the gap. A clean, structural weld looks a hell of a lot better than a mountain of sloppy filler metal.
- Plan for the repair. Before you even strike an arc, ask yourself: “If this piece gets knocked over or stressed, how am I going to fix it?” Don’t weld yourself into a corner where a single crack becomes a death sentence for the whole sculpture. Build in access points and keep your joints accessible.
- Listen to the puddle. You can’t just stare at the light; you have to watch how the metal behaves. A good weld has a rhythm to it. If the puddle starts acting erratic or jumping, you’re likely pushing too hard or your gas coverage is off. Slow down, steady your hand, and respect the process.
The Fundamentals of a Lasting Piece
Never prioritize a fast finish over a clean joint; if your base metal isn’t prepped and your heat isn’t controlled, that sculpture will crack years down the line when the weather shifts.
Choose your welding method based on the final intent of the piece, whether you need the surgical precision of TIG for fine details or the heavy-duty structural strength of MIG for larger installations.
Build with repairability in mind, because a piece of art shouldn’t be sent to the scrap heap just because a single weld failed or a surface tarnished.
## The Truth About the Bead
“A weld isn’t just a way to stick two pieces of metal together; it’s a permanent signature. If you’re more worried about how the sculpture looks under a coat of paint than how that bead holds up under stress, you aren’t an artist—you’re just a decorator. Real metalwork is about the integrity beneath the surface.”
Alistair Fenwick
The Long View of the Torch
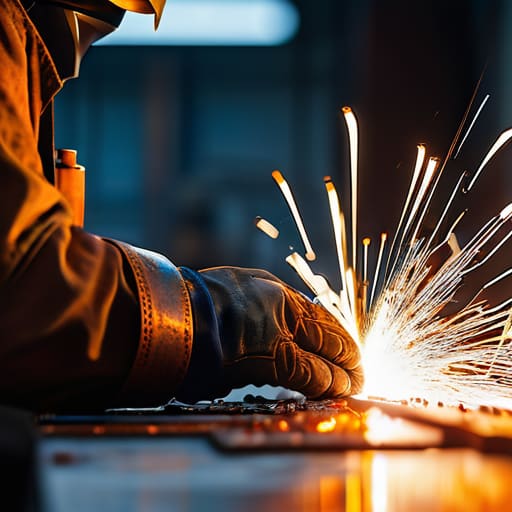
At the end of the day, whether you’re sitting down with a TIG torch for those delicate, fine-art details or you’re leaning into the heavy-duty industrial methods to build something massive, the principles remain the same. You can’t cheat the physics of the metal. If you skip the prep, if you don’t manage your heat, or if you try to rush a bead just to get to the next task, the work will show it. It’s about finding that balance between the precision of the fine art and the structural integrity required for a piece to actually survive the decades. A sculpture shouldn’t just look right under a gallery light; it needs to be built so well that it stays together long after we’re gone.
I’ve spent forty years watching people try to take shortcuts, and I’ll tell you this: the metal always wins in the end. But when you do it right—when you take the time to understand your material and respect the heat—you create something that transcends being just a “product.” You’re making a legacy. Don’t just aim to finish the piece; aim to make something that is worth repairing fifty years from now. Put your weight behind the work, keep your tools sharp, and remember that true craftsmanship is measured by how well a thing holds up when the world tries to wear it down.
Frequently Asked Questions
How do I prevent warping and heat distortion when I'm working on thin-gauge sheet metal for a detailed sculpture?
The biggest mistake I see is people treating thin sheet like it’s heavy plate. It isn’t. If you’re working with thin-gauge, you have to manage your heat like a hawk. Use a tack weld every half-inch to keep things pinned, and try stitch welding rather than running long, continuous beads. Keep your clamps tight and use heat sinks—thick copper or aluminum blocks—to soak up that excess energy. If it starts to bow, stop. Let it cool.
What’s the best way to clean old, pitted iron or rusted steel before I start welding so I don't end up with a weak, porous bead?
If you try to weld over rust or pitting, you’re just trapping junk inside your bead, and that’s how you end up with a brittle, porous mess. You’ve got to get down to bright, shiny metal. I usually start with a stiff wire brush to knock off the loose scale, then I grab a flap disc on the grinder to smooth out those pits. If it’s really bad, use a bit of sandpaper to ensure the surface is clean and ready.
If I mess up a weld on a piece that’s already been shaped, how much grinding can I get away with before I ruin the structural integrity of the work?
Listen, you can’t just grind away your mistakes like you’re sanding down a piece of pine. Every time you take a pass with the grinder, you’re thinning the base metal and inviting stress fractures. If you’re just cleaning up surface porosity, you’re fine. But if you start digging deep into the heat-affected zone to erase a bad bead, you’re compromising the whole joint. Stop, slow down, and re-prep instead.
