I can still smell the burnt ozone and stale coffee from that Tuesday back in ’84 when I ruined a perfectly good sheet of 10-gauge steel because I thought I could “eyeball” a curve. I was young, impatient, and convinced that a ruler and a steady hand were enough to bypass the actual work of metalwork template making. I spent six hours grinding down a botched flange, cursing every minute of it, while my mentor just sat there in the corner, watching me sweat. That mistake cost me a day of wages and a lot of pride, but it taught me something vital: metal doesn’t care about your ego.
If you’re tired of watching expensive materials go into the scrap bin because your measurements were off by a hair, you’ve come to the right place. I’m not here to sell you on some fancy, overpriced digital software or complicated CAD programs that require a degree to operate. I’m going to show you how to lay out a proper pattern using nothing but your wits, a bit of cardstock, and the right kind of patience. We’re going to focus on the tried-and-true methods that ensure your cuts are clean and your pieces actually fit the first time you strike the arc.
Table of Contents
Selecting Materials That Wont Fail Under the Hammer
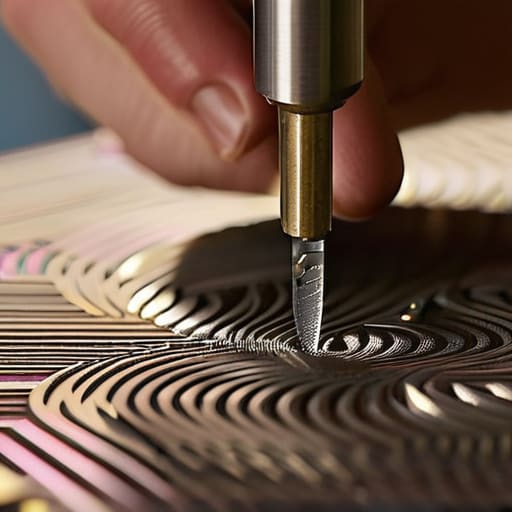
Now, don’t go grabbing the first scrap of cardboard or thin plastic you find lying around the shop. I’ve seen too many fellas try to use flimsy paper for a heavy job, only to watch it tear the moment they try transferring patterns to metal surfaces. If you’re working on something substantial, you need a substrate that holds its shape. For most of my daily work, I lean on heavy-duty manila cardstock or even thin sheets of brass for the really delicate stuff. You want something that can withstand a bit of grease and the occasional accidental scrape without warping.
When it comes to template material selection for metalwork, you have to think about the longevity of the pattern itself. If you’re doing complex work, like developing flat patterns for metal that involve intricate bends, a bit of stiffness goes a long way. I usually opt for a piece of 1/16th-inch styrene if I’m looking for something that won’t fray at the edges. It’s more expensive than a scrap of cardboard, sure, but it beats the hell out of having to redraw your lines three times because your template turned into mush.
Precision Metal Fabrication Templates Built to Last
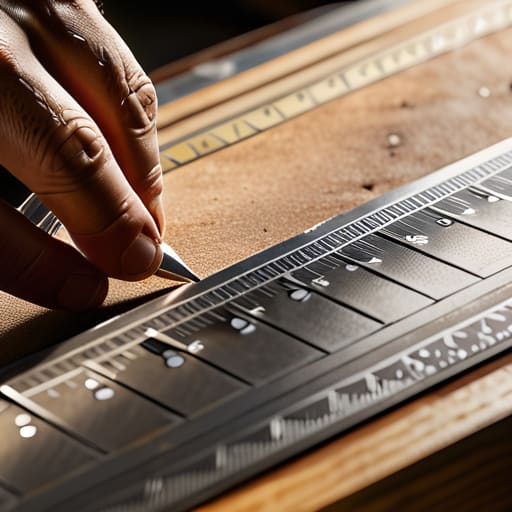
Once you’ve got your materials sorted, you need to focus on the actual geometry. I’ve seen too many young lads try to eyeball a curve or wing it with a pencil and a prayer, only to find out their bend lines are a mess once they hit the brake. When you’re developing flat patterns for metal, accuracy isn’t a suggestion; it’s the difference between a tight seam and a scrap pile. I always tell my apprentices to treat their layout like it’s the foundation of a house. If the math is off by even a sixteenth of an inch on the paper, that error is going to grow every time you make a fold.
I prefer using a mix of traditional metalworking drafting tools and a steady hand to ensure my lines are crisp. Using a scribe instead of a marker is a non-negotiable for me; a scribe leaves a physical track that won’t smudge or fade under the heat of a torch. When you’re transferring patterns to metal surfaces, you want a mark that stays put. If you’re working on something complex, take your time to double-check every intersection. A bit of extra time spent on the layout saves you an hour of frustration trying to force a piece of steel to be something it simply isn’t.
Five Hard-Earned Lessons for Making Templates That Actually Work
- Stop relying on pencil lines for everything. A pencil mark is a suggestion, not a measurement, and it’ll smudge the moment your hands get greasy. Use a fine-point scribe or a sharp machinist’s pencil if you must, but once that template is set, you want a line that doesn’t move when the workshop gets busy.
- Always build in a little extra “meat” to your templates. If you’re making a pattern for a curved cut, don’t aim for the exact edge. Give yourself a hair of breathing room. It’s a lot easier to grind away a fraction of a millimeter of excess metal than it is to try and weld more material back on because you cut too thin.
- Check your geometry more often than you think you need to. I’ve seen plenty of fellas get halfway through a layout only to realize their angles are off by a degree or two. Use a square, use a protractor, and for heaven’s sake, double-check your diagonals. If the math doesn’t square up on the template, it certainly won’t square up on the workpiece.
- Don’t ignore the way your template sits on the metal. If you’re using a template that’s slightly warped or uneven, you’re going to carry that error straight through to the final product. Make sure your template is dead flat before you start marking, or you’ll be chasing shadows all day long.
- Treat your templates like real tools, not just scraps of paper. If you’re using heavy cardstock or thin sheet metal, keep them protected from moisture and heat. A soggy or warped template is just a recipe for a wasted piece of steel, and in my shop, we don’t believe in wasting good material.
The Bottom Line on Better Templates
Don’t go cheap on your template materials; if your base material warps or softens the moment you start marking it, your entire project is doomed before you even pick up the torch.
Treat your template as a living tool, not a disposable scrap—keep it clean, keep it accurate, and check it against your measurements more often than you think you need to.
Remember that a template is only as good as the hands that drew it, so take the time to get your layout right the first time instead of trying to “fix” a bad shape with a grinder later.
The Truth About Your Layout
A template isn’t just a piece of scrap to show you where to cut; it’s the blueprint for your accuracy. If your template is flimsy or off by a hair, you aren’t just making a mistake—you’re guaranteeing that every piece of steel following it will be junk.
Alistair Fenwick
The Final Measure

At the end of the day, a template is only as good as the care you put into its creation. We’ve talked about choosing materials that won’t warp when the shop gets hot and the importance of layout precision that keeps you from chasing errors halfway through a bend. If you pick cheap, flimsy cardstock or skip the step of double-checking your measurements against the actual workpiece, you’re just setting yourself up for a headache. Remember, a template isn’t just a piece of scrap; it is the blueprint for your success on the anvil or the workbench. If the template is flawed, the metalwork will be too, and no amount of grinding or hammering will ever truly fix a fundamental error in geometry.
I know it might feel like extra work to spend an hour perfecting a pattern before you even touch a torch or a hammer, but that’s where the real skill lives. There’s a certain kind of satisfaction that comes from watching a piece of steel fall perfectly into place because your preparation was sound. Don’t let the urge to rush get the better of you. Take your time, trust your tools, and build your foundation right. When you stop treating templates like an afterthought and start treating them like the vital tools they are, you stop being someone who just tinkers and start being a true craftsman.
Frequently Asked Questions
If I'm working with thin sheet metal, should I be using heavy cardstock or should I move straight to something like Mylar?
If you’re working with thin sheet, don’t go jumping straight to Mylar just because it feels “professional.” For thin stuff, I usually start with a heavy cardstock or even a piece of thin, stiff fiberboard. It’s easier to scribe your lines on, and it holds its shape well enough without being too precious. Once you’ve dialed in your pattern and know it’s dead-on, then you can move up to Mylar for the long haul.
How do I keep my template from warping or losing its shape after I've used it for a few repetitive cuts?
If your template is warping, you’re likely using something too thin or too soft. Paper and thin cardstock are fine for a one-off, but for repetitive work, you need substance. I always reach for heavy-duty acrylic or even a piece of thin, milled aluminum. If you’re stuck with something lighter, laminate it or sandwich it between two layers of stiff material. Don’t let a flimsy guide ruin a good piece of steel.
Is it worth the extra time to scribe my lines directly onto the metal, or is a good template enough to guide my shears?
If you’re just doing rough work, a template will get you close enough. But if you want a clean edge that doesn’t require an hour of grinding later, scribe those lines. A template is a guide, not a law. Scribing gives you a physical groove for your shears or torch to follow, taking the guesswork out of the cut. Don’t rely on a shaky hand and a piece of cardboard when you can mark the metal itself.
