I remember sitting in my old shop back in ’84, staring at a batch of brass fittings that looked decent enough under the shop lights, but the moment they hit the humidity of a customer’s workshop, they turned a muddy, pitted mess. I’d spent three days on the prep, only to realize I’d rushed the final stage because I was eager to get home. That’s the trouble with most folks today; they think metal hardware finishing is just about slapping a coat of lacquer or some fancy spray on top to hide a multitude of sins. They treat it like makeup, when in reality, it’s more like building a foundation for a house. If the surface underneath isn’t right, no amount of expensive coating is going to save it from the inevitable rot.
I’m not here to sell you on some miracle chemical or a high-tech gadget that promises perfection in five minutes. What I am going to give you is the truth about how to do this work so you only have to do it once. I’ll walk you through the grit, the heat, and the steady hand required to get a finish that actually holds up to real-world use. We’re going to focus on the fundamentals of prep and protection, because if you want hardware that lasts longer than a season, you have to respect the material.
Table of Contents
Why Powder Coating vs Liquid Finish Matters for Longevity
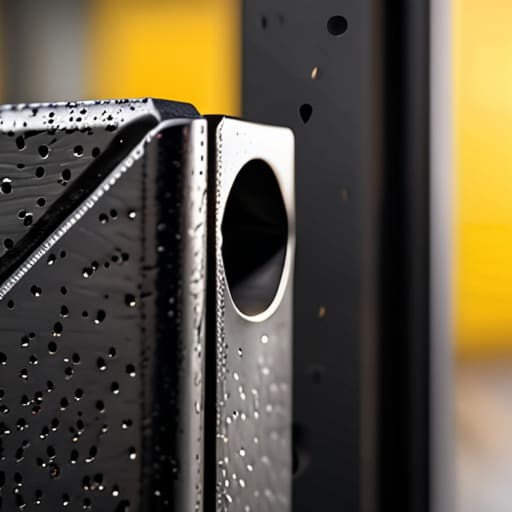
Now, when you’re deciding between powder coating vs liquid finish, you aren’t just picking a color; you’re deciding how much work you want to do five years from now. I’ve seen too many folks opt for a quick spray job on a gate or a bracket, only to watch it flake off and pit before the first winter is through. Powder coating is a different beast entirely. Because it’s applied as a dry powder and then baked in an oven, it creates a much harder, more integrated skin. It’s one of the best industrial metal surface treatments for anyone looking to build something that can actually stand up to the elements without constant babysitting.
Liquid finishes have their place, sure—especially if you’re chasing specific architectural metal patina techniques to give an old piece some character. But if your goal is strictly preventing metal oxidation in a harsh environment, the thickness and durability of powder just can’t be beat. If you skimp on the coating type now, you’re essentially signing a contract to sand and repaint that piece every few seasons. In my shop, we choose the finish based on the job’s lifespan, not the cheapest price tag.
The Truth About Industrial Metal Surface Treatments
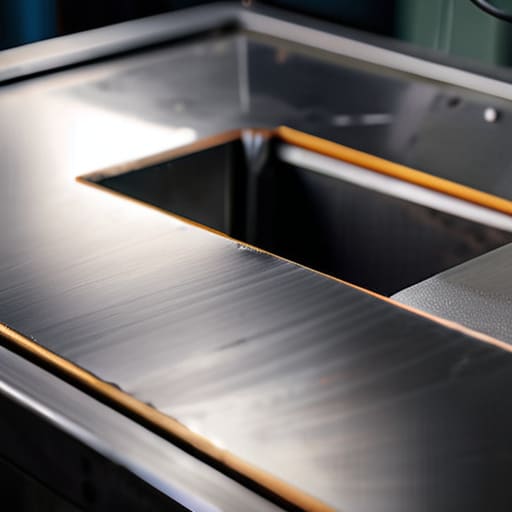
Now, if you’re looking at a piece of hardware and wondering why it’s holding up better than the last one you bought, you’re likely looking at the difference between a cheap spray and actual industrial metal surface treatments. In my years in the shop, I’ve seen too many folks try to slap a coat of paint over pitted steel and call it a day. That’s a fool’s errand. If you want something that can stand up to the elements without turning into a pile of rust in six months, you have to look at how the surface was treated at a molecular level.
One of the most reliable ways I’ve seen to handle this is through various electroplating processes for metal. It isn’t just about making a piece of brass or steel look shiny; it’s about creating a sacrificial or protective barrier that stays bonded to the substrate. Whether you’re looking at the deep, controlled colors of anodizing metal hardware benefits or a heavy-duty zinc plating, the goal is the same: stopping the environment from getting to the base metal. If you don’t respect the chemistry behind these treatments, you’re just delaying the inevitable decay.
Five Rules to Keep Your Finish from Failing
- Never skip the prep work; if you try to paint or coat over rust, grease, or even a bit of fine dust, that finish is going to peel off before you’ve even finished your coffee.
- Sanding isn’t just for aesthetics, so use a medium grit to knock down the burrs and high spots before you apply any coating, otherwise you’re just sealing in imperfections that will eventually catch moisture.
- Watch your temperature like a hawk, because if you’re using a heat-based cure and you rush the oven, you’ll end up with a brittle finish that cracks the first time it hits a cold morning.
- Don’t be stingy with your primer; a good, heavy-duty primer is the only thing standing between your bare metal and the slow creep of oxidation.
- Test your finish on a scrap piece of the same material first, because every alloy reacts a little differently to chemicals and heat, and it’s better to ruin a piece of junk than a finished project.
The Bottom Line on Doing It Right
Stop looking for the fastest way to get a shine; a finish is only as good as the prep work you did before the first drop of coating ever touched the metal.
Choose your treatment based on what the piece actually does—don’t use a decorative liquid finish on a tool that’s going to be living in a damp workshop or out in the rain.
Invest in quality materials from the start, because if you try to save a few dollars on cheap coatings now, you’ll end up spending twice as much on labor to strip and redo it when it starts peeling in six months.
## The Cost of a Quick Fix
You can spend all day making a piece of hardware look pretty, but if you haven’t respected the surface prep and the chemistry of the finish, you’re just painting over a lie that’s going to peel off the first time it sees real work.
Alistair Fenwick
Making the Right Call for the Long Haul
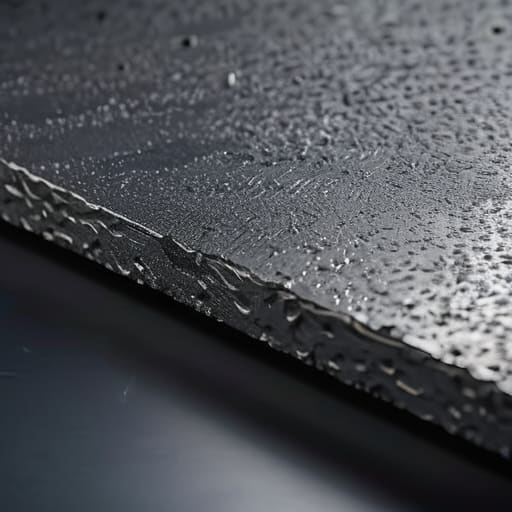
At the end of the day, choosing between powder coating, liquid finishes, or heavy-duty industrial treatments isn’t about what looks prettiest in a catalog; it’s about understanding the environment your metal is going to live in. If you’re working on something that’s going to sit out in the salt air or take a beating in a workshop, you can’t afford to cut corners on the prep work or pick the cheap, thin option just to save a few bucks. You’ve got to match the treatment to the task, ensuring that the bond between the coating and the substrate is unbreakable. If you don’t respect the chemistry of the finish and the grit of the surface preparation, you’re just setting yourself up to peel and flake it all off again in six months.
I’ve seen too many folks throw away perfectly good steel because they didn’t bother to finish it right the first time. My advice is simple: stop looking for the fastest way out and start looking for the right way through. There is a deep kind of satisfaction that comes from finishing a piece of hardware and knowing that fifty years from now, it’ll still be holding its integrity. Take the extra time to sand the edges, watch your heat, and apply your layers with intention. We aren’t just slapping paint on metal here; we are building things that are meant to endure.
Frequently Asked Questions
How do I know if a piece of hardware has been properly prepped before the finish was applied, or if they just painted over the grit?
You can tell by running your hand over it—if you feel any bumps, pits, or a texture like sandpaper under the finish, they skipped the prep. A proper finish should feel smooth as glass, not like you’re touching a grit-covered surface. Also, look at the edges. If the coating looks thick and rounded or “bloated” in the corners, they’ve likely just masked up a mess instead of cleaning the metal down to the bone.
If I'm restoring an old tool, should I try to match the original factory finish or just go with whatever's most durable for modern use?
Look, if you’re working on a piece with real history, try to respect the original finish. There’s a soul in an old tool that you lose if you slap a thick, modern coating over it. However, if that tool is actually going to see hard work in your shop, prioritize durability. A tool you can’t use because the finish is too delicate isn’t a tool—it’s a museum piece. Find a middle ground.
Is there a way to tell if a cheap powder coating is going to flake off in a year, or is that something you can only find out after the damage is done?
You can usually tell by looking at the edges and the “feel” of the piece. Cheap powder coating often looks thick and gummy, like it was just slapped on rather than baked in. If you see unevenness around the corners or if the surface feels slightly tacky even when dry, that’s a red flag. Most importantly, check the prep work; if the metal underneath isn’t perfectly clean, that coating is a ticking time bomb.
