I was clearing out a neighbor’s garage last summer when I found a Lodge skillet buried under a pile of rusted garden tools, looking more like a hunk of scrap metal than something meant for a kitchen. Most folks would’ve seen that pitted, flaky mess and told me to toss it in the bin, but I saw something else. People think cast iron restoration is some kind of magic trick involving expensive chemical baths or high-tech sprays, but the truth is much simpler and a whole lot more honest. You don’t need a chemistry degree; you just need a bit of elbow grease and the patience to respect the material you’re working with.
In this guide, I’m going to walk you through the actual process of bringing that old iron back to life, from stripping away the decades of burnt-on gunk to building a seasoning that’ll last another fifty years. I won’t be feeding you any of that modern, “quick-fix” nonsense that leaves your pan smelling like chemicals. Instead, I’ll show you how to handle the heat and the steel so you can build something that lasts. We’re going to do this the right way—the slow way—because shortcuts are just a recipe for wasted time and ruined metal.
Table of Contents
Guide Overview
Tools & Supplies
- Steel wool or abrasive pad for scrubbing rust
- Oven for seasoning process
- Lint-free cloth for buffing
- Cast iron conditioner or vegetable oil (1 small bottle)
- Baking soda or mild dish soap (1 box/bottle)
Step-by-Step Instructions
- 1. First things first, you need to get that old junk off the pan. If you’ve got crusty, burnt-on food or layers of old, flaking seasoning, don’t bother with a gentle scrub. Grab a stiff wire brush or some coarse steel wool and get to work. If the buildup is particularly stubborn, you might need to soak it in a bit of warm, soapy water for an hour, but don’t let it sit overnight. Cast iron is porous, and if you leave it soaking too long, you’re just inviting rust to take root in the grain.
- 2. Once the heavy debris is gone, it’s time to tackle the rust. This is where most folks get impatient and start using harsh chemical strippers that do more harm than good. Instead, I prefer using a bit of fine-grit sandpaper or a scouring pad with some salt and a little oil. You want to rub until you see the true color of the metal underneath. It’ll be a dull, matte grey. If you see pits in the iron, don’t panic; that’s just character, but you need to make sure those pits are clean and smooth to the touch.
- 3. After you’ve scrubbed away the rust, you have to get that piece bone-dry. This is a critical step that people always overlook. I usually put the pan on a warm burner for a few minutes just to drive the moisture out of the pores. If you leave even a microscopic film of water on that iron, it’ll start rusting again before you even get your oil on it. Keep it moving and keep it dry.
- 4. Now, we get to the seasoning. Don’t go grabbing a fancy olive oil or some expensive butter from the pantry; you’ll just end up with a sticky, gummy mess. You want a high-smoke-point oil, like grapeseed or even a plain flaxseed oil. Apply a very thin layer over the entire surface—inside, outside, and even the handle. The trick here is to take a clean rag and wipe almost all of it off. You aren’t painting the pan; you’re just leaving a microscopic film. If it looks wet, you’ve used too much.
- 5. Slide that pan into a preheated oven. Set it to about 450°F (or whatever your oil’s smoke point dictates) and leave it there for an hour. I like to place the pan upside down on the middle rack to prevent any oil from pooling in the bottom. You’re looking for the oil to polymerize, which means it’s turning into a hard, plastic-like coating that’s bonded to the metal. Patience is your best tool here; don’t go peeking every ten minutes.
- 6. Once the hour is up, turn the oven off but leave the pan inside to cool down slowly. Rushing the cooling process can cause thermal shock, and while cast iron is tough, it isn’t invincible. Once it’s completely cool, take it out and give it a quick inspection. If it looks dull and black, you’re on the right track. If it looks blotchy, you might need to repeat the oiling and baking process one more time. It’s better to do it right twice than to do it wrong once.
Removing Rust From Cast Iron Without Rushing the Metal
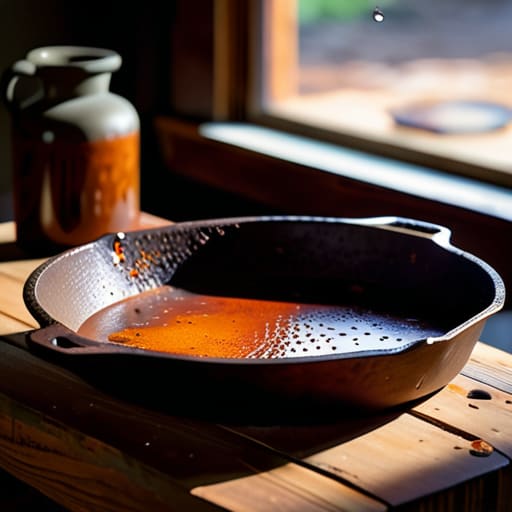
Now, when you get down to the actual business of removing rust from cast iron, most folks make the mistake of getting aggressive too fast. I’ve seen people grab a heavy-duty steel wool pad and start scrubbing like they’re trying to strip paint off a fence. If you go too hard with coarse abrasives right out of the gate, you risk gouging the base metal or thinning out the pan where it needs to be thickest. I prefer starting with a gentle soak in a mild vinegar solution—just enough to loosen the oxidation without eating into the good iron. You want to work with the rust, not fight it.
Once that surface grit is gone, you need to be mindful of what comes next. If you leave the metal bare for too long, you’re just inviting the air back in, which leads straight to preventing cast iron oxidation becoming a losing battle. As soon as the surface is clean and dry, get it back on the heat. Don’t let it sit on the workbench collecting dust; that’s how you end up right back where you started. Patience here pays off in the long run.
Restoring Vintage Cookware to a Lifetime of Service
Once you’ve finished the heavy lifting of removing rust from cast iron, you’re standing at a crossroads. You can either treat it like a chore or treat it like a revival. I’ve always found that the real magic happens during the cast iron seasoning process. It’s not just about slapping some oil on and tossing it in the oven; it’s about building layers of protection, one thin coat at a time. If you go too heavy on the oil, you’ll end up with a sticky, gummy mess that’s more trouble than it’s worth. I tell my apprentices the same thing: thin coats are the secret to a hard, non-stick finish.
When you’re deciding on your medium, you’ll hear folks arguing over flaxseed oil vs grapeseed oil for seasoning. Now, don’t get caught up in the internet debates. In my shop, I prefer grapeseed because it has a higher smoke point, which means you can get that heat up high enough to truly polymerize the oil without it smoking like a chimney and filling your garage. Regardless of what you pick, the goal is simple: create a barrier that keeps moisture away. If you take the time to do this right, you aren’t just cleaning a pan; you’re ensuring that piece stays in your kitchen for the next fifty years.
Five Rules to Keep You from Ruining a Good Piece of Iron
- Stop using steel wool for everything; it’s too aggressive and can strip away the good seasoning you’ve spent months building up. Stick to a stiff nylon brush or a bit of coarse salt and a rag if you’re just cleaning up surface grime.
- Watch your temperature like a hawk during the seasoning phase. If you crank the oven too high too fast, you’ll burn the oil instead of bonding it to the metal, and you’ll end up with a sticky, blackened mess that peels off the moment it gets wet.
- Never, and I mean never, let a piece of iron sit damp in the sink. Even a few minutes of moisture can start the oxidation process, and you’ll be right back where you started with rust spots. Dry it immediately on a warm burner if you have to.
- Don’t get greedy with the oil. A common mistake I see is people slathering the pan in grease thinking it’ll make it better. You want a microscopic layer—wipe it on, then wipe it all back off until it looks like there’s nothing there at all.
- Be patient with the seasoning process. You can’t force a deep, non-stick patina in a single afternoon. It takes multiple thin layers and several heat cycles to build a foundation that actually lasts a lifetime.
The Bottom Line on Keeping Your Iron Alive
Never trade quality for speed; whether you’re scrubbing rust or applying oil, rushing the process is the quickest way to strip the metal down to nothing.
Invest in your tools and your skills rather than buying cheap replacements, because a well-maintained piece of vintage iron will outlast anything you find in a modern big-box store.
Treat every piece of cookware with respect, and if you take the time to do the job right the first time, you won’t have to do it again for the rest of your life.
## The Soul of the Iron
“A piece of cast iron isn’t just a tool; it’s a record of every meal cooked and every hand that’s tended it. When you strip away the rust, you aren’t just cleaning metal—you’re respecting the history of the object and ensuring it survives long after we’re gone.”
Alistair Fenwick
The Long Game
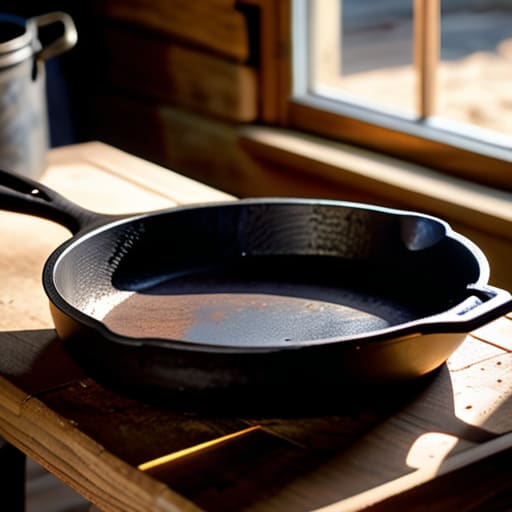
At the end of the day, restoring a piece of cast iron isn’t about chasing a shiny finish or making it look like something you pulled off a department store shelf. It’s about the work you put in—cleaning out that deep-seated rust, being patient with the heat, and applying that seasoning layer by layer until the metal finally takes to it. If you’ve followed these steps, you haven’t just cleaned a pan; you’ve stabilized the material and prepared it to handle another fifty years of heavy use. Remember, the goal isn’t to finish quickly, but to do it right so you never have to do it twice.
There’s a certain kind of satisfaction that comes from holding a tool or a skillet that you saved from the scrap heap. In a world that seems determined to throw everything away the moment a little oxidation shows up, taking the time to repair what you own is a quiet act of rebellion. It’s about respect—respect for the raw material and respect for the hands that forged it. Don’t let the modern habit of “disposable living” get into your head. Pick up your tools, keep your workspace tidy, and build things to last.
Frequently Asked Questions
Is it worth the effort to strip a pan down to the bare metal if the rust is just on the surface, or am I risking the integrity of the iron?
If it’s just surface rust, don’t go pulling out the heavy abrasives and stripping it down to the bone. You’ll end up losing that hard-earned seasoning that actually protects the pores of the iron. Just get a stiff brush or some fine steel wool and work that spot out gently. If you strip it too deep, you’re just creating more work for yourself and thinning out the metal for no good reason. Keep it simple.
How do I know when I've gone too far with the abrasive and started thinning out the metal itself?
You’ll feel it in your hands before you see it with your eyes. When you’re working an abrasive, the resistance changes; the metal starts to feel “soft” or hollow under the grit. If you notice the surface losing its characteristic texture and becoming unnaturally thin or translucent in spots, stop immediately. You aren’t just removing rust anymore—you’re eating into the structural integrity. Take a breath, switch to a finer grit, and work with more patience.
If I've already messed up a seasoning attempt and the pan looks blotchy, do I have to start the whole scrubbing process over from scratch?
Look, don’t panic. You haven’t ruined the pan, you’ve just had a bit of a setback. If it’s just blotchy seasoning—meaning the oil didn’t bond right or you applied it too thick—you don’t need to go back to the heavy scrubbing stage. Just give it a good wash with warm water and a stiff brush to strip that uneven layer, dry it completely, and try again. Just remember: thin layers, every single time.
