I can still smell the burnt ozone and hot cutting oil from my first real job in the fabrication shop back in ’82. I remember watching a young apprentice try to muscle a heavy piece of mild steel through a machine he didn’t quite trust, forcing the feed rate just to get the job done faster. He ended up with a snapped bit, a ruined workpiece, and a look of pure frustration that I’ve seen a thousand times since. Most folks today think proper drill press usage is just about flipping a switch and pushing down, but they’re missing the point entirely. If you don’t respect the relationship between the spindle speed and the material, you aren’t working; you’re just gambling with your equipment.
I’m not here to sell you on some fancy, computerized setup or a thousand-dollar digital readout that you’ll never use. My goal is to pass on the kind of straightforward, grit-under-the-fingernails knowledge that only comes from forty years of making mistakes so you don’t have to. I’m going to show you how to listen to the machine, how to set your speeds correctly, and how to ensure every hole you drill is clean, true, and done right the first time.
Table of Contents
Choosing the Right Drill Bit Selection for Metal
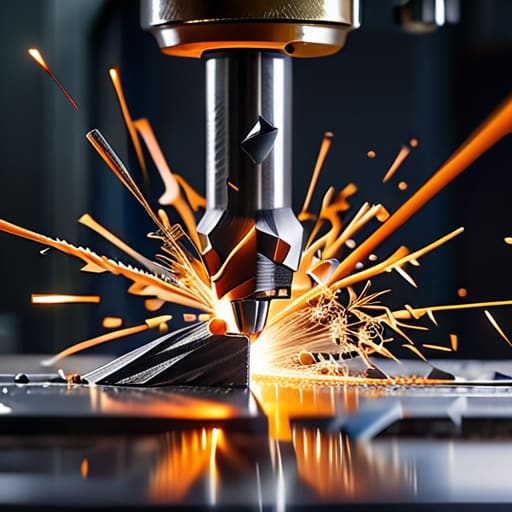
Now, don’t go thinking you can just grab whatever dusty bit is sitting in the bottom of your toolbox and expect a clean hole. If you’re working through steel or aluminum, your drill bit selection for metal is the difference between a precise bore and a snapped bit that’s going to ruin your afternoon. I always tell my apprentices to stick with High-Speed Steel (HSS) at a minimum, but if you’re tackling harder alloys, you’d be a fool not to invest in Cobalt. They hold their edge much longer when things start getting hot.
Once you’ve picked your bit, you have to respect the physics of the cut. You can’t just jam a large bit into a thick plate at high speed; you’ll burn the tip before you even make a dent. You need to dial in your drill press speed settings properly—slow and steady for the big diameters, and a bit more pace for the smaller ones. If you don’t find that sweet spot where the chip is coming off clean and the heat is manageable, you’re just wasting material and shortening the life of your tools.
Finding the Correct Drill Press Speed Settings
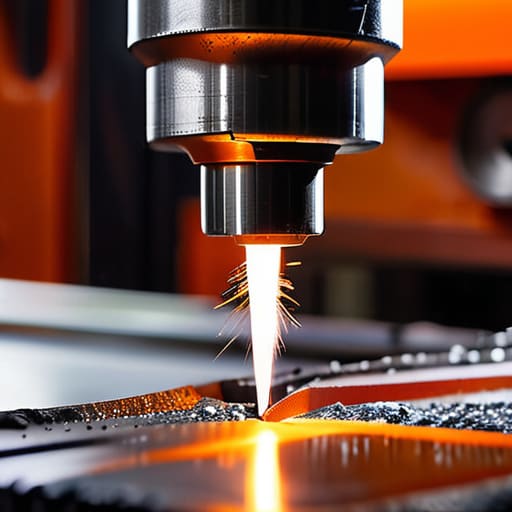
Now, once you’ve got your bit in hand, you have to talk about the most common mistake I see in shops these days: running the machine too fast. There’s a simple rule of thumb I’ve lived by for forty years: the bigger the bit and the harder the metal, the slower you need to go. If you’re running a small pilot bit through some mild steel, you can crank the speed up a bit, but if you’re pushing a large diameter hole cutter, you better dial that belt down to a crawl. If you see smoke or smell that acrid, burnt scent, you’ve already messed up. You’re rubbing the metal instead of cutting it, and you’re going to burn the temper right out of your tool.
Getting your drill press speed settings dialed in correctly is just as much about the tool’s longevity as it is about the finish of the hole. I’ve seen plenty of youngsters try to muscle through a thick plate at high RPMs, only to end up with a dull bit and a ruined workpiece. It takes a bit of patience to find that sweet spot where the chips are coming off clean and consistent, but that’s the difference between a hack and someone practicing real machinist drilling techniques. Slow down, listen to the machine, and let the steel tell you if you’re pushing too hard.
Five Ways to Stop Ruining Your Work and Your Bits
- Clamp your workpiece down tight. I’ve seen too many young fellas try to hold a piece of steel with one hand while they drill with the other; if that bit catches, that metal is going to spin like a propeller and take a finger with it. Use a vise or clamps, every single time.
- Use plenty of cutting oil. You aren’t just drilling a hole; you’re managing friction and heat. If you see smoke or the bit starts turning blue, you’re doing it wrong. A steady drip of oil keeps the temperature down and keeps your edge sharp for the next job.
- Don’t force the feed. Let the machine do the heavy lifting. If you have to lean your entire body weight onto the handle just to get the bit to bite, you’re either using the wrong speed or your bit is dull. A good cut should feel steady and consistent, not like a struggle.
- Clear the chips frequently. Don’t let those metal shavings pile up in the hole or around the bit. Stop the machine, pull the bit out, and clear the debris. If you let them pack in there, they’ll clog the flutes, build up heat, and eventually snap your bit clean off.
- Check your depth before you commit. If you’re drilling halfway through a piece, mark your stop point or use a depth stop. There’s nothing more frustrating than punching through the bottom of a workpiece and realizing you’ve just dented your drill press table or ruined a perfectly good bit.
The Bottom Line Before You Pull the Lever
Stop treating your drill bits like they’re disposable; pick the right material for the job and keep them sharp, or you’ll just be burning through money and steel.
Respect the speed—if you’re drilling through hard metal and you hear that high-pitched scream, you’re going too fast and you’re going to ruin the temper of your bit.
Slow down and steady your hand; a drill press is a precision tool, not a way to rush through a job, so take the time to secure your workpiece properly before you start.
## The Cost of Rushing
“A drill press isn’t a toy to be wrestled into submission; it’s a precision tool that demands respect. If you try to force a bit through a piece of steel with nothing but brute strength and a sense of urgency, you aren’t working—you’re just making expensive scrap metal.”
Alistair Fenwick
Final Thoughts Before You Pull the Lever
At the end of the day, mastering the drill press comes down to the fundamentals we’ve covered: picking a bit that actually belongs in the metal you’re working, and setting your speeds so you aren’t burning through your tool life in a single afternoon. If you rush the setup or ignore the friction, you’re just asking for a snapped bit or a ruined workpiece. Remember, it’s not about how fast you can clear a hole through a plate; it’s about respecting the physics of the cut. Take the extra minute to check your measurements and secure your workpiece properly. If you do that, you’ll find that the machine works with you rather than against you, and you won’t be left cleaning up wasted scrap metal at the end of the shift.
I’ve seen plenty of youngsters try to muscle their way through a job by forcing the handle, but that’s a quick way to learn a hard lesson in frustration. Real skill is found in the steady, controlled movements and the patience to let the machine do the heavy lifting. When you take the time to dial in your settings and listen to the sound of the cutting edge, you aren’t just making a hole—you’re practicing a craft. Keep your workspace clean, keep your bits sharp, and never settle for a job that’s “good enough” when you know it could be precise. That’s how you build things that actually last.
Frequently Asked Questions
How do I stop the workpiece from spinning wildly if the bit catches?
Listen, if that bit catches and your workpiece starts spinning, you’re one second away from a trip to the emergency room. Don’t rely on your hands to hold it steady; that’s how fingers get lost. Use a drill press vise or heavy-duty clamps to bolt that metal down to the table. If the piece is too big for a vise, use C-clamps and a sacrificial block of wood. Secure it tight, or don’t bother drilling at all.
What’s the best way to keep the drill bit from overheating when I'm working with thicker steel?
If you’re drilling through thick steel, you can’t just let that bit run dry and hope for the best. You need to use cutting oil—don’t skimp on it. Keep a steady flow of oil right at the point of contact to pull the heat away. If you don’t have a dedicated oiler, even a bit of heavy grease or motor oil will do. Slow your speed down, keep the pressure constant, and let the tool do the work.
How can I tell if my drill press table is actually level before I start cutting into a good piece of material?
Don’t just eyeball it and hope for the best; that’s how you end up with a hole that’s skewed right from the start. Grab a decent machinist’s level—not one of those plastic ones from the hardware store—and check the table on both the X and Y axes. Once you’ve got that, use a square to make sure the table is perpendicular to the column. If it’s even a hair off, fix it now.
