I remember standing in a fabrication shop back in ’84, watching a young apprentice trip over a tangled mess of welding leads and scrap pile just to reach a grinder. The shop was a disaster, a chaotic jumble of expensive machinery that had been shoved into corners without a second thought. People think they need a massive warehouse and a bank loan to get started, but a proper metalworking workshop layout isn’t about how much floor space you own; it’s about how much respect you show your workflow. If you’re constantly fighting your own environment just to move a piece of steel from the anvil to the bench, you aren’t crafting—you’re just wrestling with clutter.
I’m not here to sell you on some fancy, high-tech organizational system that looks good in a magazine but fails the moment you strike an arc. What I’m going to give you is the straight truth, built on forty years of grease, grit, and trial by fire. We’re going to look at how to arrange your space so that every tool has its place and every movement makes sense. I’ll show you how to design a workspace that works for you, ensuring that your shop remains a place of precision and purpose rather than a headache waiting to happen.
Table of Contents
Mastering Industrial Workshop Workflow Optimization
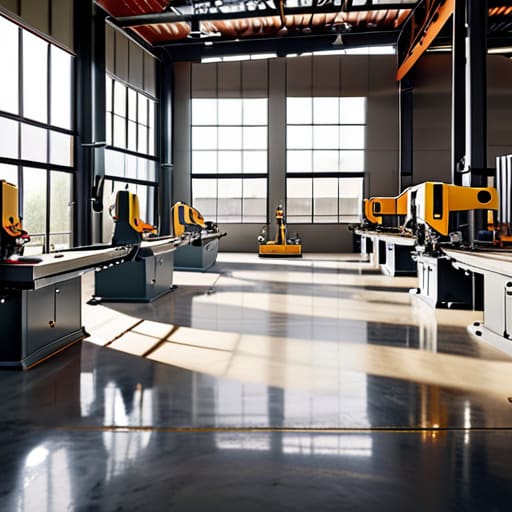
When you start looking at industrial workshop workflow optimization, don’t just think about where the machines sit; think about how the material moves. I’ve seen too many young fellas walk a six-foot piece of steel back and forth across a cluttered room just to get it from the saw to the welder. That’s not just exhausting; it’s how accidents happen. You want to set up your metal fabrication shop floor plan in a logical sequence—cutting, then prepping, then joining, and finally finishing. If you find yourself fighting the weight of the metal just to get to the next station, your layout is working against you, not with you.
You also can’t ignore the invisible boundaries. I always tell my consultants that safety zones in metalworking shops aren’t just suggestions written in a manual; they are the difference between a productive day and a trip to the ER. Keep your grinding sparks away from your flammable gases and ensure your heavy machinery has enough breathing room so you aren’t tripping over cables. A well-organized shop respects the rhythm of the work, letting you focus on the heat and the hammer rather than the clutter at your feet.
Strategic Machinery Placement for Metalworking
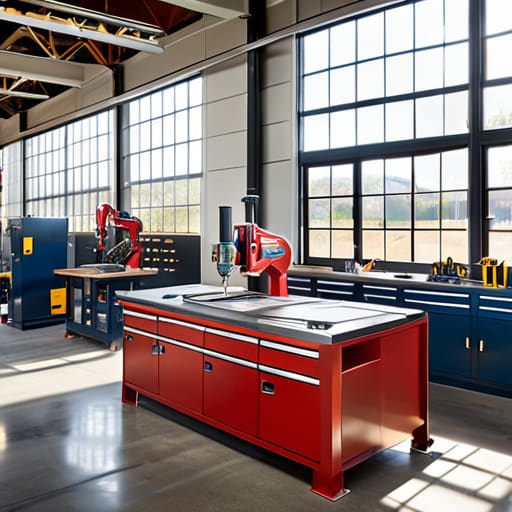
When you’re deciding where to bolt down that heavy drill press or position your welder, don’t just look at the floor space available; look at the movement of the material. You need to think about the weight and the “swing” of your tools. I’ve seen too many fellas set up a grinder right next to a pile of flammable rags because they wanted to save a few feet of walking. Proper machinery placement for metalworking means keeping your heaviest, most stationary equipment on a solid, level foundation, but ensuring you have enough clearance to move a long piece of steel without catching a corner on a workbench.
You also can’t ignore the invisible boundaries. Every machine has its own “danger zone”—the area where sparks fly, metal chips scatter, or a heavy workpiece might shift unexpectedly. I always mark out clear safety zones in metalworking shops to ensure that if you’re operating a lathe, you aren’t standing in a spot where a colleague might trip over a power lead. It’s about creating a rhythm where the machine works for you, rather than you constantly dancing around it just to stay out of harm’s way.
Five Rules for a Shop That Works With You, Not Against You
- Keep your heavy hitters near the center of gravity. If you’ve got a heavy anvil or a large drill press, don’t tuck them into a corner where you’ll be fighting gravity and floor space just to get a piece into position. You want your heaviest, most used equipment where you can pivot around it without tripping over a scrap bin.
- Respect the “Sparks and Dust” zones. I’ve seen too many young fellas set up their grinding station right next to their precision measuring bench. You’ll end up with grit in your calipers and metal shavings in your fine finishes. Keep your dirty work—the grinding, cutting, and welding—isolated from your clean work, like assembly or final polishing.
- Light the work, not just the room. A dim shop is a dangerous shop. You need bright, focused task lighting directly over your welding table and your vise. If you’re squinting to see a hairline crack or a weld bead, you’re asking for a mistake, and in this trade, mistakes cost more than just time; they cost material.
- Map out your “Walkways of Necessity.” You shouldn’t have to dance around a pile of steel tubing just to get from the welder to the bench. Leave enough room to move a long piece of material without hitting a wall or a machine. If you’re constantly shimmying sideways, your layout is broken.
- Organize your consumables by reach. Don’t make yourself walk across the shop every time you need a fresh grinding disc or a new electrode. Keep your most frequent consumables in a drawer or a rack within arm’s length of the machine they belong to. A shop should be an extension of your hands, not a marathon track.
Lessons from the Shop Floor
Map your workflow before you bolt anything down; if you have to walk across the entire shop just to grab a grinder after a weld, you’re wasting energy and losing your rhythm.
Respect the zones of heat and spark by keeping your welding stations clear of flammable clutter and ensuring your heavy machinery has enough breathing room to be serviced.
Build for the long haul by investing in sturdy, permanent workstations rather than flimsy setups, because a shop that’s easy to clean and organize is a shop that stays productive.
The Flow of the Shop
A shop isn’t just a collection of expensive machines; it’s a circuit. If you don’t lay out your workspace to follow the natural path of the metal—from the raw stock to the forge, then to the anvil, and finally to the bench—you’ll spend more time fighting your own floor than you will shaping your work.
Alistair Fenwick
Final Thoughts on Your Workspace
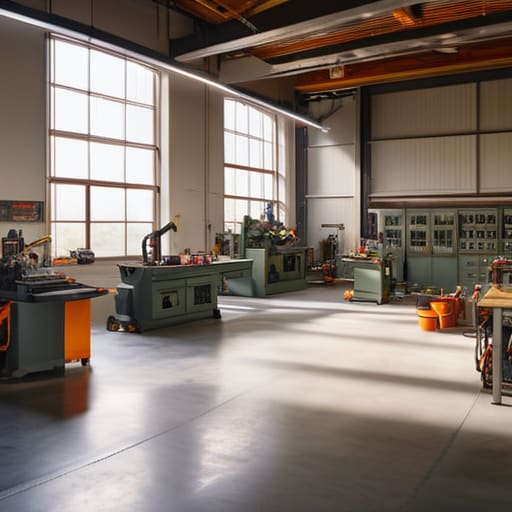
At the end of the day, a good workshop layout isn’t about having the most expensive floor mats or the flashiest tool chests; it’s about the logic of your movement. You’ve looked at how to optimize your workflow, where to anchor your heavy machinery, and how to keep your aisles clear enough to actually move a workpiece without tripping over a lead. If you’ve done this right, your shop should feel like an extension of your own hands. Remember, a cluttered floor leads to a cluttered mind, and in this trade, a momentary lapse in focus is often the difference between a clean weld and a trip to the emergency room. Keep your heavy hitters close to the power, your consumables within arm’s reach, and always leave yourself enough room to breathe and work.
Building a shop is a lot like any other fabrication project: it’s an iterative process. You might find that after a month of heavy grinding or welding, you wish that anvil was six inches to the left or that your bench was a bit higher. That’s alright. Don’t be afraid to adjust, move things around, and refine the space as your skills grow. A workshop shouldn’t be a static museum; it should be a living, breathing environment that evolves alongside your craft. Build it with intention, maintain it with discipline, and treat your tools with the respect they deserve. If you take the time to lay the foundation correctly, you won’t just be making parts—you’ll be mastering the environment that makes the work possible.
Frequently Asked Questions
How do I balance the need for heavy machinery placement with the necessity of keeping a clear path for moving long pieces of stock?
That’s the million-dollar question in any tight shop. You can’t have your heavy press sitting right in the middle of your main artery, or you’ll be fighting a battle every time a new length of steel arrives. I always tell folks to designate a “primary transit lane”—keep it wide enough for your longest stock to pivot without clipping a workbench. Position your heavy hitters against the perimeter, but leave enough clearance to swing the doors.
What’s the best way to set up a dedicated welding station so I’m not constantly fighting sparks or fumes in the middle of my fabrication area?
Don’t just stick your welder in a corner and hope for the best. You need to carve out a dedicated zone, ideally near a large roll-up door or a high-CFM extraction fan. Position your welding table so the airflow pulls fumes away from your face, not into it. Keep your grinding area separate if you can—you don’t want a cloud of grit settling on your fresh welds or your lungs. Build a workspace that respects your health.
How much floor space should I actually set aside for a workbench versus the area needed for my grinders and drill press to prevent a cluttered mess?
Don’t get greedy with your workbench size just because you want a massive surface. A workbench should be your anchor, but if it swallows the room, you’ll be tripping over your own feet. I usually budget about 30% of my usable floor for the bench itself. Leave a wide, clear radius around your grinders and drill press—enough to move your body and clear away sparks or swarf without bumping into your primary workspace.
