I remember standing in a fabrication shop back in ’84, staring at a workbench that looked more like a scrap heap than a professional station. I spent forty minutes hunting for a specific set of calipers while a client waited, and the heat of that frustration burned worse than a stray spark from the grinder. Most folks think workshop tool organization means buying those flashy, plastic modular bins or those expensive, color-coded pegboard kits you see in the glossy catalogs. Let me tell you something: those gadgets are just expensive distractions that’ll break the first time you drop a heavy wrench on them.
I’m not here to sell you on a lifestyle brand or a way to make your garage look pretty for a social media post. My goal is to show you how to set up a workspace that actually respects the tools you’ve worked hard to earn. I’ll be sharing the same principles I used in heavy industrial shops—methods built on utility and accessibility rather than aesthetics. We’re going to talk about creating a system that works with your hands, ensuring that when you reach for a tool, it’s exactly where it ought to be.
Table of Contents
- Mastering Shadow Board Tool Layout for Long Term Utility
- Maximizing Small Workshop Space Without Making a Mess
- Five Rules for a Shop That Works as Hard as You Do
- The Bottom Line for a Productive Shop
- The True Cost of a Messy Bench
- Final Thoughts on a Workspace Built to Last
- Frequently Asked Questions
Mastering Shadow Board Tool Layout for Long Term Utility
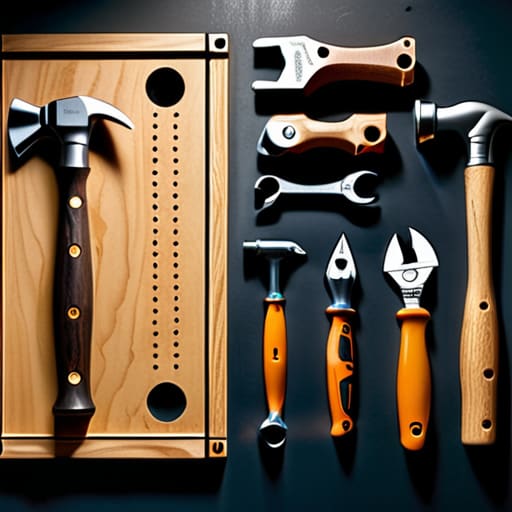
Now, if you’re serious about keeping a shop running smooth, you need to move past those flimsy plastic bins and look into a proper shadow board tool layout. I’ve seen too many young fellas waste half their working day just hunting for a 10mm socket or a specific ball-peen hammer. When you outline the shape of your tool directly onto the board, you create a visual language that doesn’t require a manual. If there’s an empty silhouette staring back at you, you know immediately that something isn’t where it belongs. It’s about instant recognition, not just making things look pretty for a magazine spread.
Don’t go overboard with fancy pegboard organization ideas that rely on flimsy hooks; they’ll snap the moment you hang a heavy set of calipers or a mallet. I prefer using thick plywood or even pegboard reinforced with steel backing for the heavier gear. You want to design the layout around your workshop workflow optimization, placing the tools you reach for every ten minutes right at eye level. If you’re constantly walking across the room to grab a file, you’re losing your rhythm, and in my experience, losing your rhythm leads to mistakes.
Maximizing Small Workshop Space Without Making a Mess
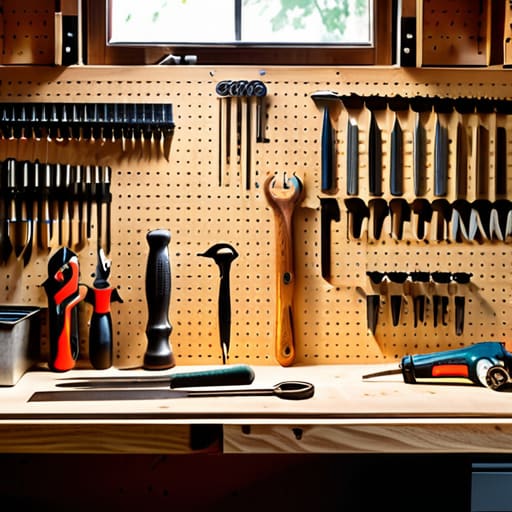
When you’re working out of a cramped corner or a small garage, you can’t afford to let clutter dictate your movement. I’ve seen too many fellas lose their temper because they spent twenty minutes digging through a junk drawer just to find a 10mm wrench. If you’re serious about maximizing small workshop space, you need to stop thinking about floor area and start thinking about verticality. Get your tools off the workbench and up onto the walls. Whether you’re using specialized racks or simple pegboard organization ideas, the goal is the same: clear surfaces for actual work.
If your footprint is truly tight, you’ve got to embrace mobile tool storage solutions. I’m a big believer in heavy-duty rolling carts that can be tucked under a bench when the job is done but brought right to your side when you’re mid-weld. A tool that stays on wheels is a tool that doesn’t become an obstacle. Don’t just buy a cabinet because it looks tidy; buy it because it keeps your most essential gear within arm’s reach without tripping you up.
Five Rules for a Shop That Works as Hard as You Do
- Group your tools by the job they do, not just by their size. If you’re about to start a heavy welding project, you shouldn’t have to hunt through a drawer of fine finishing files just to find your clamps; keep your heavy-duty gear together so you aren’t wasting daylight searching for what you need.
- Invest in heavy-duty storage, not flimsy plastic. Those cheap, translucent bins you see at the big-box stores will crack the first time you drop a heavy wrench in them. Get some real steel drawers or solid wooden cabinets—something that can take a beating and still hold its shape after twenty years of use.
- Label everything, but do it for your eyes, not for show. A simple piece of masking tape with a handwritten note on a drawer tells you exactly what’s inside without you having to pry every single compartment open. It’s about knowing where things live so you can get back to the actual work.
- Keep your most-used hand tools within an arm’s reach of your primary workstation. If you find yourself walking across the shop every time you need a screwdriver or a pair of pliers, you’re breaking your rhythm and losing focus. A tool should be right where your hand expects it to be.
- Clean as you go, or you’ll never stay organized. I’ve seen many a young apprentice ruin a perfectly good piece of steel because they left metal shavings or grit on their workbench. Wipe down your surfaces and put your tools back in their spots at the end of every session; a messy bench is a recipe for mistakes.
The Bottom Line for a Productive Shop
Organize for the task at hand, not for how it looks in a magazine; if you can’t reach a tool in three seconds, your layout is working against you.
Invest in heavy-duty storage like shadow boards and sturdy shelving rather than cheap plastic bins that’ll crack the first time you drop a wrench on ’em.
Keep your workspace clear of clutter so you can focus on the metal in front of you, because a messy bench is just a recipe for a ruined project or a lost finger.
The True Cost of a Messy Bench
A disorganized shop isn’t just a headache; it’s a thief that steals your time and your focus. If you’re spending half your afternoon hunting for a specific wrench instead of working the metal, you aren’t a craftsman anymore—you’re just a man looking for his tools.
Alistair Fenwick
Final Thoughts on a Workspace Built to Last
At the end of the day, organizing a workshop isn’t about making a showroom for your neighbors to admire; it’s about respect. Respect for your tools, respect for your time, and respect for the craft itself. Whether you’ve spent the afternoon mapping out a shadow board for your wrenches or finding clever ways to stack your heavy metal stock without cluttering the floor, you’re building a foundation. Remember, a well-placed tool is a tool that’s ready to work when the inspiration strikes, and a clean bench means you won’t be fighting your environment when you should be focusing on the metal. Don’t let the chaos of a messy shop distract you from the precision of the task at hand.
I’ve seen plenty of young fellas come into shops with the newest, flashiest gadgets, only to lose half an hour looking for a single socket because they didn’t bother to give it a proper home. Don’t make that mistake. Take the time to set things up right from the start, even if it feels like extra work. A shop that is organized for utility is a shop that invites you to stay longer and work harder. Build your workspace with the same patience and intention that you use when you’re striking an anvil or filing a bevel. If you build your shop to last, the work you do inside it will carry that same strength and durability.
Frequently Asked Questions
I've got a pile of old, rusted wrenches and mismatched sockets; is it worth the effort to organize them, or should I just get a new set?
Don’t you dare go throwing those in the scrap bin just because they look a bit rough. A new set from a big-box store might look shiny, but it’ll be made of soft metal that strips the moment you put some real torque on it. Take a bit of wire brush and some oil to those wrenches. Once you’ve cleared the rust, sort them by size. A mismatched set is just a puzzle waiting to be solved.
How do I decide which tools need to be right on the wall and which ones can stay tucked away in a drawer or chest?
Look, it’s all about frequency of use. If you’re reaching for a hammer, a set of calipers, or a specific wrench every single time you step up to the bench, those belong on the wall. They need to be within an arm’s reach so you don’t break your rhythm. But those specialty bits—the fine files, the precision gauges, or the heavy sledge you only use once a month—tuck those away in a drawer. Keep the common tools visible, and keep the rest out of your way.
If I'm working in a cramped garage with limited power, how can I organize my heavy machinery so it doesn't take over the whole floor?
If you’re fighting for every inch of floor space, stop thinking about where things “fit” and start thinking about how they move. Get your heavy gear off the ground and onto heavy-duty, locking caster bases. If you can roll a welder or a small drill press out of the way when you’re not using it, you’ve reclaimed your floor. Just make sure those casters are rated for the weight; a collapsing stand is a quick way to ruin a good machine.
