I remember a young apprentice back in ’84 who thought he could save ten minutes by skipping the leak test and just cranking the regulators to max. I watched him struggle with a sputtering, uneven flame for nearly twenty minutes, wasting half a tank of acetylene and nearly scorching the workpiece he was trying to prep. That’s the trouble with folks these days; they think a proper oxyacetylene torch setup is just about turning some knobs and lighting a match. The truth is, if you don’t respect the gas pressures and the connections from the very start, you aren’t working—you’re just gambling with your safety and your materials.
I’m not here to give you some glossy, textbook lecture that doesn’t hold up under real workshop conditions. What I want to do is walk you through the actual, gritty steps of a reliable oxyacetylene torch setup so you can get a clean, steady flame every single time you strike an arc. I’ll show you how to check your lines, how to dial in those regulators without the guesswork, and why patience at the bench is the only way to ensure you aren’t wasting good metal.
Table of Contents
- Step-by-Step Instructions
- Securing Oxygen and Acetylene Hose Connections Without Rushing
- Rigorous Safety Precautions for Gas Welding and Flashback Arrestor Installa
- Five Things I’ve Learned the Hard Way About Getting Your Setup Right
- The Bottom Line: Don't Cut Corners
- ## The Cost of a Quick Setup
- Respect the Setup, Master the Craft
- Frequently Asked Questions
Guide Overview
Tools & Supplies
- Pressure regulator (to control gas flow)
- Flashback arrestor (safety device to prevent flame back)
- Check valve (prevents gas backflow)
- Spanner wrench (to tighten fittings)
- Leak detection solution (soap/water to find leaks)
- Acetylene cylinder (1x)
- Oxygen cylinder (1x)
- Oxyacetylene hoses (1 pair, red and green)
- Torch handle (1x)
- Cutting or welding tip (1x)
Step-by-Step Instructions
- 1. First things first, you need to inspect your regulators and hoses before you even think about cracking a valve. Run your hands along the length of the hoses, looking for any cracks, dry rot, or even tiny nicks from a stray tool. If you see a flaw, don’t try to patch it with electrical tape and hope for the best; replace the hose entirely. A leak under pressure isn’t just a nuisance, it’s a safety hazard you don’t want in your shop.
- 2. Once you’ve verified the gear is sound, mount your cylinders securely in an upright position. I can’t tell you how many times I’ve seen a beginner leave a tank wobbling on a workbench, only to have it tip and shear the valve off. Get those chains tight and make sure the tanks are on a level, stable surface. A falling tank is a projectile you can’t stop once it starts moving.
- 3. Now, open your acetylene tank slowly. You only want to crack that valve open about a quarter or a half-turn. This is what we call a “quick-close” setup; if something goes wrong, you need to be able to shut it down in a heartbeat. Once it’s open, check your regulator gauges to make sure they aren’t jumping around like crazy, which usually means you’ve got a clog or a bad seal.
- 4. Next, attach your torch handle and check your connections. Use a bit of specialized thread sealant if the manual calls for it, but for most oxyacetylene setups, you’re looking at metal-to-metal connections. Tighten them down firmly with a wrench, but don’t overdo it. I’ve seen plenty of young guys snap a fitting because they thought more torque meant more security, and that’s just a waste of good hardware.
- 5. It’s time to introduce the gases. Open the oxygen valve on your regulator first, then the acetylene. You’ll want to set your working pressures according to the thickness of the metal you’re planning to cut or weld. Don’t just guess these numbers; refer to your charts or the specific requirements for your project. If you run too much acetylene, you’re going to get a soot-covered mess and a flame that’s impossible to control.
- 6. Lighting the torch requires a bit of a steady hand. Use a striker—never a cigarette lighter, no matter how much you think you know better—and approach the tip. Open the acetylene valve slightly and strike it until you get a steady, yellow flame. Then, slowly introduce the oxygen. You’ll see the flame change from a smoky yellow to a sharp, blue cone. Watch that inner cone closely; it should be distinct and crisp, not rounded or dancing around.
- 7. Before you start your actual work, do a quick leak test on all your joints. I always keep a bottle of specialized leak-detection solution, or even just a bit of soapy water, handy for this. Brush it over the connections and watch for any growing bubbles. If you see even a single bubble, shut everything down immediately and find the leak. It’s much better to spend ten minutes troubleshooting a connection now than ten minutes fighting a fire later.
Securing Oxygen and Acetylene Hose Connections Without Rushing
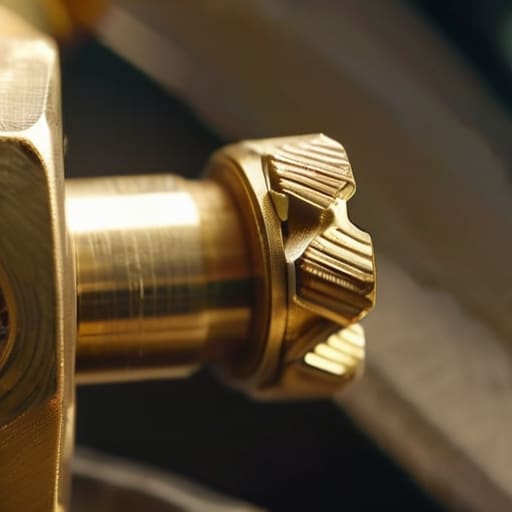
Once you’ve got your tanks upright and ready, the real work begins with the actual oxygen and acetylene hose connection. I’ve seen too many young fellas rush this part, cranking the fittings tight with a wrench before they’ve even checked the threads. Don’t do that. Hand-thread every connection first to make sure you aren’t cross-threading the brass. If it doesn’t turn smoothly by hand, stop immediately. Forcing it is a surefire way to ruin a perfectly good regulator, and that’s an expensive mistake you won’t be able to just “fix” with a bit of sandpaper.
After everything is snug, you need to be thorough about checking for gas leaks. I always keep a bottle of specialized leak detection solution—or even just a bit of soapy water—right by the workbench. Apply it to every single joint and wait a moment. If you see even the smallest bubble forming, you’ve got a problem that needs addressing before you ever think about striking an arc. Never rely on your nose to detect a leak; by the time you smell the acetylene, you’re already playing a dangerous game. Take the extra minute to be certain.
Rigorous Safety Precautions for Gas Welding and Flashback Arrestor Installa
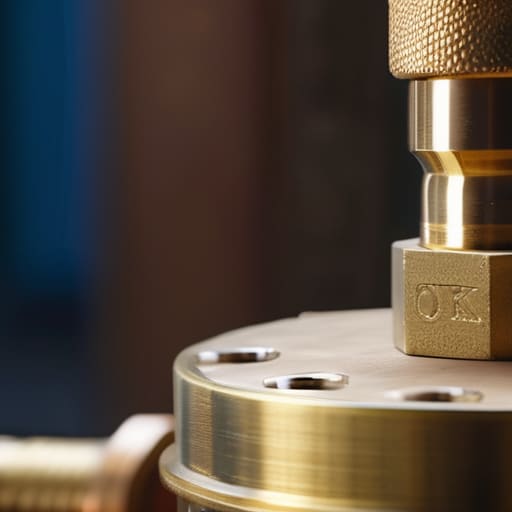
Now, let’s talk about the part that keeps you in one piece: safety. I’ve seen too many young fellas treat gas welding like a casual hobby, but you’ve got to respect the pressure you’re working with. Before you even think about striking an arc or a flame, you need to be thorough with your flashback arrestor installation. Don’t just screw them on and call it a day; make sure they are seated properly on both the regulator and the torch end. These little devices are the only thing standing between a controlled burn and a nasty explosion traveling back into your tanks.
Once you’ve got your gear seated, grab a bottle of soapy water—not a fancy spray, just something that bubbles well—and go around every single oxygen and acetylene hose connection. If you see even the tiniest bubble forming, shut it down immediately. There’s no room for “maybe” when you’re dealing with pressurized fuel. I always tell my apprentices: never rely on your nose to find a leak. If you can’t smell it, you might still be breathing a dangerous mix. Take the extra five minutes to be certain.
Five Things I’ve Learned the Hard Way About Getting Your Setup Right
- Don’t trust those cheap, plastic-looking fittings. If you’re working with high-pressure gas, use solid brass connections and make sure the threads are clean before you even think about tightening them down. A bit of wire brush work on the threads goes a long way.
- Check your hoses for cracks or “dry rot” every single time you pull them out of storage. I’ve seen too many fellas get halfway through a job only to realize their hose is weeping gas like a sieve. It’s a waste of money and a hell of a lot more dangerous.
- Keep your regulators clean and dry. I keep mine in a sealed bin in my shop to keep the dust off. If grit gets into those delicate adjustment screws, you’ll never get a steady pressure, and you’ll spend the whole afternoon fighting the torch instead of doing the work.
- Watch your gauges like a hawk during the initial pressure test. Don’t just crank the valves open and walk away to grab a coffee. Sit there, watch the needles, and listen for any hiss. If the pressure isn’t steady, you haven’t got a setup; you’ve got a liability.
- Organize your workspace so you aren’t tripping over your lines. I keep my tanks secured in a rack and my hoses routed clear of my feet. There’s nothing worse than being in the middle of a delicate weld and having your foot snag a line, jerking the torch right out of your hand.
The Bottom Line: Don't Cut Corners
Treat your gas connections with respect; a loose fitting or a rushed seal isn’t just a nuisance, it’s a hazard that can ruin your entire day.
Never skip the flashback arrestors, no matter how much of a hurry you’re in to get to the work—safety isn’t something you compromise on to save five minutes.
Listen to your equipment and watch your gauges; if something doesn’t feel right or the flame looks off, shut it down and fix it before you move forward.
## The Cost of a Quick Setup
“I’ve seen more ruined projects and wasted gas from a man rushing his setup than from a man who didn’t know what he was doing. If you don’t take the time to listen to your regulators and feel the connections, you aren’t really working; you’re just waiting for something to go wrong.”
Alistair Fenwick
Respect the Setup, Master the Craft
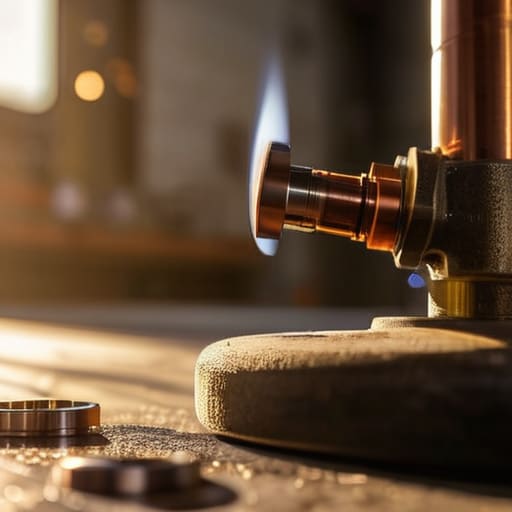
At the end of the day, getting your oxyacetylene torch set up isn’t just about connecting hoses and turning valves; it’s about establishing a foundation of control. If you’ve checked your regulators, secured those connections tight, and verified that your flashback arrestors are seated properly, you’ve done the heavy lifting. Don’t let the urge to start cutting or heating make you cut corners on the inspection. I’ve seen more ruined projects and wasted gas from a sloppy setup than from a shaky hand during the actual weld. Remember, a steady flame starts with a steady preparation, and taking those extra five minutes to double-check your pressure settings is the difference between a clean bead and a dangerous mess.
There is a certain kind of satisfaction that comes from working with a kit that you know is tuned exactly to your needs. When you stop treating your tools like disposable gadgets and start treating them like an extension of your own hands, the work changes. You aren’t just melting metal; you are participating in a tradition of true craftsmanship that demands respect. So, wipe the dust off your goggles, check your gauges one last time, and step up to the bench. You have the tools and you have the knowledge—now go out there and make something that’s actually worth keeping.
Frequently Asked Questions
How do I know if my regulators are actually holding pressure or if I've got a slow leak somewhere in the lines?
The easiest way to catch a leak is the old soap-and-water trick. Mix a bit of dish soap with water in a spray bottle and coat your connections and the regulator gauges. If you see bubbles growing like tiny balloons, you’ve found your culprit. If the gauges stay steady after you shut the tanks off, your regulators are holding. If they start creeping down, you’ve got a slow leak bleeding your pressure away.
What's the right way to tell if my flame is actually neutral, or if I'm running too much acetylene and wasting fuel?
You’ll know you’ve got it right by looking at the inner cone. A true neutral flame has a sharp, bright blue cone that stays distinct. If you see little white “feathers” or a smoky, soot-like cloud dancing around the tip, you’re running too much acetylene. That’s just wasted fuel and a mess waiting to happen. Don’t just guess; adjust your valves until that cone is crisp and steady.
If I'm working in a smaller, less ventilated shop, how much do I really need to worry about gas buildup?
You need to worry about it more than you think. In a cramped shop, those gases don’t just vanish; they pool around your ankles and settle in the corners. If you’re working in a tight space without a steady cross-breeze, one small leak can turn your workspace into a hazard faster than you can react. Don’t get complacent just because the room feels small. Keep a fan running and never work in a space where the air feels heavy or stale.
