I remember sitting at my workbench last Tuesday, staring at a set of pitted, blackened brass pulls that some “specialist” had tried to polish with a high-speed buffing wheel. They’d gone in too hot, too fast, and ended up stripping the very character right out of the metal, leaving nothing but a shiny, thin shell of what used to be quality craftsmanship. It’s a damn shame how many folks think you can just scrub away decades of history with a bit of modern grit and some elbow grease. When you’re dealing with antique furniture hardware, you aren’t just cleaning a piece of metal; you’re tending to a legacy that was forged to outlive us all.
I’m not here to sell you on some expensive, chemical-heavy miracle cleaner that promises the world and delivers a headache. What I’m going to give you is the straight truth on how to identify, clean, and preserve your pieces using proper, steady technique. I’ll show you how to respect the patina and where to apply a little pressure without ruining the work. We aren’t looking for a showroom shine that lasts a week; we’re looking for real restoration that holds up for the next century.
Table of Contents
Choosing Period Correct Hardware Styles Over Cheap Shortcuts
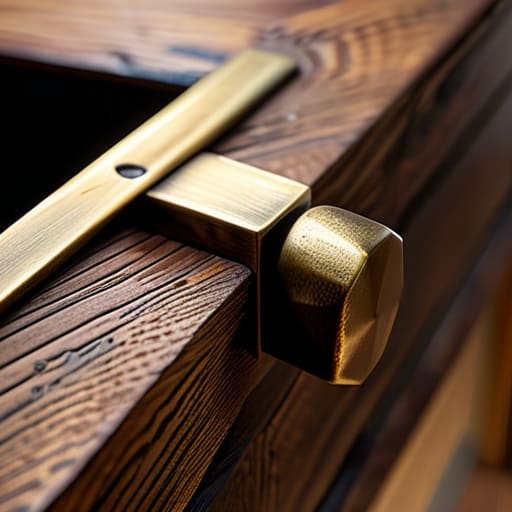
Now, when you’re standing in a modern hardware aisle, you’re going to see a lot of shiny, lightweight junk that’s supposed to look “old.” Most of it is just thin, stamped tin or cheap zinc that’ll snap the first time you put any real weight on it. If you’re working on a piece that actually has some history, don’t fall for those flimsy reproduction furniture fittings. They lack the heft and the soul of the original metal. You want something with substance—something that feels like it was actually forged, not just popped out of a cheap mold in a factory.
If you’re aiming for authenticity, you need to pay close attention to the specific era of your piece. A set of Victorian era drawer handles has a completely different profile and weight than something from the Craftsman period. It’s easy to get distracted by a high shine, but you have to learn the difference between patina vs polished brass. A true, aged patina tells a story of decades of use; a fake, sprayed-on finish just looks like a lie. Take your time searching for the right match. It’s better to hunt for a few weeks for the right piece than to ruin a good cabinet with a shortcut.
Understanding the Soul of Patina vs Polished Brass
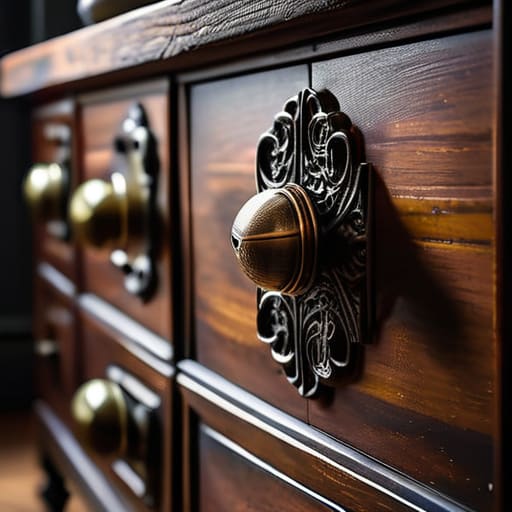
Now, here is where most folks trip up. They see a bit of dullness or some dark oxidation on a set of Victorian era drawer handles and their first instinct is to grab a bottle of harsh chemical cleaner and scrub until it shines like a new penny. Stop right there. There is a massive difference between dirt and a true patina. That dark, mellowed layer is the metal’s history; it’s the evidence of decades of use and air. When you’re restoring antique metalwork, you have to decide if you want a piece that looks like it just rolled off a factory line or something that actually has some character and weight to it.
If you go too heavy with the abrasives, you aren’t just cleaning the metal—you’re stripping away the soul of the piece. Once you polish away that deep, aged luster, you can’t just “put it back” later. You’ll end up with one of those thin, hollow-feeling reproduction furniture fittings that lacks the substance of the original. My advice? Learn to love the oxidation. If the metal is structurally sound, a gentle wipe with some fine oil and a bit of elbow grease is usually enough to honor the age without ruining the integrity of the finish.
Five Rules for Working with Old Metal
- Stop reaching for the heavy-duty grinders right away. If you’re cleaning up an old brass pull, start with the finest grit sandpaper you’ve got and work your way up slowly. You want to lift the grime, not strip the character right off the face of the metal.
- Check your screw holes before you even think about buying replacement hardware. There’s nothing more frustrating than finding a perfect period-correct latch only to realize the mounting holes don’t line up with the old timber. Measure twice, buy once.
- Don’t go throwing harsh chemical cleaners at everything you see. Some of these old alloys are finicky; a bit of mild soap and a soft cloth will do more for a piece of history than a bucket of acid that’ll leave the metal looking pitted and ruined.
- Keep an eye on the structural integrity of the hardware itself. If a hinge is thin or brittle from years of oxidation, don’t just polish it up and hope for the best. A piece of hardware that can’t hold a door steady is just a decoration, and I’ve never had much use for things that don’t work.
- Learn to recognize the difference between genuine age and simple neglect. If a piece of hardware is stuck, don’t force it with a pair of pliers—you’ll just mar the finish. A little penetrating oil and a lot of patience will get that mechanism moving without breaking the soul out of it.
The Bottom Line on Old Metal
Stop looking for a perfect shine; if you strip away every bit of character with harsh abrasives, you’re just destroying the history that makes the piece worth having in the first place.
Never settle for a modern, hollow-feeling replacement just because it’s easy; if you want the piece to hold its value, you find hardware that has the weight and the right casting to match the era.
Take your time with the cleaning process—rushing through a restoration with heavy chemicals is a shortcut that’ll only end up pitting the metal and ruining your hard work.
## The Cost of a Quick Fix
“You can buy a handful of shiny, machine-stamped pulls for a few dollars at any big-box store, but they’ve got no weight to ’em and even less soul. If you’re working on a piece that’s survived a century, don’t insult it with something made of hollow tin; find the real brass or iron, even if it takes a bit more digging, because a piece of history deserves hardware that can stand the test of another hundred years.”
Alistair Fenwick
Final Thoughts Before You Pick Up the Tools
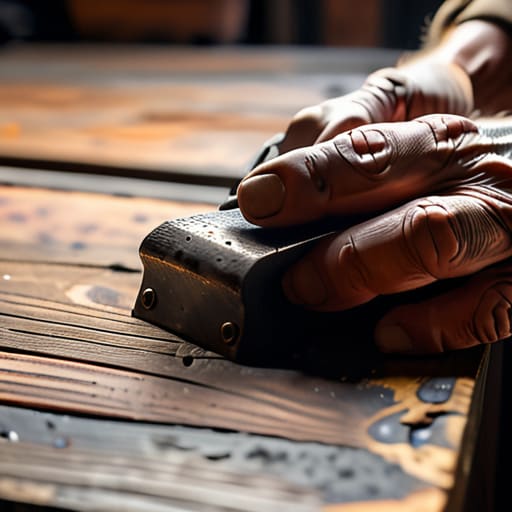
At the end of the day, restoring antique hardware comes down to respect. You’ve learned that you can’t just swap out a hand-forged pull for some shiny, stamped-out piece of junk from a big-box store and expect the piece to feel right. It’s about recognizing the difference between a deep, honest patina and a surface-level polish that hides the metal’s history. Whether you’re deciding between brass or iron, or figuring out if a piece needs a light cleaning or a full restoration, remember that patience is your most valuable tool. If you rush the process or try to sand away the character of a century-old piece, you’ll find yourself with nothing but wasted material and a heavy heart.
I know it feels easier to just buy something new, but there is a real, quiet satisfaction in taking something that the world deemed “old” and making it functional again. When you finish a job and that drawer slides smoothly with hardware that looks like it belongs, you aren’t just fixing a cabinet; you’re preserving a bit of craftsmanship that would otherwise be lost to a landfill. Don’t be afraid to get your hands a little dirty or spend an extra hour on a stubborn screw. We aren’t just fixing things to make them look pretty on a shelf; we are building things to last for the next generation. Now, get to work.
Frequently Asked Questions
How can I tell if a piece of hardware is genuine old brass or just a modern reproduction with a fake finish?
Look closely at the weight and the way the light hits it. Modern reproductions are often hollow or made of cheap alloys that feel light in your palm. If it’s genuine old brass, it’ll have some heft to it. Also, check the edges; real vintage pieces show signs of actual wear or casting imperfections. If the “patina” looks too uniform—like it was sprayed on in a factory—it’s almost certainly a fake.
If I find a set of handles that are pitted or rusted, is it better to clean them back to the bare metal or just stabilize what's there?
Look, there isn’t a one-size-fits-all answer, but you have to decide what you’re trying to preserve. If the pitting is shallow, I’d say clean it back to bare metal and polish it up—just don’t go sanding away the character. But if that rust has bitten deep into the grain, don’t try to fight it. Just stabilize the surface and keep it steady. You can’t fix a mistake made by rushing the grit.
What’s the right way to remove old, stubborn screws from antique pulls without stripping the heads or cracking the wood?
First, stop cranking on it. If you feel that screw resisting, you’re halfway to a stripped head. Grab a pair of locking pliers and try to get a solid grip on the shank first. If the head is truly stuck, a tiny drop of penetrating oil can work wonders, but let it sit—don’t rush it. If you must use a driver, make sure it fits the slot perfectly. Slow, steady pressure is your friend here.
