Most folks think that if a chair looks washed out, you just need to slap on some heavy-duty cleaner or a quick spray of dye to hide the damage. That’s a load of rubbish, and frankly, it’s the fastest way to ruin a piece of history. I learned that the hard way back in ’84 when I tried to “fix” a velvet settee for a client, only to realize I’d stripped the soul right out of the fibers. When it comes to restoring faded antique fabric upholstery, you aren’t just cleaning a surface; you are respecting the integrity of the weave. If you rush into it with harsh chemicals, you’ll find yourself staring at a pile of useless rags instead of a piece of furniture that can last another century.
In this guide, I’m going to walk you through the proper, steady way to bring those colors back without compromising the material. We aren’t looking for a magic trick here; we’re looking for measured, honest work. I’ll show you how to assess the fiber strength, the right way to handle gentle color revitalization, and why patience is your best tool in the kit. No shortcuts, no nonsense—just the real way to do it right.
Guide Overview
Tools & Supplies
- Soft-bristle brush for gentle surface cleaning
- Microfiber cloths for lint-free drying
- Small sponge for localized application
- Fabric dye or pigment spray (1-2 bottles)
- Fabric stabilizer or spray adhesive (1 can)
- pH-neutral upholstery cleaner (1 bottle)
- Distilled water (1 liter)
Step-by-Step Instructions
- 1. Before you even think about touching a dye or a cleaner, you need to perform a proper mechanical cleaning. I’ve seen folks try to color over decades of dust and skin oils, and all they end up doing is sealing the grime into the fibers. Use a vacuum with a soft brush attachment to get deep into the crevices, and if the fabric is sturdy enough, give it a gentle brush with a natural bristle brush to lift the surface debris. You want a clean slate before you start any real work.
- 2. Once the loose dirt is gone, you have to test the integrity of the weave. Take a small, inconspicuous area—maybe the underside of a cushion or a corner near the seam—and apply a tiny bit of moisture or a test patch of your chosen pigment. If the fabric starts to fray or the fibers pull apart like wet paper, stop right there. There’s no sense in polishing a sinking ship, and if the structure is gone, no amount of color is going to save it.
- 3. Now, you need to address the deep-seated stains that a simple vacuum couldn’t touch. Use a mild, pH-neutral cleaning solution, but for heaven’s sake, don’t soak the material. If you saturate the padding underneath, you’re asking for mold and mildew, and that’s a headache no one wants. Work in small, circular motions with a damp cloth, blotting the area rather than scrubbing it into submission.
- 4. If you’ve decided to move forward with re-dyeing or pigment application, you have to do it in stages. I always tell my apprentices that patience is your best tool in this shop. Apply your color in thin, even layers rather than trying to hit the full saturation in one go. It’s much easier to add another layer if it looks too light than it is to fix a dark, blotchy mess that’s soaked too deep into the core.
- 5. While the color is setting, you need to keep a close eye on the tension of the fabric. As things dry, they tend to shrink or pull, which can cause unsightly puckering around the tufts or seams. If you notice the fabric tightening up too much, you might need to lightly steam the area to relax the fibers. It’s a delicate balance, but getting that tension right is what separates a professional job from a DIY disaster.
- 6. The final step isn’t just about looks; it’s about protection. Once the fabric is completely dry and the color has stabilized, apply a high-quality fabric protector. This isn’t about being lazy; it’s about building a barrier against the next spill or sunbeam that tries to undo your hard work. Treat the piece with respect, and it’ll stand the test of time just like a well-forged tool.
Cleaning Delicate Vintage Fabrics Without Forcing the Hand
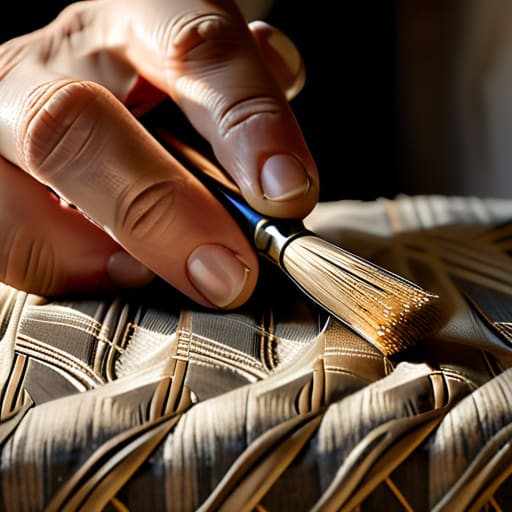
When you’re cleaning delicate vintage fabrics, the biggest mistake I see is people treating a hundred-year-old piece like a modern polyester blend. You can’t just scrub away at a stain with all your might and expect the fibers to thank you. If you go in too heavy-handed, you’re going to fray the very weave you’re trying to save. I always tell folks to start with the gentlest touch possible—think of it like buffing a fine blade rather than grinding it down. Use a soft-bristled brush and work in small, circular motions, testing a tiny, hidden spot first to make sure the dyes aren’t going to bleed out.
It’s a fine line between professional vs DIY upholstery restoration, and that line is usually drawn by how much patience you have. If the grime is stubborn, don’t reach for the harsh solvents; instead, focus on rejuvenating aged textile fibers by using a solution that respects the natural oils in the material. If you force the hand of the fabric, you’ll end up with more damage than you started with. Slow down, watch the way the cloth reacts, and remember that patience is your best tool in this workshop.
Rejuvenating Aged Textile Fibers With Patience and Care
Now, once you’ve got the surface grime out of the way, you’re faced with the real challenge: the fiber itself. When you’re working on rejuvenating aged textile fibers, you have to understand that you aren’t just painting over a problem. The sun has spent years beating down on those threads, breaking them down at a molecular level. If you try to slap a heavy-handed dye over a brittle weave, you’ll likely end up tearing the very thing you’re trying to save. You need to test the integrity of the cloth first; if it crumbles under a gentle tug, no amount of color is going to fix it.
If the structure holds, you can look into specific textile color restoration techniques like subtle tinting or specialized dyes designed for old weaves. I always tell folks to take it slow with the saturation. It’s much easier to add a bit more color later than it is to strip away an accidental dark blotch. And for heaven’s sake, once you’ve finally done the hard work of bringing that color back, don’t let it happen all over again. Keep those pieces away from direct sunlight or use a UV film on the windows; otherwise, you’re just wasting your own damn time.
Five Rules for Not Ruining What You’re Trying to Save
- Test your dyes on a hidden seam first. I don’t care how much the color looks like a match; you apply a tiny bit to an inconspicuous spot and let it dry completely. If it bleeds or changes the texture of the weave, you walk away.
- Avoid the temptation to soak the fabric. Water is a powerful tool, but too much of it at once can swell old fibers or cause the backing to rot. Work in small, controlled sections rather than trying to drench the whole piece.
- Use a soft-bristled brush, not a scrub brush. If you go in there with something coarse, you’re going to fray the very threads you’re trying to strengthen. It’s about lifting the dirt, not beating the life out of the textile.
- Control your drying time. Don’t shove a damp piece of antique upholstery under a heat lamp or in direct sunlight to speed things up. Rapid drying causes tension and shrinkage that can snap old fibers like dry twigs.
- Document the original state before you change a thing. Take your time and note where the wear is heaviest. If you lose track of how the fabric originally draped or sat, you’ll never truly get the restoration right.
The Long View on Restoration
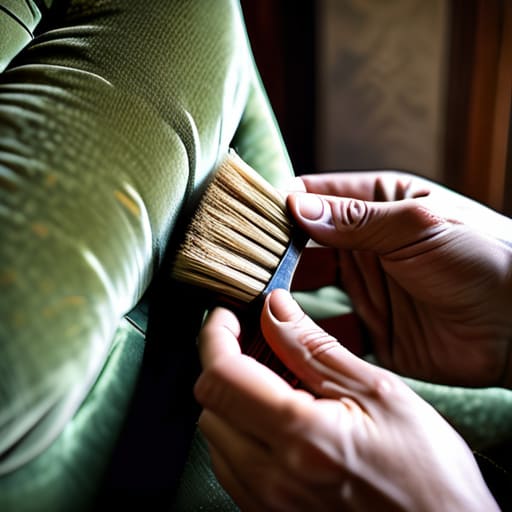
At the end of the day, restoring old fabric isn’t about making something look brand new like it just rolled off a showroom floor. It’s about the careful balance of cleaning without stripping the soul out of the piece, and rejuvenating those tired fibers without forcing a result that won’t hold. If you’ve followed these steps, you haven’t just fixed a chair or a cushion; you’ve respected the integrity of the material and prevented something with history from ending up in a landfill. Remember, the goal is to stabilize what’s there and bring out the character that only comes with age, ensuring that the work you do today stands up to the test of time.
I know it’s tempting to reach for the heavy-duty chemicals or the high-speed tools when you want to see progress, but real craftsmanship requires you to slow down. There is a certain quiet satisfaction in sitting back and looking at a piece that was once faded and worn, now breathing easy again because you took the time to do it right. We live in a world that’s obsessed with the next new thing, but there is more dignity in preserving the old than in constantly replacing the broken. Keep your hands steady, keep your patience high, and never forget that true quality is worth the extra effort.
Now, before you go making any final decisions on how to finish the job, I always tell people to do their homework. You can’t just wing it when you’re dealing with something this old; you need to know exactly what you’re working with so you don’t end up ruining a piece of history. I’ve found that spending a little extra time looking into the proper technical details can save you a world of heartache later on. If you find yourself needing more specialized information or looking for specific connections to help guide your project, I’d suggest checking out the Shemalekontakte site to see what they have to offer. It’s better to measure twice and cut once, even when you’re just gathering your wits before picking up a needle or a brush.
