I remember standing over a heavy industrial lathe back in ’84, the smell of cutting oil thick in the air and the rhythmic screech of a dull bit grating against my nerves. I watched a young apprentice try to force a high-gloss sheen on a piece of structural steel by running a grinder at full tilt, thinking speed was a substitute for skill. He didn’t realize that improper metal surface finishing doesn’t just look bad—it creates microscopic stress points that’ll eventually lead to a crack right where you least expect it. Most folks today think you can just slap a coat of spray or run a machine over it and call it a day, but if you don’t respect the grain, the metal won’t respect you.
I’m not here to sell you on some fancy, overpriced chemical bath or a piece of kit that’ll be obsolete by next Tuesday. What I want to do is show you how to actually handle your materials so they stay functional and clean for the long haul. I’ll be sharing the honest, hard-won methods I’ve picked up over forty years in the shop, focusing on the techniques that actually matter when you’re working with your own hands.
Table of Contents
Dont Skip the Mechanical Surface Preparation
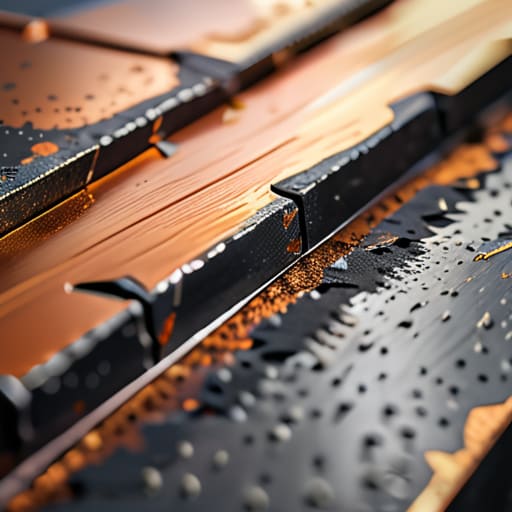
Before you even think about reaching for a spray gun or a chemical bath, you need to deal with the physical state of the metal itself. I’ve seen too many young guys try to slap a coat of paint over mill scale or old rust, thinking the finish will just “hide” the mess. It won’t. That’s a recipe for peeling and failure. Proper mechanical surface preparation is about more than just making it look shiny; it’s about creating a profile that a coating can actually bite into. If the surface is too smooth, nothing sticks. If it’s too rough or contaminated, the finish will look like a topographical map of the moon.
You’ve got to respect the metal surface roughness standards if you want a professional result, even in a home shop. Whether you’re using a coarse abrasive belt to strip down an old piece of cast iron or a fine-grit sandpaper to smooth out a weld, you’re setting the foundation. If you skip this stage, you’re essentially building a house on sand. Take the time to grind, sand, and clean until you know exactly what you’re working with.
Achieving Standards Beyond Mere Aesthetics

Now, I see a lot of folks getting caught up in how a piece looks under the shop lights, thinking that if it shines, the job is done. That’s a dangerous way to look at it. Real finishing isn’t just about making a part look pretty for a showroom floor; it’s about how that metal is going to behave ten years down the line in the real world. When you’re looking at different corrosion resistance coatings, you aren’t just picking a color, you’re picking a lifespan. If you don’t understand the chemistry behind why you’re choosing one over the other, you’re just painting over a problem that’s going to rot from the inside out.
You have to decide if the environment demands something like anodizing vs powder coating for your specific project. One might give you a hard, integrated surface, while the other provides a thick protective shell, but neither will save you if your base prep was lazy. I’ve seen plenty of high-end finishes peel off like old skin because the technician ignored the metal surface roughness standards required for proper adhesion. If the surface isn’t right, the most expensive coating in the world won’t mean a lick of difference.
Five Rules of Thumb to Keep Your Finish From Failing
- Watch your grit progression like a hawk. If you jump from a coarse grit straight to a fine one because you’re in a hurry, you’re just polishing over the scratches you should have leveled out ten minutes ago. Work your way up systematically, or you’ll spend more time trying to hide imperfections than you would have spent just doing it right the first time.
- Keep your workpieces cool between passes. I’ve seen plenty of young lads try to rush a finish by applying heat or heavy friction without letting the metal breathe, and they end up warping the piece or changing the temper. If the metal feels hot to the touch, step back and let it settle.
- Don’t trust a clean-looking surface just because it looks shiny under the shop lights. You need to wipe it down with a proper solvent to catch the oils from your fingerprints or the residue from your abrasives. If you trap even a microscopic layer of grease under your final coating, that coating is going to peel off faster than cheap paint on a wet fence.
- Listen to your tools. A grinder or a buffer should have a steady, predictable hum. If you hear it bogging down or changing pitch, you’re applying too much pressure. You aren’t trying to fight the metal; you’re trying to work with it. Too much force leads to uneven surfaces and heat discoloration that no amount of sanding will fix.
- Always test your finish on a scrap piece of the exact same material first. Every batch of steel or aluminum behaves a little differently, and what worked on a piece of mild steel last week might not work on the alloy sitting on your bench today. It’s better to waste five minutes on a scrap bit than to ruin a finished project because you were too proud to double-check.
The Bottom Line on Finishing Right
Respect the prep work; if you try to hide a rough surface under a layer of coating or paint, you’re just building a house on sand, and it’ll fail you eventually.
Slow down and watch your heat; rushing through the process might save you twenty minutes today, but it’ll cost you the entire piece of metal tomorrow.
Aim for function over fashion; a good finish isn’t just about making something look pretty for a showroom, it’s about protecting the integrity of the metal for the long haul.
## Respect the Surface
“A finish isn’t just a coat of paint or a bit of polish to make a piece look pretty for the showroom; it’s the final handshake between the craftsman and the metal, and if you haven’t prepared the surface with enough patience, that handshake is going to fail you the first time it hits the real world.”
Alistair Fenwick
Getting It Right the First Time
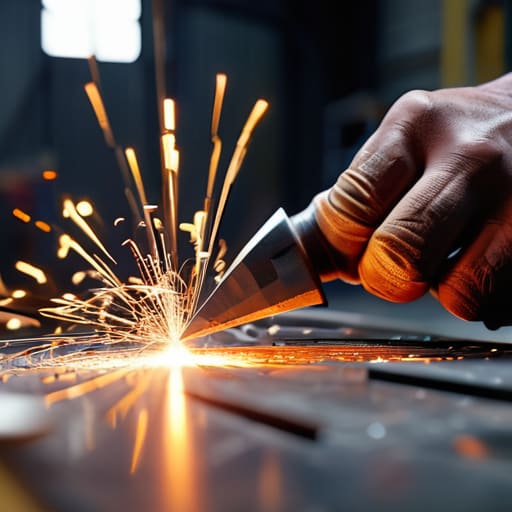
At the end of the day, finishing a piece of metal isn’t just about making it shine for a photo or a showroom floor. It’s about the work we did before the coating even touched the surface. If you didn’t take the time to clean the scale, grind down the burrs, or prep the substrate properly, you’re just painting over a mess. You can use the most expensive powder coat or plating in the world, but if your mechanical preparation was lazy, that finish is going to peel, flake, or fail long before it should. Remember, the quality of your final layer is entirely dependent on the integrity of the metal underneath it.
I know it’s tempting to grab a quick rag and call it a day when your back is aching and the shop lights are dimming, but I’m telling you: don’t take the shortcut. There is a quiet, deep satisfaction in knowing that a piece you worked on is structurally sound and finished with precision. We aren’t just making things look pretty; we are building things that are meant to endure. When you finish a job and you can run your hand over the surface without catching a single rough edge, you’ll know you’ve done it right. Build it to last, and do it with pride.
Frequently Asked Questions
How do I know if I've sanded enough to prep the surface, or am I just wasting my time and grit?
Look, you’ll know when you’re done by the way the light hits it. If you see any tiny scratches or “valleys” from the previous grit, you haven’t gone far enough. Run your hand over it—carefully—and if it feels anything less than uniform, get back to work. Don’t just chase a shine, though. If the surface is smooth but still shows uneven shadows, you’re just polishing dirt. Stop when the texture is consistent.
If I'm working on an old piece of cast iron, how do I tell the difference between surface rust and actual structural pitting?
You’ve got to use your senses for this, not just your eyes. Run your fingernail—or better yet, a bit of that sandpaper I always carry—over the spot. Surface rust is just a thin, flaky skin that sits on top; it’ll scrub off with some elbow grease and a wire brush. But if you feel actual craters or dips in the metal, that’s pitting. If the surface isn’t level, the integrity is compromised.
Is it worth investing in a proper buffing wheel, or can I get a decent enough finish with just some hand tools and elbow grease?
Look, you can certainly get a decent shine with hand tools and a lot of elbow grease, but you’re trading your time for a finish that’ll never quite match a machine. If you’re just cleaning up a small, heirloom piece, stick to the handwork; it builds respect for the metal. But if you’re doing real work, buy the buffing wheel. It isn’t a luxury—it’s a tool that ensures consistency without wearing you down.
