I remember sitting in a drafty fabrication shop back in ’84, watching a kid try to pull a decent bead with a machine that looked more like a toy than a tool. He was sweating, cursing, and wasting through a stack of rods because his arc welding equipment couldn’t hold a steady current to save its life. Most folks today make the same mistake; they see a shiny, low-priced unit online and think they’ve found a bargain, only to realize halfway through a project that they’ve just bought a very expensive paperweight. A machine that stutters when the metal gets hot isn’t a tool—it’s a liability.
I’m not here to sell you on the latest digital bells and whistles or the high-priced brands that spend more on marketing than on their transformers. What I’m going to do is give you the straight truth on what you actually need to build something that stays together. We’re going to look at the gear that actually earns its keep in a real shop, focusing on reliability and steady output. If you want to learn how to pick gear that won’t quit on you when the work gets heavy, you’re in the right place.
Table of Contents
The Core Components of a Reliable Machine
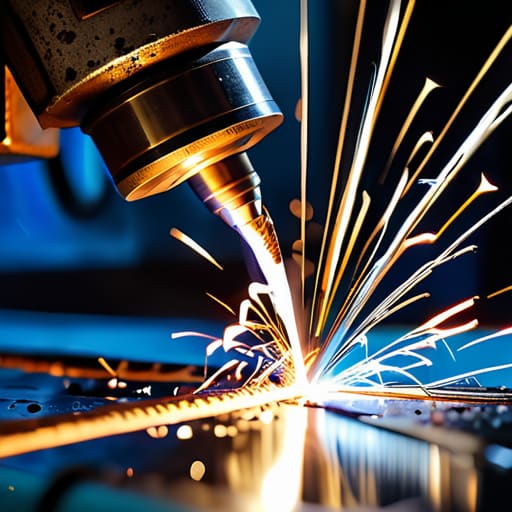
When you’re looking at a machine, don’t let the shiny plastic casing fool you. A real welder is defined by what’s happening inside the box and how it handles the load. You need to pay close attention to the welding machine components that manage the power delivery; if the transformer or the inverter isn’t built to handle a sustained arc, you’ll find yourself fighting the machine more than the metal. A reliable unit should provide a steady stream of current without flickering like a cheap lightbulb, because any fluctuation in your welding amperage settings is going to result in a messy, porous bead that won’t hold under pressure.
Beyond the power source itself, you have to consider the secondary gear that actually makes the job possible. I’ve seen many a novice ruin a perfectly good project because they cheaped out on their electrodes for arc welding or used leads that were too thin to carry the juice. You need heavy-duty clamps and a holder that won’t melt in your hand halfway through a pass. If the connection isn’t solid, the heat won’t be either, and you’ll just end up wasting material.
Choosing the Right Electrodes for Arc Welding
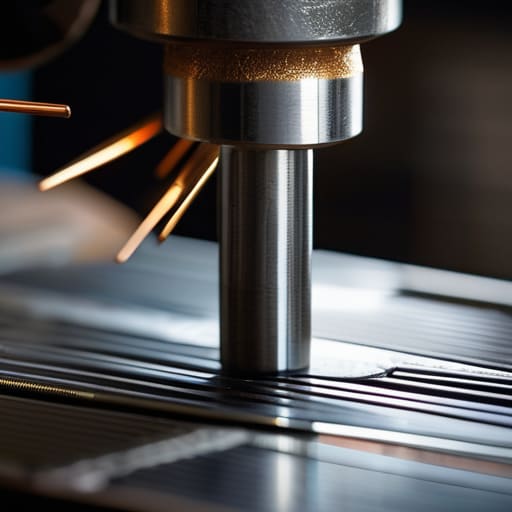
Now, once you’ve got your machine sorted, you need to talk about the rod. You can have the finest welder in the shop, but if you’re using the wrong electrodes for arc welding, you’re just making a mess. I’ve seen plenty of fellas grab the first box they see at the big-box store, only to find themselves fighting a slag that won’t peel or a bead that looks like a row of bird droppings. It’s about matching the rod to the metal you’re working on. If you’re doing heavy structural stuff, you’ll want something that can handle a deep bite, but for thin sheet metal, you need a rod that won’t blow right through your workpiece.
Don’t forget that your welding amperage settings have to dance in perfect sync with the electrode you’ve chosen. If you run too hot, you’ll burn the core out; too cold, and you’ll get nothing but inclusions. It’s a bit of a learning curve, but once you understand how the flux reacts to the heat, you’ll stop fighting the metal and start working with it. Take your time with the selection—it’s the difference between a repair that holds for fifty years and one that snaps the first time it sees a load.
Five Rules for Not Wasting Your Time (or Your Money)
- Check your ground clamp every single time. I’ve seen too many young fellas cursing a “faulty” machine when all they really had was a loose, crusty connection that wasn’t pulling enough juice. If that connection isn’t solid, your arc will be nothing but a headache.
- Invest in a decent auto-darkening helmet. You can be the best welder in the county, but if you’re squinting through a piece of scratched-up glass or struggling with a slow lens, you’re going to make mistakes. Your eyes are your most important tools; treat them that way.
- Don’t ignore the duty cycle. Every machine has a limit on how long it can run before it needs to cool down. If you try to push a hobby-grade welder like it’s a heavy industrial unit, you’re going to fry the transformer, and then you’re just left with a very expensive paperweight.
- Keep your leads organized and your cables intact. A nicked cable or a frayed insulation jacket isn’t just a nuisance—it’s a safety hazard. I always run my hand along my leads before I strike an arc; if they feel brittle or damaged, they get replaced, not patched with electrical tape.
- Learn to listen to the arc. A good welder doesn’t just watch the puddle; they listen to the sound. A steady, consistent hum tells you your settings are dialed in. If it starts popping or sputtering like a wet campfire, stop what you’re doing and check your amperage or your electrode.
Hard-Won Lessons for Your Workshop
Don’t get blinded by fancy digital displays; focus on the duty cycle and the build quality of the transformer or inverter, because a machine that quits halfway through a bead is nothing but an expensive paperweight.
Treat your electrodes like the most important part of the job, not an afterthought; matching the right rod to your metal is the difference between a clean, structural weld and a brittle mess that snaps under pressure.
Invest in gear that’s built to be repaired, not replaced—if you can’t swap out a part or clean a contact when things get gritty, you’re buying a headache, not a tool.
## On the Value of a Good Machine
“A cheap welder is just a way to turn expensive scrap metal into even more expensive scrap metal; if you want a bead that holds when the world tries to pull it apart, you buy a machine that respects the arc as much as you do.”
Alistair Fenwick
Putting the Torch to Work
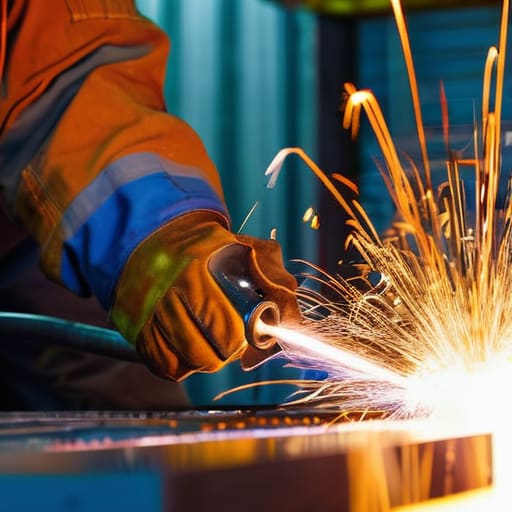
At the end of the day, getting your arc welding setup right comes down to respect—respect for the machine and respect for the metal. You’ve looked at the guts of the welder, from the power source to the duty cycle, and you’ve figured out which electrodes will actually bite into your workpiece without a fuss. Don’t let the technical jargon intimidate you, but don’t let it fool you either. If you try to cut corners by pairing a cheap, flickering machine with the wrong rod, you aren’t just wasting time; you’re wasting good material that you can’t get back. Invest in components that are built to endure, and you’ll find that the welding process becomes less of a struggle and more of a steady, predictable craft.
I’ve seen plenty of folks walk into a shop with the flashiest, most expensive gear money can buy, only to produce welds that look like a stack of frozen sausages because they never bothered to learn the rhythm. A tool is only as good as the hands holding it. My advice? Get your gear, set up your workspace safely, and then get to work. There is a particular kind of satisfaction that comes from joining two pieces of steel together and knowing that bond is going to hold long after you’ve finished your coffee. Build things that are meant to last, and never be afraid to get a little grit under your fingernails to make it happen.
Frequently Asked Questions
How do I tell if a machine is built for serious fabrication or if it's just a cheap hobbyist toy that'll burn out in a month?
Look at the duty cycle, plain and simple. If a machine’s manual says it can only run for two minutes before it needs a twenty-minute rest, it’s a toy, not a tool. A real piece of kit will run all day without breaking a sweat. Also, check the weight and the build. If it feels light as a feather and the casing is thin plastic, walk away. Real gear has heft and heavy-duty cooling fans.
Do I really need a dedicated regulator and tank for gas, or can I get by with a simpler setup for small repairs?
Look, I get the temptation to cut corners when you’re just fixing a garden gate or a broken bracket. But if you’re doing any real gas welding or cutting, don’t skimp on the regulator. A cheap, flimsy one will drift, and that’s how you end up with a messy bead or, worse, a flare-up. Get a decent tank and a steady regulator. It’s better to spend a bit more upfront than to fight your equipment every single time you strike an arc.
What’s the best way to figure out if my home workshop's electrical circuit can actually handle the draw of a decent welder without tripping the breaker?
Before you even plug that machine in, you need to look at your panel. Don’t just guess. Check the breaker size; for any decent welder, you’re looking for a dedicated 220V circuit, usually 50 amps. If you’re trying to run it off a standard 15-amp household outlet, you’re just asking for a tripped breaker or, worse, scorched wiring. If the wires are thin and the breaker’s small, get an electrician out before you burn something down.
