I remember sitting in a drafty fabrication shop back in ’84, watching a kid try to burn through a thick plate of mild steel with a machine that cost more than his first truck. He was following some fancy manual to the letter, but his beads looked like a row of dried bird droppings. He thought the gear would do the work for him, but he hadn’t learned a lick about actual mig welding technique. The truth is, you can buy the most expensive setup on the market, but if you don’t understand how to manage your puddle and respect the arc, you’re just burning money and wasting good scrap.
I’m not here to sell you on some high-tech miracle or a complicated system that requires a computer degree to operate. What I’m going to give you is the straight truth, earned from forty years of seeing what works and what fails when the pressure is on. We’re going to strip away the nonsense and focus on the fundamentals—the stuff that actually matters when you’re trying to make a repair that stays joined for the long haul.
Table of Contents
Fine Tuning Voltage Settings for Mig Welding and Wire Feed Speed Adjustment
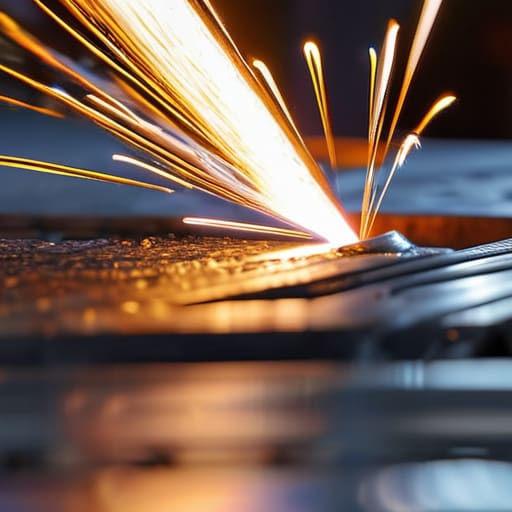
Most folks walk into the shop, crank the machine to a number that looks right, and wonder why their bead looks like a stack of frozen pennies. If you want a clean run, you have to understand the relationship between your voltage settings for MIG welding and your wire feed speed. Think of it like a balanced scale; if the voltage is too low for the speed you’ve set, you’ll get a sputtering, erratic arc that’s hard to manage. On the flip side, if the voltage is too high, you’re going to blow right through your material, leaving a mess that’s more hole than weld.
You’ll know you’ve found the “sweet spot” when you hear that consistent, steady hum—some call it the sound of frying bacon. That sound is the hallmark of proper arc stability and control. Once you hear that, don’t go fiddling with the knobs every five seconds. Set your speed, dial in your voltage, and then focus on your hand. If you’re constantly chasing the puddle by adjusting the machine mid-weld, you aren’t welding; you’re just guessing.
Achieving True Arc Stability and Control Without Shortcuts

Once you’ve got your settings dialed in, the real work begins with your hands. You can have the best machine in the shop, but if you’re twitchy or rushing, you’re going to struggle with arc stability and control. I’ve seen too many young fellas try to “dance” with the torch to make up for a poor setup. Instead, you need to find a steady rhythm. Think of it like a slow, deliberate walk. If your hand is shaking or you’re jumping around, you’ll end up with a bead that looks more like a stack of coins than a smooth, continuous seam.
You also can’t ignore your travel speed and angle. If you’re pushing too fast, you’ll starve the puddle; if you’re too slow, you’ll blow right through the base metal. I always tell my apprentices to watch the molten pool, not just the bright light. Keep your torch at a consistent angle to ensure the gas is doing its job. If you neglect this, you’ll find yourself fighting preventing weld porosity later on, and nothing is more frustrating than having to grind out a mess you thought was finished just because you couldn’t be bothered to maintain a steady hand.
Five Rules for a Clean Bead and a Sound Joint
- Watch your stick-out. I see too many young lads holding the torch too far away from the puddle, thinking they’re being careful. If your electrode extension gets too long, you lose all your shielding gas and end up with a porous, weak mess. Keep a consistent distance so the gas actually does its job.
- Don’t just drag the torch like you’re painting a fence. You need a steady travel speed that matches your wire feed. If you move too fast, you’ll get a thin, spindly bead with no penetration; move too slow, and you’ll pile up a mountain of metal that looks more like a worm than a weld.
- Master your angle. You want your torch tilted slightly in the direction of travel, usually around ten to fifteen degrees. If you’re too upright, you’ll blow holes through the metal, and if you’re too flat, you won’t get the penetration needed to make the joint structural.
- Clean your metal until it shines. I don’t care how much you paid for that piece of steel; if there’s mill scale, rust, or even a bit of oil on it, your weld is going to be garbage. Take the time to grind it down to bright metal before you even strike an arc.
- Listen to the sound. A good MIG weld should have a steady, consistent hum—kind of like the sound of bacon frying in a hot pan. If it starts popping and spitting like a wet log on a fire, you’ve lost your settings or your gas coverage, and you need to stop and fix it immediately.
Lessons From the Torch
Stop guessing with your settings; if your bead looks like a stack of dimes but feels brittle, you haven’t found the sweet spot between voltage and wire speed yet.
Respect the puddle, not just the wire; you need to watch how the molten metal flows to know if you’re actually controlling the arc or just letting it run wild.
Never rush a weld to save time, because the ten minutes you save now by moving too fast will cost you an hour of grinding and re-doing the job later.
## The Truth About the Bead
A clean weld isn’t something you just “get”—it’s something you earn by listening to the arc and respecting the metal. If you’re fighting the puddle instead of guiding it, you aren’t welding; you’re just making a mess that’ll eventually crack.
Alistair Fenwick
Making It Count
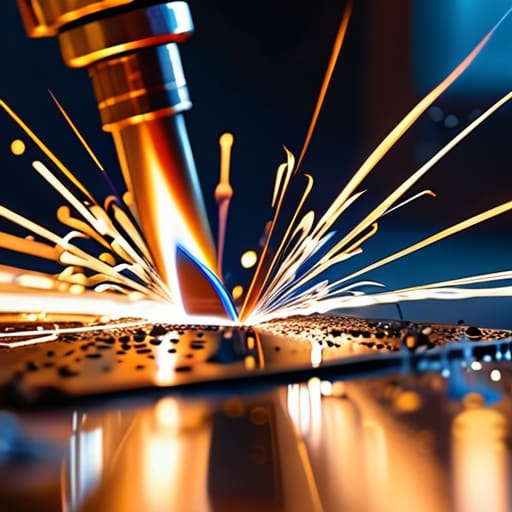
At the end of the day, mastering MIG welding isn’t about memorizing a manual; it’s about understanding the relationship between your machine and the metal in front of you. We’ve talked about why you can’t ignore your voltage settings and why chasing a steady arc is more important than just laying down beads as fast as possible. If you get your wire feed speed dialed in and you respect the puddle, the machine will do half the work for you. Remember, a weld that looks decent on the surface but lacks structural integrity is nothing more than a waste of time and gas. You have to get the fundamentals right before you even think about moving on to more complex joints.
I know it can be frustrating when the metal doesn’t behave the way you want it to, or when you feel like you’re fighting the machine every step of the way. But that’s where the real learning happens. Don’t get discouraged by a bad bead or a messy splatter; just take a breath, check your settings, and try again. There is a deep, quiet satisfaction in looking at a repair you did yourself and knowing it’s going to hold firm for the next forty years. Build things to last, keep your hands steady, and never settle for “good enough” when you know you can do better.
Frequently Asked Questions
How can I tell if my wire feed speed is actually matched to my voltage just by looking at the puddle, rather than relying on the machine's settings?
Forget the dials for a second and look at the puddle itself. If your wire speed is too high for your voltage, that wire’s going to stub into the metal, making a harsh, popping sound like a bag of gravel. If the speed is too slow, the puddle will get too hot and wide, looking like a bloated mess. You’re looking for a steady, fluid bead that flows like warm honey. That’s the sweet spot.
What should I do when I notice the arc starting to sputter or pop mid-weld—is that a sign of bad shielding gas or a dirty workpiece?
If that arc starts popping and sputtering, don’t just power through it. First, check your workpiece; if there’s grease, rust, or mill scale in the path, the arc will struggle and spit. If the metal is clean, then you’re likely looking at a gas issue. Check for a leak in your hose or a clogged nozzle. A clogged tip is a common culprit that’ll ruin a good bead in seconds.
How do I maintain a steady hand and consistent travel speed when I'm working on awkward, tight angles where I can't get a good grip?
When you’re cramped up in a tight corner, you can’t rely on your wrist for stability—it’ll shake every time. You’ve got to use your whole arm. Brace your elbow or your forearm against a solid part of the workpiece or even your own thigh to create a tripod. If you can’t get a grip, use a small welding clamp to steady your hand or a piece of scrap metal as a makeshift rest. Stop fighting the angle and start bracing against it.
