I remember sitting in my old mentor’s shop back in the seventies, the air thick with the smell of burnt oil and fine iron dust, watching him work a single chisel for nearly an hour. A younger version of me would’ve thought he was wasting time, but he knew something I didn’t: you can’t force a blade to do its job if you haven’t respected the steel first. Nowadays, people treat metal tool sharpening like it’s some magic trick you can buy in a plastic kit from a big-box store, or worse, they just toss a perfectly good tool in the scrap bin the moment it loses its bite. It’s a waste of good material, and frankly, it’s a habit that’s killing the soul of real craftsmanship.
I’m not here to sell you on some expensive, motorized gadget that does all the thinking for you. What I want to do is show you how to actually feel the edge through your fingers and understand the geometry of the metal. I’ll walk you through the proper way to handle your stones and your steel so you can stop fighting your equipment and start working with it. We’re going to do this the right way—slowly, precisely, and with enough patience to ensure that once a tool is sharp, it stays that way for a lifetime.
Table of Contents
Mastering Abrasive Grit Selection Without Rushing the Process
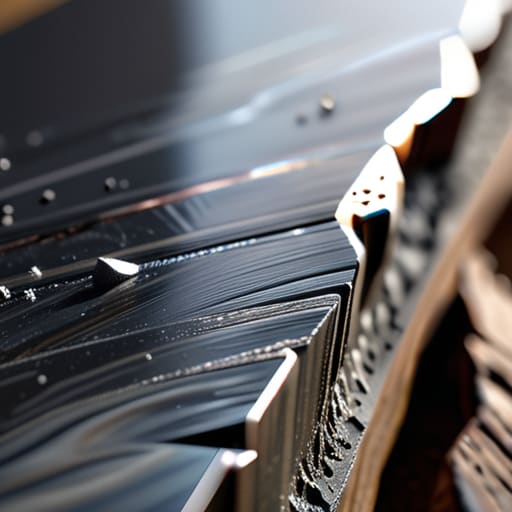
Most folks make the mistake of grabbing the coarsest stone they can find, thinking they can just muscle their way through the job. That’s a fool’s errand. If you start with a stone that’s too aggressive and don’t have the patience to move down the line, you’ll end up with a jagged, uneven edge that’ll never hold a decent bite. Proper abrasive grit selection is about building a foundation; you use the coarse grits to reshape the steel, but you better be prepared to spend twice as much time on the finer stones to actually clean up those scratches.
Once you’ve got the shape right, don’t go jumping straight to the final polish. You need to focus on precision edge refinement by working through the intermediate grits systematically. I always tell my apprentices that the real magic happens when you transition to the higher grits to smooth out the microscopic imperfections. If you rush this stage, you’re just masking a bad edge with a shiny finish, and that tool will fail you the second it hits real work.
Precision Edge Refinement for Tools Built to Last
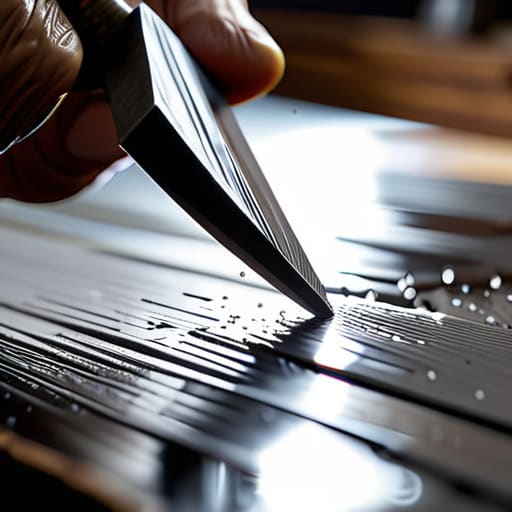
Once you’ve got the bulk of the metal moved and the profile set, you can’t just stop because the edge looks “good enough.” That’s where most folks trip up. To get a tool truly ready for heavy work, you need to focus on precision edge refinement. I’ve seen too many apprentices move straight from a coarse stone to a finished product, leaving a jagged, microscopic mess that tears through material instead of slicing it. You want a clean, consistent line that holds its shape under pressure.
The real secret to longevity is the micro-bevel technique. Instead of trying to change the entire geometry of the tool, you’re just adding a tiny, incredibly sharp secondary edge at a slightly steeper angle than your primary bevel. It’s a subtle move, but it provides the structural support needed to prevent the edge from rolling or chipping when you’re actually putting it to use. Don’t be impatient with it; if you don’t get that final, minute facet perfectly uniform, you’ll find yourself back at the stone far sooner than you ought to be.
Five Hard-Won Lessons from the Grinding Wheel
- Watch your temperature like a hawk. If you see the steel turning a straw color or a deep blue, you’ve gone too far and you’re ruining the temper. Keep a bucket of water right next to you and dip that tool in frequently; a hot edge is a dead edge.
- Stop trying to find a shortcut with a cheap electric grinder. A steady hand and a good manual stone will always give you a cleaner, more consistent bevel than a high-speed machine that’s just going to eat away your metal.
- Don’t neglect the burr. You can spend all day honing the edge, but if you don’t carefully work that wire edge off on a fine stone or a piece of leather, your tool will feel dull even when it’s technically sharp.
- Consistency is everything. If your angle wanders even a hair’s breadth during the stroke, you’re just creating a jagged mess instead of a cutting edge. Pick an angle, lock your wrist, and stick to it.
- Clean your tools before you start. I’ve seen too many folks try to sharpen a tool covered in old grease or rust, and all they do is clog up their stones and ruin the finish. Get the grime off first so you’re working with clean steel.
Lessons from the Bench
Stop chasing speed; a tool is only as good as the patience you put into the grind, so don’t rush the grit progression or you’ll leave a mess to clean up later.
Respect the steel by understanding its temper, because if you get too aggressive with the heat or the pressure, you’ll ruin a perfectly good tool before you’ve even finished the job.
Aim for a lasting edge rather than a quick shine; it’s better to spend an extra twenty minutes on proper refinement than to spend next week replacing a tool you’ve blunted.
## Respect the Steel
“A dull edge is just a sign of a rushed job, but a ruined edge is the price of impatience; you can always take more metal off, but you can’t put back what you’ve foolishly ground away.”
Alistair Fenwick
Respect the Edge, Respect the Tool
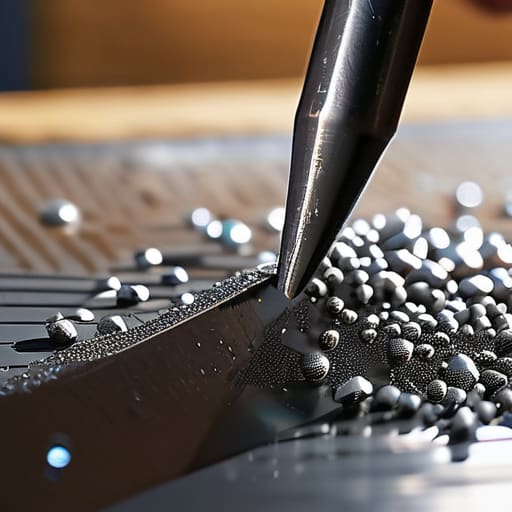
At the end of the day, sharpening isn’t just about making a piece of steel shiny; it’s about understanding the relationship between grit, angle, and heat. We’ve talked about why you can’t skip the coarse stages or rush through your refinement, because if you don’t respect the progression, you’re just wasting good metal. Remember that every stroke on the stone is a decision. If you’ve selected your abrasives correctly and maintained a consistent edge profile, you aren’t just fixing a tool—you are preserving its integrity for the next generation. Don’t let laziness turn a precision instrument into a scrap heap.
I’ve seen too many folks throw away perfectly good steel just because they didn’t have the patience to sit down with a whetstone for twenty minutes. There is a quiet, steady satisfaction in taking something dull and lifeless and bringing it back to a state where it can bite into wood or metal like it was forged yesterday. It’s a slow process, and it isn’t always glamorous, but it is how we maintain our independence in a world that wants us to just buy something new every time a handle snaps or an edge rolls. Take your time, keep your hands steady, and remember that a well-maintained tool is a sign of a craftsman who knows the value of his work.
Frequently Asked Questions
How can I tell if I've accidentally taken too much metal off the edge and ruined the tool's geometry?
You’ll know you’ve gone too far when the tool stops “biting.” If you’re working a chisel or a plane iron and it feels like it’s sliding over the material rather than slicing into it, you’ve likely thinned the bevel too much. Check the angle; if it looks shallow or “washed out” compared to the original factory grind, you’ve lost the geometry. If the edge feels floppy or won’t hold a keenness, you’ve ground the soul right out of it.
Is it worth the time to hand-hone a chisel, or should I just stick to the machine and call it a day?
Look, if you’re just hacking away at some soft pine, the machine might get the job done. But if you actually care about the steel, you’ve got to hand-hone it. A machine is fast, sure, but it’s blunt. It lacks the finesse to truly refine that microscopic edge. Taking the time with a fine stone ensures you aren’t just making it sharp, but making it precise. Don’t rush the finish; a hand-honed edge lasts longer.
What's the best way to keep my tools from rusting immediately after I've finished a sharpening session?
Look, once you’ve finished that final hone, the steel is naked and vulnerable. You’ve spent all that time perfecting the edge; don’t let a bit of humidity ruin it overnight. Wipe the tool down thoroughly with a clean, dry rag to get rid of any grit or moisture. Then, apply a thin, even coat of camellia oil or a high-quality paste wax. It creates a barrier that keeps the air away from the metal.
