I remember standing over a piece of heavy structural steel back in ’84, watching a junior apprentice try to blast through a thick layer of oxidation with a cheap, high-speed grinder. He was sweating, cursing, and wasting half his discs because he thought sheer speed was the answer to metal scale removal. He didn’t realize that by rushing the job, he was just grinding the scale into the surface rather than lifting it off. It’s the same nonsense I see today: people buying expensive, specialized chemical baths or high-tech gadgets when all they really need is a bit of patience and the right mechanical approach.
I’m not here to sell you a miracle spray or a machine that costs more than your first truck. What I’m going to give you is the honest truth about how to handle this work without ruining your material or your afternoon. I’ll show you how to read the metal and choose the right tool for the job, whether you’re working at a forge or a workbench. We aren’t looking for a quick fix here; we are looking to do it right so the work stands the test of time.
Table of Contents
Understanding Thermal Scale Formation and Forging Process Impurities
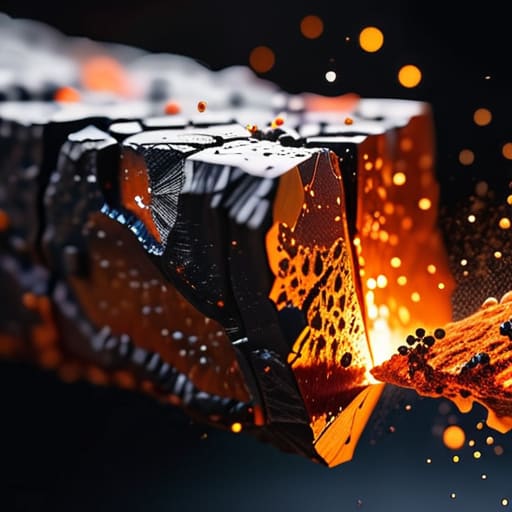
Before you pick up a hammer or a grinder, you need to understand what you’re actually fighting. When you heat steel, it’s not just getting hot; it’s reacting with the air around it. That crusty, flaky mess you see forming is a result of thermal scale formation, where oxygen grabs onto the iron atoms to create a layer of oxide. If you’re working with high-carbon steel or certain alloys, these forging process impurities can get deep into the surface, making it more than just a cosmetic nuisance.
The real trouble starts when you try to work the metal while that layer is still active. If you don’t manage the black oxide scale properly, you’ll end up hammering those oxides right back into the grain of the steel. I’ve seen plenty of young guys try to skip the cleaning phase, only to find their finished piece is pitted and uneven because they trapped the junk underneath. It isn’t just about making it look pretty; it’s about ensuring the integrity of the metal itself.
The Hidden Cost of Ignoring Oxidation Layer Removal

Now, I’ve seen plenty of young fellas walk into a shop, see a bit of black oxide scale on a piece of steel, and think it’s just cosmetic. They figure they can just weld right over it or slap a coat of paint on top and call it a day. That’s a mistake that’ll cost you more than just a bit of time. When you leave that layer sitting there, you aren’t just leaving dirt; you’re leaving a barrier that prevents any real bond from forming. Whether you’re trying to get a clean weld or a proper finish, skipping the surface preparation for metalwork is a recipe for a structural failure down the road.
If you ignore the oxidation layer removal, you’re essentially trapping air and impurities right against the “good” metal. As the piece settles or undergoes temperature changes, those trapped pockets can cause cracks or even complete delamination. I’ve spent more hours than I care to admit fixing botched repairs that could have been avoided if the person had just done the prep work correctly from the start. It’s a lot cheaper to spend twenty minutes with a wire brush or a grinder now than it is to scrap a whole project later.
Five Rules for Getting the Scale Off Right
- Watch your heat more than your hammer. If you let the metal get too hot while you’re trying to knock that scale off, you’re just going to cook it deeper into the surface, and you’ll be fighting it for twice as long.
- Use the right tool for the job, not just the first one you grab. A heavy scaling hammer is fine for thick plate, but if you’re working on something delicate, you’ll end up denting the good metal. Sometimes a wire brush and a bit of elbow grease are better than a heavy blow.
- Don’t be afraid of a little sandpaper. I keep a small piece in my pocket for a reason; once you’ve knocked the heavy stuff off, a quick pass with some grit will smooth out those stubborn little pits that the hammer missed.
- Timing is everything. You want to strike that scale when the metal is still hot enough to be workable, but not so hot that the oxidation is turning into a liquid mess. There’s a sweet spot, and if you miss it, you’re just wasting your breath.
- Clean your workspace as you go. I’ve seen too many young fellas leave scale piles all over the anvil, and then they wonder why their next piece has scratches all over it. Keep your bench clear so you aren’t working on top of your own mistakes.
## The Bottom Line on Scale Management
Treat scale removal as a necessity, not an optional extra; if you leave that oxidation layer trapped between your metal layers, you aren’t forging a single piece, you’re just welding junk together.
Patience is your most valuable tool in the shop, because rushing the heat or trying to hammer through stubborn scale will only result in wasted material and a ruined workpiece.
Clean metal is the foundation of a lasting repair or build, so take the time to prep the surface properly now, or you’ll spend twice as long fixing the structural failures later.
## The Cost of a Quick Fix
“You can try to hammer right through that oxidation to save a few minutes, but you aren’t saving time—you’re just folding impurities into the very heart of the metal, and no amount of polishing will ever fix a mistake that’s baked into the grain.”
Alistair Fenwick
The Long View on Clean Metal
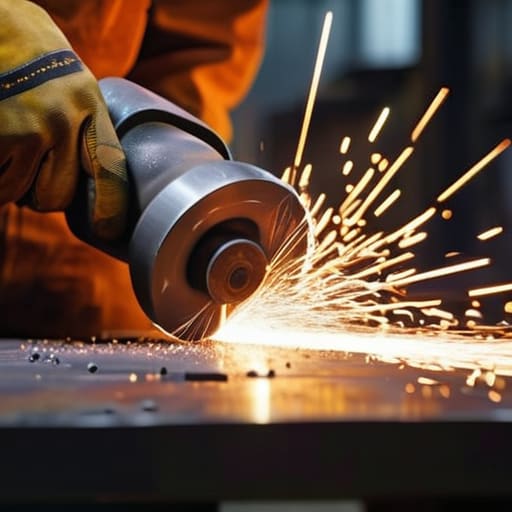
At the end of the day, removing scale isn’t just some annoying chore you do to tidy up the shop; it’s a fundamental part of the work. If you skip the cleaning to save ten minutes, you’re just inviting impurities to get trapped under your welds or tucked into your finish, which will show up later when you least want it to. Whether you’re using a wire brush, a grinder, or a steady hammer, remember that proper surface preparation is what separates a professional job from a hack job. You can’t build a lasting piece on a foundation of oxidation and grit. Do the prep work right the first time, or you’ll find yourself paying for it with wasted material and wasted time down the road.
I know it’s tempting to rush when you’ve got a pile of projects waiting and the heat is already up, but I’ve learned the hard way that the metal always wins if you try to cheat it. There’s a certain kind of satisfaction that comes from seeing a clean, bright surface after a long session of clearing away the slag. It’s about more than just making something look pretty; it’s about respecting the material you’re working with. Take a breath, check your edges, and take pride in the grit it takes to do things properly. If we stop caring about the details, we might as well stop calling ourselves craftsmen.
Frequently Asked Questions
If I'm working with thinner gauge metal, how do I know when I've gone too far and started losing the actual workpiece instead of just the scale?
When you’re working with thin stuff, you can’t afford to be heavy-handed. You’ll know you’ve gone too far when the metal starts to feel “soft” or loses its structural resistance under your tool. Watch the color closely; if you see the metal turning a dull, pitted grey instead of that bright, clean shine, you’re eating into the workpiece. If you start seeing tiny divots that won’t buff out, stop immediately. You’ve crossed the line.
Can I use a chemical pickling solution to save my arms from the grinding, or is that just going to cause more headaches with the metal's finish later on?
You could, but you’d better be prepared for the fallout. Chemical pickling is a shortcut that often bites back. It’ll strip that scale off fast, sure, but it’s a blunt instrument. You’ll likely end up with a dull, etched surface that looks like it’s been sandblasted, and if you don’t neutralize the acid perfectly, you’re just inviting deep, nasty pitting later on. If you want a clean finish, stick to the grinder and do the work.
Is there a point where the scale is so baked in that it's better to just start over with fresh stock rather than trying to fight it out?
Look, I’ve seen it happen. You spend three hours fighting a piece of steel only to realize you’ve thinned the part down more than the scale itself. If the oxidation has pitted deep into the base metal, or if you’re seeing “pockmarks” that won’t budge with a hammer and chisel, stop. There’s no pride in polishing a corpse. If the integrity is gone, toss it in the scrap bin and start fresh with clean stock.
