I remember sitting in my first shop back in the late seventies, the air thick with the scent of hot oil and burnt scale, listening to the rhythmic clack-clack-clack of a pneumatic hammer. My mentor, a man who didn’t say much but worked harder than anyone I’ve ever met, watched me struggle with a simple joint. I was trying to rush through my rivet joining techniques, thinking that if I just hit the metal harder and faster, I’d finish the job sooner. He walked over, put a heavy hand on my shoulder, and told me that a rivet isn’t just a fastener; it’s a permanent commitment between two pieces of steel. If you don’t respect the metal, it won’t respect your work.
I’m not here to sell you on fancy, overpriced pneumatic kits or complicated theories that only work in a textbook. I want to show you how to actually get a clean, tight bond using the tools you’ve already got on your bench. We’re going to walk through the practical side of different rivet joining techniques, focusing on the steady hand and patience required to make a joint that won’t fail when the tension hits.
Table of Contents
Choosing Right Rivet Fastener Types for the Job
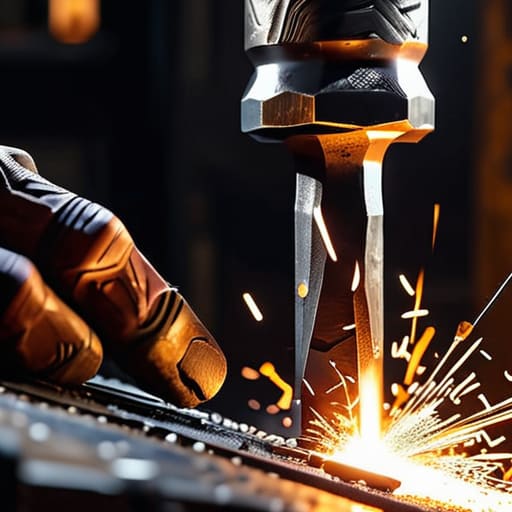
Before you even pick up a tool, you need to understand that not all fasteners are created equal. I’ve seen too many fellas grab the first bag of rivets they find in the shop drawer, only to realize halfway through the job that they’ve picked the wrong material for the load. When you’re looking at different rivet fastener types, you have to consider the metal you’re joining. If you’re working on something that needs to take a real beating—like a heavy-duty bracket or a structural frame—you shouldn’t even be looking at a pop rivet. You need to be thinking about solid rivet hammer methods to ensure that the connection is truly permanent and won’t shake loose when the vibration starts.
Now, I know what you’re thinking: “Can’t I just weld this?” Well, you could, but a rivet vs welding comparison usually comes down to how the metal reacts to heat. Welding can warp a thin sheet or ruin the temper of a specialized alloy, whereas a well-placed rivet maintains the structural integrity of the assembly without cooking the surrounding material. If you’re working in a tight spot where you can’t get a hammer or a bucking bar behind the metal, that’s when you look into blind rivet applications. Just don’t expect a blind rivet to hold the same weight as a driven solid one. Choose your tool based on the job, not based on what’s easiest.
The Structural Integrity of Rivets Over Flimsy Welds
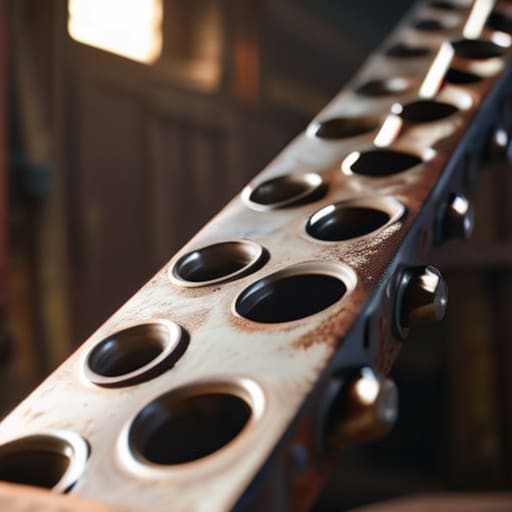
I’ve seen too many young fellas reach for a MIG welder the second they see two pieces of metal that need joining, thinking it’s the fastest way to get the job done. They aren’t wrong that welding is strong, but they forget that a weld creates a rigid, brittle point of stress. If that piece of equipment is going to take vibration or constant movement—like an old tractor frame or a heavy-duty tool rack—a weld might just crack right down the line. That’s where the structural integrity of rivets really shines. A rivet allows for a bit of “give” and distributes the load across a larger surface area, rather than concentrating all that tension on one single, scorched bead of metal.
When you’re looking at a rivet vs welding comparison, you have to consider the long-term fatigue. A well-set solid rivet holds its grip because it mechanically expands to fill the hole, creating a bond that breathes with the material. You aren’t just sticking things together; you’re integrating them. If you’re working on something critical, don’t be afraid to put down the torch and pick up the hammer.
Five Rules of Thumb to Keep Your Joints from Failing
- Don’t skimp on the hole prep. If you’re trying to force a rivet through a jagged, hand-drilled hole, you’re asking for trouble. Use a center punch to mark your spot and a sharp drill bit to get a clean, round opening; if the hole is sloppy, the rivet won’t seat properly, and your whole joint will eventually rattle loose.
- Watch your heat, especially if you’re working with thicker stock. If you’re using a hot rivet, don’t just pull it out of the forge and start hammering immediately. Give it a second to settle so you don’t crack the surrounding metal from a thermal shock—patience is what keeps the grain structure intact.
- Mind the clinch. A good rivet isn’t just about the head you see on the top; it’s about how well that tail expands against the underside of the material. You want a tight, even spread that hugs the metal, not a lopsided mess that looks like it was hammered by someone in a hurry.
- Use the right hammer for the specific task. I’ve seen too many youngsters try to use a heavy sledge where a ball-peen is required. You need a tool that allows you to control the force and the direction of the blow, otherwise, you’ll end up bruising the metal or flattening the rivet unevenly.
- Always double-check your alignment before you commit. Once that rivet is set, it’s set. Take a moment to step back, look at the seam, and make sure everything is square. It’s a lot easier to move a piece of metal five minutes before you hammer it than it is to try and fix a crooked joint after the metal has cooled.
The Bottom Line on Riveting
Stop looking for the easy way out; pick the specific rivet type that matches your material thickness, or you’ll end up with a joint that’s nothing more than a glorified suggestion.
Respect the process of setting the head—if you rush the hammer work or don’t give the metal time to seat properly, you’re just wasting good steel and your own time.
Remember that a well-placed rivet is a permanent commitment to the build, so measure twice and strike once to ensure that connection stays tight for the next forty years.
## The Soul of the Joint
A weld might hold a piece together for a season, but a well-driven rivet is a promise you make to the metal that this joint will still be standing long after you’ve hung up your apron.
Alistair Fenwick
Respect the Process, Build to Last
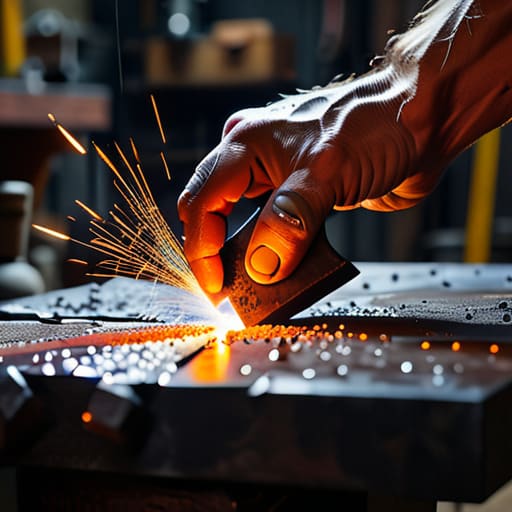
At the end of the day, mastering rivet joining isn’t about memorizing a textbook; it’s about understanding how metal behaves under pressure. You’ve looked at the different fastener types, and you know why a properly driven rivet will beat a sloppy weld for long-term structural integrity every single time. Remember that the secret isn’t in the tool itself, but in the patience you bring to the anvil. If you pick the right rivet for the gauge of your metal and take the time to set it properly, you aren’t just joining two pieces of steel—you are creating a bond that won’t quit when the work gets heavy.
I know it’s tempting to look for the fast way out, especially when you’ve got a pile of projects waiting in the corner of the shop. But I’m telling you, shortcuts are just expensive ways to fail. When you walk away from a job well done, you want to know that the thing you built is going to outlive us both. There’s a quiet kind of pride that comes from looking at a clean, tight joint and knowing it was done right the first time. So, keep your hammer steady, watch your heat, and don’t be afraid to do the hard work. That’s how we keep real craftsmanship alive.
Frequently Asked Questions
How do I know when I've driven the rivet hard enough without cracking the surrounding metal?
You’ll feel it in the hammer before you see it with your eyes. When you’re driving, listen for the ring. A healthy rivet has a solid, consistent “thud.” If that sound starts to turn sharp or brittle, or if you feel a sudden vibration travel up your arm, stop immediately. That’s the metal telling you it’s under too much stress. Watch the shop lights, too; if you see tiny, spiderweb cracks forming around the head, you’ve gone too far.
What's the best way to prevent a joint from loosening up after years of vibration or heavy use?
If you’re dealing with constant vibration, you can’t just rely on a tight fit and hope for the best. You need to ensure you’re getting a proper “clinch” or using a slightly oversized rivet to create a permanent interference fit. I always recommend a bit of a squeeze on the shop press to swell the shank against the hole. It fills those microscopic gaps so there’s no room for the metal to dance around.
If I'm working with thinner gauge sheet metal, how do I stop the rivet from pulling through or warping the piece?
When you’re working with thin stuff, you can’t just hammer away like you’re shaping an anvil. If you do, you’ll warp the sheet or end up with a rivet sitting in a hole it just stretched too wide. Use a backing washer or a “cleco” to spread that load out. It gives the rivet something solid to bite against so it doesn’t just pull right through the metal. Slow and steady wins here.
