I remember standing in a drafty fabrication shop back in ’84, watching a young apprentice try to patch a cracked support beam with a quick, messy bead of weld just to get home before dark. The smell of ozone and burnt flux was thick in the air, but all I could see was the sheer recklessness of it. He thought he was saving time, but he was actually just building a ticking time bomb. Most folks today treat metal structural repair like it’s a quick fix you can just slap some filler on and call a day, but if you don’t respect the integrity of the material, you’re just waiting for the next failure.
I’m not here to sell you on fancy, overpriced gadgets or complicated theories that don’t hold up under a heavy load. What I’m going to give you is the straight truth, pulled from forty years of seeing what works and what breaks under pressure. We’re going to walk through the real steps of proper repair—focusing on heat management, material prep, and the kind of patience that actually ensures a job is done right. We build things to last, and that starts with doing the work properly the first time.
Table of Contents
Mastering Metal Fatigue Assessment Before the Crack Spreads
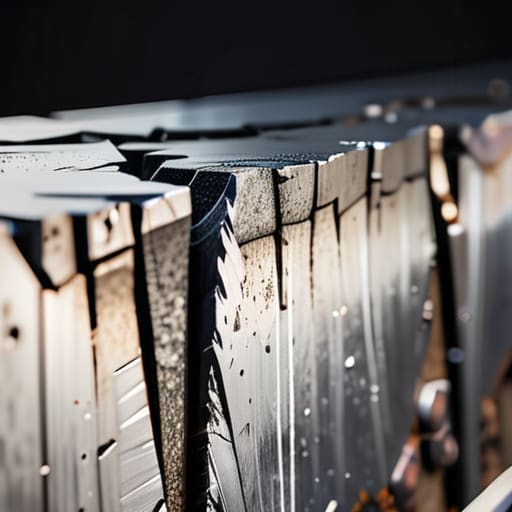
Before you even think about picking up a torch, you need to sit back and look at what you’re actually dealing with. Most folks see a hairline fracture and think they can just slap a bead of weld over it and call it a day. That’s a mistake that’ll cost you more than just time. You have to perform a proper metal fatigue assessment to figure out if the grain of the metal has been compromised by years of cyclic loading. If you don’t understand why the crack started—whether it’s from vibration, weight, or poor design—you’re just masking a symptom instead of curing the disease.
I always tell my apprentices to run a dye penetrant test or at least a thorough magnetic particle inspection if the tools are available. You’re looking for the true extent of the damage beneath the surface. If you start your welding for structural reinforcement without grinding out the entire length of that fatigue zone, you’re just trapping stress inside the new metal. You have to clean it back until you’re certain the path is clear, or you’ll find that same crack staring back at you in six months.
Why Load Bearing Metal Restoration Demands More Than Just a Patch
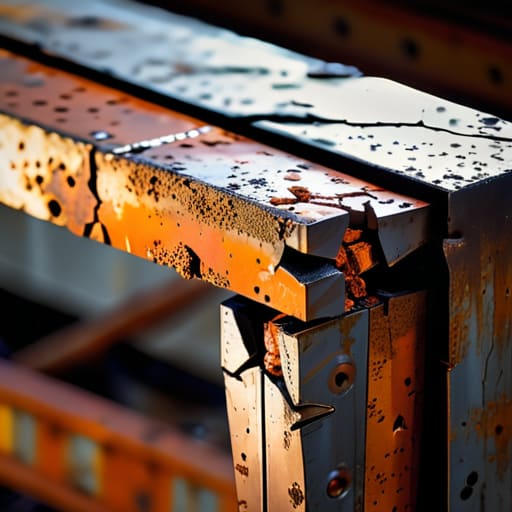
I’ve seen it a hundred times in my forty years: a guy sees a hairline fracture in a support beam or a cracked bracket and thinks a quick bead of weld will solve his problems. He slaps a patch on it, calls it a day, and walks away thinking the job is done. But a patch is just a bandage on a broken bone. If you aren’t addressing the root cause—whether that’s a structural weakness or systemic rust—you haven’t actually fixed anything; you’ve just hidden the failure until it happens again, likely when the weight is at its peak.
True load-bearing metal restoration requires you to understand the physics of the piece. You can’t just bridge a gap; you have to consider how the stress will redistribute once the repair is made. This often means employing specific welding for structural reinforcement that integrates the new material with the old, rather than just sitting on top of it. If you don’t respect the integrity of the original design, you’re just building a ticking time bomb in your own workshop.
Five Rules to Live By Before You Strike the Arc
- Clean your metal until it shines. I’ve seen too many fellas try to weld over rust, scale, or old paint, thinking they can just burn through it. You can’t. If the base metal isn’t clean, your weld is going to be full of slag and impurities, and that’s where the failure starts.
- Respect the Heat-Affected Zone. When you’re doing a structural repair, remember that the heat from your torch or welder changes the properties of the metal around the joint. If you get too aggressive, you’ll make that area brittle. It’s not just about the bead you lay down; it’s about what happens to the metal surrounding it.
- Don’t skip the bevel. If you’re joining two thick plates, don’t just butt them up against each other and hope for the best. You need to grind a proper V-groove or bevel so your weld gets deep into the heart of the metal. A surface-level weld on a structural piece is nothing more than a decorative lie.
- Use the right filler, not just what’s lying on the bench. I know it’s tempting to grab whatever rod is closest, but if you’re working on high-tensile steel, you better be using a filler that matches those specs. Using the wrong material is a shortcut that’ll cost you a broken frame later on.
- Let it cool naturally. I’ve seen guys take a torch to a repair to speed up the cooling process, or worse, dunk a hot part in a bucket of water to get it done faster. Don’t do it. You’ll shock the metal and create internal stresses that’ll crack the repair before you even get it back into service. Patience is your best tool.
The Workshop Essentials for Lasting Repairs
Never treat a symptom without finding the cause; if you just patch a crack without understanding why the metal fatigued in the first place, that same stress is going to find its way back through your weld.
Respect the metallurgy of the piece, because applying too much heat to a high-carbon steel or an old cast-iron part is a one-way ticket to making the material brittle and useless.
Invest in the right prep work rather than rushing to the finish, because a clean, properly ground surface is the only way to ensure a structural repair actually holds up under a real load.
## The Cost of a Quick Fix
“A crack in a load-bearing beam isn’t just a nuisance; it’s a warning. You can slap a weld over it to make it look pretty for a photo, but if you haven’t addressed the stress that caused it in the first place, you’re just building a trap for whoever stands under it next.”
Alistair Fenwick
The Long View on Metalwork
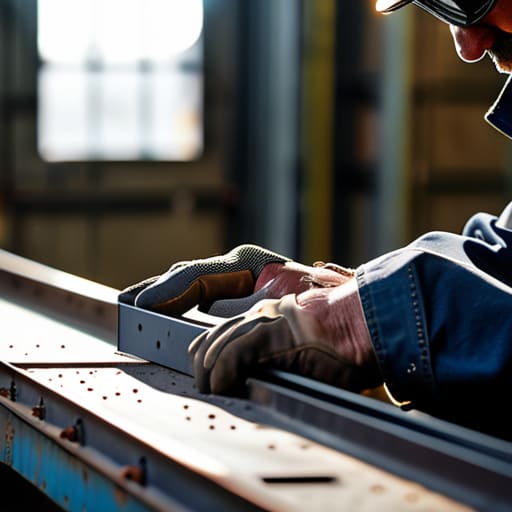
At the end of the day, fixing a structural failure isn’t about how fast you can get the welder running or how much filler rod you can burn through. It’s about the groundwork we discussed—properly assessing the fatigue before you even touch a tool, and understanding that a simple patch is often just a temporary bandage on a deeper problem. If you ignore the underlying stress points or rush the cooling process, you’re just setting the stage for the metal to fail all over again. Real repair requires you to respect the material, follow the technical specs to the letter, and never bypass the preparation stage just to save an hour of sweat.
I’ve seen plenty of folks try to take the easy way out, only to watch their hard work snap under pressure a few months down the line. It’s frustrating to see good steel go to waste because someone thought they knew better than the physics of the load. But when you take the time to do it right, when you treat every weld and every grind with the precision it deserves, you aren’t just fixing a machine or a frame; you’re preserving something meant to last. Don’t settle for the quick fix. Build it, fix it, and make it stand strong for the next generation to use.
Frequently Asked Questions
How can I tell if a crack in a load-bearing piece is just surface-level or if the structural integrity of the whole part is shot?
You can’t just look at the surface and call it a day. Grab a magnifying glass and a bit of fine sandpaper to clean that area down. If the crack disappears after smoothing, it was likely just a surface scratch. But if it stays—or if you see it branching out like a spiderweb—you’re looking at deep structural failure. If that crack follows a grain line or looks jagged, stop right there. That part’s shot.
Is it better to try and weld a repair on old, weathered metal, or am I better off just cutting out the bad section and fabricating a new piece from scratch?
If that metal is pitted, scaled, or thin from years of weather, don’t even bother with the welder. You’ll just end up blowing a hole right through it, or worse, creating a brittle weld that snaps the first time it takes a load. If the integrity is gone, cut the bad section out entirely. Fabricate a new piece from fresh, clean stock. It’s more work upfront, but it’s the only way to ensure the repair actually holds.
What kind of heat treatment should I be looking at after a repair to make sure I haven't left the metal too brittle or too soft?
You’re asking the right question. If you just weld a patch and walk away, you’ve likely left a localized zone of extreme hardness or, worse, a soft, useless spot. For most structural steel, you’re looking at a stress-relief temper. Slow that cooling down. Don’t just let it snap-cool in the air; wrap it in a thermal blanket or bury it in sand to let the heat bleed out evenly. You want to ease that internal tension, not bake in more stress.
