I remember standing over a workbench back in ’84, staring at a sheet of stainless that had just been ruined by a sloppy, uneven join. I’d followed a manual to the letter, but the metal was scorched and the bond was as weak as wet paper. Most people think you can just squeeze two pieces of metal together and call it a day, but that’s a lie that’ll cost you good material every single time. If you’re looking for a shortcut, you’ve come to the wrong place, but if you want a proper spot welding guide that actually respects the physics of the metal, then pull up a stool.
I’m not here to feed you some polished, factory-perfect nonsense that you’ll never see in a real-world shop. I’m going to show you how to actually control the heat and manage your pressure so your welds hold fast long after you’ve finished the job. We’re going to skip the fluff and get straight into the grit: setting your machine, cleaning your surfaces, and knowing exactly when to back off. By the time we’re done, you’ll have the skills to build things that actually last.
Table of Contents
Guide Overview
Tools & Supplies
- Spot Welder (Capacitor discharge or transformer-based unit)
- Safety Glasses (Impact resistant protection)
- Multimeter (To check continuity and resistance)
- Wire Strippers (For preparing battery tabs)
- Nickel Strips (Pure nickel or nickel-plated rolls)
- Battery Cells (18650 or 21700 cells)
- Heat Shrink Tubing (For insulating completed packs)
Step-by-Step Instructions
- 1. First things first, you’ve got to get your metal surfaces cleaned up. I’ve seen too many folks try to spot weld through layers of mill scale, oil, or rust, and all they end up doing is making a mess of the electrodes. Take a bit of emery cloth or a clean wire brush and scrub the area where the weld will sit until it’s bright and shiny. If the metal isn’t clean, you aren’t welding; you’re just heating up junk.
- 2. Once the metal is prepped, you need to set your machine parameters, but don’t just trust the factory defaults. Depending on the thickness of the sheet you’re working with, you’ll need to adjust your current and your squeeze time. If you’re working with thin gauge, keep the pressure steady but don’t go overboard, or you’ll just blow a hole right through the material. I always start on the lower side of the recommended setting and work my way up.
- 3. Now, position your work and apply the pressure. This is where most beginners trip up; they hit the trigger before the electrodes have actually clamped down. You need to apply the clamping force first to ensure there’s no gap between the sheets. If there’s air in there, you’re going to get a nasty arc that’ll pit your metal instead of fusing it.
- 4. With the pressure applied and the metal clamped tight, give the trigger a firm, decisive squeeze. You’re looking for a clean, controlled nugget of weld. You’ll know you’ve done it right if the metal stays flat and the connection feels solid. If you see a lot of spatter flying everywhere, you’ve likely got your current set too high or your pressure is too low.
- 5. After the weld is made, don’t just rip the electrodes away immediately. Give it a second to let the metal cool slightly while still under pressure. This helps the weld nugget solidify properly. If you pull away too fast, you risk cracking the weld right as it’s trying to set, which defeats the whole purpose of doing the work in the first place.
- 6. Finally, take a moment to inspect your work. I like to run my finger (carefully, mind you) or a small file over the spot to check for any raised edges or unevenness. If you’ve got a rough spot, don’t be afraid to use a bit of sandpaper to smooth it out. A good weld should be seamless and strong, something you can rely on for years to come.
Mastering the Resistance Spot Welding Process With Patience
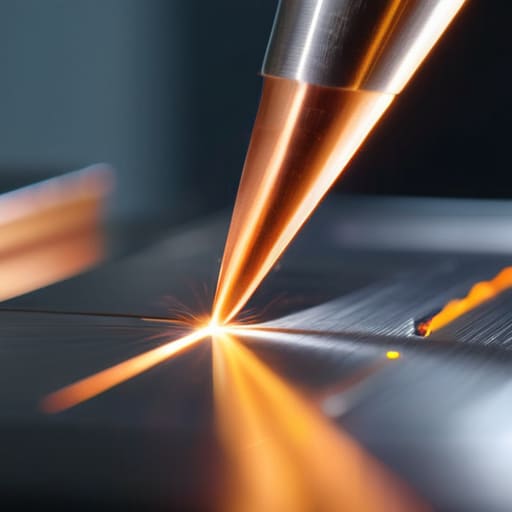
Now, if you want to move beyond just making a connection and actually start mastering the resistance spot welding process, you have to stop treating your machine like a button-pusher and start treating it like a precision instrument. Most folks make the mistake of thinking they can just crank up the power to compensate for poor technique. That’s a fool’s errand. You need to find the sweet spot between your current and pressure settings; if you don’t have enough squeeze, you’ll get splatter everywhere, but if you have too much, you’ll just crush the metal without actually fusing it.
I’ve seen too many young guys walk away from a project because their welds looked like bird droppings. Usually, the culprit isn’t the machine, it’s the tips. You can’t ignore your electrode maintenance. I always tell my apprentices that consistent welding tip dressing techniques are just as important as the weld itself. If those tips get pitted or covered in oxide, you won’t get a proper nugget, and you’ll be fighting the machine all day. Take the time to clean them up. It’s better to spend five minutes with a file than an hour trying to fix a ruined sheet of steel.
Choosing Electrode Material Selection to Prevent Wasted Metal
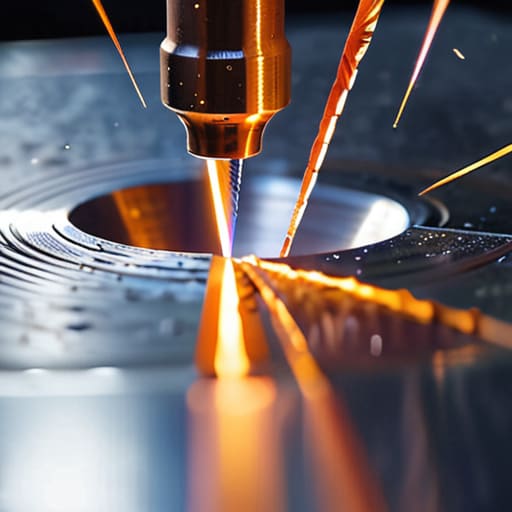
You can have the best machine in the shop, but if you’re using the wrong tips, you’re just burning money. Most folks grab whatever copper alloy is sitting in the bin, but electrode material selection is what stands between a clean joint and a mess of molten splatter. I always tell my apprentices to look closely at the alloy; you want something that can handle the heat without softening up too fast. If your tips get too mushy, your contact area grows, your current drops, and you’ll find yourself struggling to get any real penetration.
Once you’ve picked your material, you can’t just set it and forget it. Over time, those tips get contaminated or deformed, which is a fast track to preventing weld expulsion becoming a losing battle. You’ll see the sparks flying wildly if the geometry is off. That’s where regular welding tip dressing techniques come in. Don’t be lazy about it—take a moment to file or dress those faces back to a clean, flat profile. It takes an extra five minutes, but it saves you from wasting a whole sheet of good metal because of a sloppy, unstable weld.
Five Hard-Won Lessons for a Clean Spot Weld
- Clean your metal until it shines. I’ve seen too many fellas try to weld through mill scale, oil, or rust, and all they end up doing is making a mess of the electrodes and getting a weld that’s about as strong as wet paper.
- Watch your pressure, not just your current. If you don’t squeeze those electrodes tight enough, you’ll get expulsion—that’s the molten metal spitting out like a bad habit—and you’ll end up with a crater instead of a solid nugget.
- Don’t go chasing the high numbers. It’s tempting to crank up the amperage to get a faster result, but you’re just going to burn through the sheet and waste the material; find the sweet spot where the metal flows without blowing a hole in it.
- Keep your electrode tips dressed and true. A mushroomed or flattened tip changes your contact area, which throws your whole heat calculation out the window; grab a file or a grinder and keep those faces flat.
- Test your settings on scrap first. Never, and I mean never, make your first weld on the actual project piece; take a couple of offcuts of the same thickness and run a few spots to see how the metal behaves under your specific settings.
The Bottom Line for a Lasting Weld
Don’t treat your welder like a magic wand; if you don’t respect the heat and the timing, you’re just making a mess that’ll fail the moment it’s put under any real stress.
Invest in the right electrodes and don’t skimp on them, because using cheap or worn-out tips is the fastest way to ruin a perfectly good piece of metal.
Slow down and watch the process instead of rushing to the finish line, because a weld built with patience is the only kind worth having in a proper workshop.
The Truth About a Good Weld
A spot weld isn’t just about pressing two pieces of metal together and hoping for the best; it’s about understanding how that heat travels through the grain. If you’re rushing the cycle or skimping on the pressure, you aren’t building anything—you’re just making a temporary mess that’ll fail the moment it’s put to real work.
Alistair Fenwick
Making It Count
At the end of the day, a good spot weld isn’t about how fast you can click that trigger; it’s about the preparation you did before you even turned the machine on. You’ve got to keep your electrodes clean, select the right material for the job, and most importantly, you have to respect the heat. If you skip the cleaning or rush through your settings, you aren’t just making a mistake—you’re wasting good metal and your own hard-earned time. Remember, the goal is a bond that’s as solid as the steel itself, and that only comes from steady, disciplined technique.
I know it can feel a bit tedious when you’re staring at a pile of scrap and trying to get that perfect nugget every single time, but don’t let the frustration get the better of you. Every failed weld is just a lesson in how to do it better on the next pass. We live in a world that wants everything done yesterday, but real craftsmanship doesn’t work that way. Take your time, keep your workspace tidy, and aim to build something that actually deserves to stay in your shop for the next forty years. Now, get back to it and keep your hands busy.
Frequently Asked Questions
How do I know if I'm applying enough pressure with the electrodes without crushing the metal?
It’s a balancing act, plain and simple. If you’re too light, you’ll get expulsion—that’s when the molten metal sprays out like a firework, wasting your material. If you’re too heavy, you’ll deform the sheet and ruin your workpiece. You’ll know you’ve hit the sweet spot when you hear a clean, sharp “pop” and see a consistent, slightly raised nugget. If the metal looks crushed or wavy, back off the pressure immediately.
Can I use a spot welder on different thicknesses of sheet metal, or am I going to ruin the job?
You can, but you can’t treat them all the same. If you try to use the same settings for a thin gauge as you do for something beefier, you’re going to have a bad time. Go too high on the thin stuff and you’ll blow a hole right through it; go too low on the thick stuff and you’ll just get a weak, useless nugget. Adjust your pressure and timing for every change in thickness.
What's the best way to clean the metal before I start so I don't end up with a weak, pitted weld?
If you leave grease, rust, or even a bit of mill scale on that surface, you’re asking for trouble. You’ll end up with a pitted, weak mess that’ll snap the moment it’s under any real stress. Get yourself some clean abrasive pads or a bit of fine sandpaper—I always keep some in my pocket for a reason—and scrub it down until it’s bright and shiny. If it isn’t clean, don’t even bother pulling the trigger.
