I remember standing in my first shop back in ’78, staring at a piece of steel that had just refused to marry another. I’d spent two hours coaxing the heat, sweat stinging my eyes, only to pull the pieces apart and find nothing but a cold, useless seam where a bond should have been. Most of the fancy manuals you buy today make forge welding sound like some high-tech magic trick that requires a laboratory and a massive bank account. They’ll tell you that if you don’t have a specific brand of flux or a computerized temperature sensor, you’re just wasting your time. That’s a load of rubbish, and frankly, it’s a lie designed to sell you gear you don’t need.
I’m not here to sell you on any expensive gadgets or complicated theories that don’t hold up under a hammer. What I want to do is show you how to actually read the metal and understand the rhythm of the heat. I’m going to walk you through the real-world mechanics of forge welding using nothing but your eyes, your ears, and a bit of steady patience. We’re going to focus on the fundamentals that actually matter, so when you finally strike that weld, it stays solid as a rock.
Table of Contents
Finding the Forge Welding Temperature Range
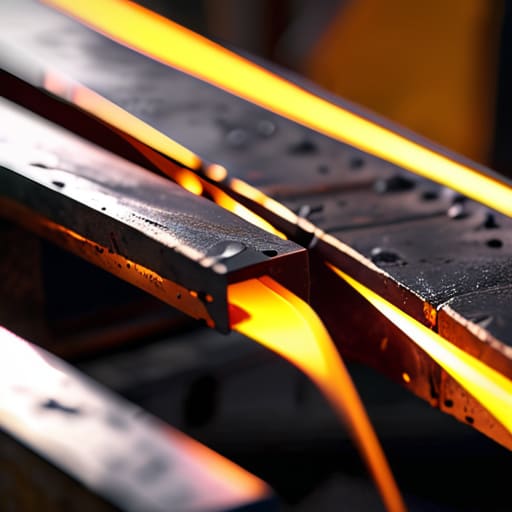
Finding the right heat is the difference between a solid bond and a pile of scrap. You aren’t looking for a specific number on a digital readout like you might see in a textbook; you’re looking for the color. When I’m working, I watch for that bright, lemon-yellow glow that signals the metal is ready to marry. If you try to join pieces while they’re still a dull cherry red, they won’t stick. If you push them too far into a white heat, you’ll burn the carbon right out of the surface, and you’ll be left with a brittle mess that’ll snap the moment you hit it with a hammer.
Identifying the correct forge welding temperature range requires a bit of intuition that only comes from spending hours in front of the coals. You have to watch how the light reflects off the surface. Once you see that shimmering, almost liquid look, you know you’re in the zone. This is also the critical moment for your forge welding flux application. You need to get that borax on there right as the temperature peaks to sweep away impurities and keep the metal from scaling. If you miss that window, you’re just fighting a losing battle against oxidation.
Mastering Proper Forge Welding Flux Application
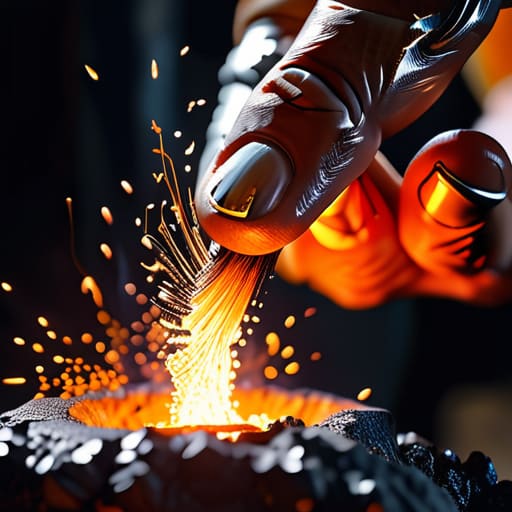
Once you’ve dialed in that temperature, the next thing you’ve got to get right is your flux. If you’re used to the way things work in modern shops, you might be thinking of forge welding vs arc welding, where you just pull a trigger and let the machine do the heavy lifting. But here, you’re managing a chemical reaction. You need to apply your borax while the steel is still hot enough to melt it, but not so hot that the flux burns off into nothing before you even get the pieces together. I always keep a small, clean brush handy to sweep the surface; you want a thin, even coating to act as a barrier, preventing oxidation in forge welding by keeping that pesky oxygen away from the clean metal.
When it comes time to actually join the pieces, don’t just go at it blindly. You need to time your movements so the flux stays fluid. If the flux dries out or gets too thick, you’ll end up with inclusions—basically bits of glass trapped in your steel—which ruins the whole bond. Watch the color of the metal and the way the flux flows; it should look like a clear, thin liquid. Once you’re ready, you’ll need a steady hammer welding striking force to drive the pieces together, but only once you’re certain that flux has done its job of cleaning the surface.
Five Hard-Won Lessons from the Anvil
- Watch your cleaning before the pieces even touch. I’ve seen too many young fellas try to weld dirty steel, and all they end up with is a mess of scale trapped in the joint. Scrub those surfaces until they’re bright and honest; if the metal isn’t clean, the weld won’t be either.
- Don’t let your heat soak become uneven. You can’t just blast one side and expect the whole piece to behave. You need a consistent, even glow across the entire mating surface, or you’ll find one side pulling away from the other the moment you strike.
- Control your hammer blows like you’re handling glass. It’s tempting to go in heavy to force the bond, but you have to start with lighter, rapid strikes to squeeze out the excess flux and any remaining scale. Once the bond is set, then you can bring the weight down.
- Listen to the sound of the metal. A proper forge weld has a specific ring to it. If you hear a dull thud or a strange hiss, something’s wrong—either your heat is off or your flux is boiling away too fast. Trust your ears more than your eyes.
- Mind your anvil face. If you’re working with a lot of flux, it can get messy and leave residue on your striking surface. Keep a wire brush handy to clear the face between heats, otherwise, you’ll be fighting grit and scale on every single strike.
Making It Stick: Three Rules to Live By
Watch the color, not the clock; you need to feel that heat in the metal and see that specific bright, welding yellow before you even think about bringing the pieces together.
Don’t get stingy with your flux, but don’t drown the piece either; you need just enough to keep the oxides at bay so the metal can actually marry up.
Respect the hammer blow; if you hit too hard or too fast before the bond is set, you’ll just shatter the weld and end up with a pile of scrap and a wasted afternoon.
## The Soul of the Weld
“You can’t bully the metal into doing what you want; you have to listen to it. If you’re fighting the heat or forcing the hammer, you’ve already lost the weld. True forge welding is a conversation between your hands and the iron, and if you don’t show it some respect, it’ll show you exactly how much it doesn’t care about your deadline.”
Alistair Fenwick
Making the Bond Stick
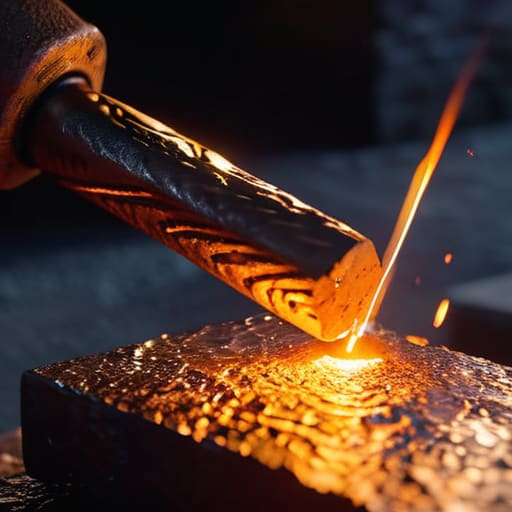
At the end of the day, a successful forge weld comes down to the fundamentals we’ve discussed: you have to watch that color like a hawk to hit the right temperature, and you can’t be stingy with your flux. If you miss the window or let the oxidation creep in, you aren’t just looking at a failed weld; you’re looking at a piece of scrap metal that could have been something useful. It’s about the discipline of the process—knowing exactly when to strike and when to wait. Don’t try to fight the physics of the metal. If you respect the heat and manage your cleaning, the two pieces will marry together into one single, solid unit that’s stronger than the sum of its parts.
I know it can be frustrating when a weld fails or when you feel like you’re just heating up air, but that’s part of the trade. Every mistake is just another lesson etched into your hands. We don’t work with metal to get things done fast; we do it to do things right. When you finally see that perfect, seamless bond hold firm under the hammer, you’ll realize it wasn’t just about the heat or the hammer—it was about the patience you put in. Keep your tools sharp, keep your eyes on the color, and never settle for a shortcut.
Frequently Asked Questions
How do I know if I've overheated the metal and ruined the carbon content before I even start the weld?
You’ll see it in the color. If you’re looking for that bright, clean lemon-yellow and you skip straight to a flashing, electric white, you’ve gone too far. When the metal starts throwing sparks like a grinding wheel, that’s the carbon burning out of the steel. Once those sparks start flying, the damage is done; you’ve essentially turned your good tool steel into something brittle and useless. Watch the glow, not the clock.
What's the best way to clean off all that crusty slag once the weld is finished without gouging the surface?
You’ve got to be careful here. If you go in swinging a heavy grinder right away, you’ll likely gouge the face of the weld. I prefer using a sharp, hardened steel chisel while the piece is still slightly warm—not red hot, but not stone cold either. Give it a few light, controlled taps to pop the slag off. Once that’s clear, a fine-grit file or some sandpaper will smooth things out without ruining the work.
Can I use a modern gas forge for this, or do I really need a coal forge to get the right kind of heat distribution?
You can certainly use a gas forge, but you’ve got to be more mindful of your atmosphere. A coal forge gives you that natural carbon-rich environment and a more turbulent heat that helps drive the flux into the joint. With gas, you’re working in a much cleaner, more oxidizing environment. You’ll need to watch your flame adjustment like a hawk to ensure you aren’t starving the metal of the heat it needs to bond.
