I remember standing over a workbench back in ’84, trying to fix a heavy-duty conveyor bracket with a set of cheap, flimsy riveting tools I’d picked up from a local hardware chain. The metal was screaming, the rivets were buckling, and I was sweating through my shirt because I’d trusted a tool that wasn’t built for real work. I learned a hard lesson that day: if you buy a tool that’s designed to be replaced in six months, you aren’t just wasting money—you’re wasting the time and effort you’re putting into the metal itself.
I’m not here to sell you on some shiny, overpriced gadget that looks good in a catalog but fails the moment it hits a real job. What I want to do is show you how to identify the proper riveting tools that actually hold their shape and do the work for you. I’ll walk you through the difference between a tool that’s built to last and one that’s just disposable junk. We’re going to focus on the gear that helps you build things that stay together, long after the modern, flimsy stuff has rusted into nothing.
Table of Contents
Rivet vs Screw Fastening Choosing a Connection That Lasts
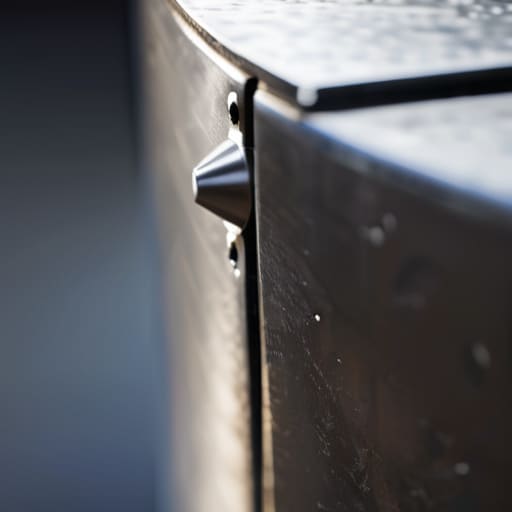
Now, I get asked all the time whether I’d rather see a job done with a screw or a rivet. It’s a fair question, but you can’t just pick one because it’s easier; you have to look at what the joint is actually doing. Screws are fine for things you might need to take apart next Tuesday, but they rely on threads biting into material. If you’re working with thin sheet metal or something that sees a lot of vibration, those threads are going to strip or shake loose eventually. When you’re looking at rivet vs screw fastening, remember that a rivet creates a permanent, mechanical bond that won’t back out when the work gets heavy.
If you’re doing serious industrial metalwork assembly, a rivet is often the superior choice because it pulls the two pieces of metal together with much more authority. While a screw sits in a hole, a well-set rivet becomes part of the structure itself. Of course, if you’re working in a tight spot where you can’t reach the back of the metal, you’ll likely be looking at the blind rivet installation process using a pop rivet. It’s a different beast than a solid shank, but for many repairs, it’s the only way to get a connection that actually holds.
Manual vs Power Riveting Tools Patience Against Production
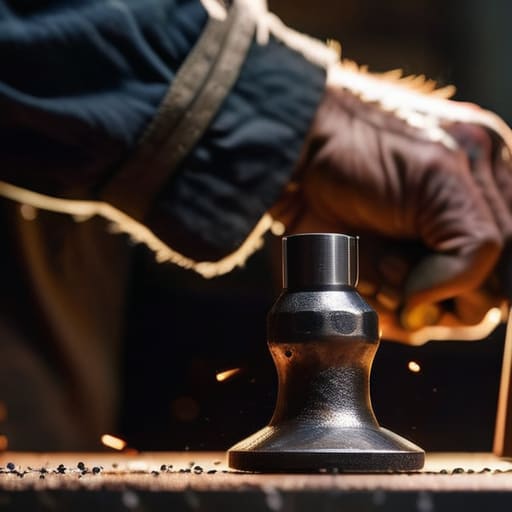
Now, you’ve got to decide if you’re looking to settle a job or if you’re looking to master it. In my shop, I still reach for a hand hammer and a set of dollies more often than I care to admit. There is a specific rhythm to manual vs power riveting tools that you just can’t replicate with a machine. When you’re working with manual tools, you feel the metal yielding under the strike. You can sense if the shank is seated properly or if you’re about to deform the head. It takes more sweat and a lot more patience, but you develop a sense for the material that a trigger-puller simply won’t give you.
That said, I’m not a Luddite; I know when a job calls for efficiency. If you’re staring down a heavy industrial metalwork assembly where you have fifty connections to make, dragging a manual hammer around is just asking for a sore shoulder and a crooked joint. That’s where the pneumatic gear comes in. While those pneumatic rivet gun types can fly through a task, they can also be unforgiving. If you don’t have a steady hand, you’ll blow through the metal before you even realize you’ve over-driven the connection. Use the power when you need the speed, but never let the machine do the thinking for you.
Five Rules for Not Wasting Your Metal
- Check your rivet mandrel for burrs before you even think about starting. If that mandrel is rough, it’s going to chew up the inside of your hole, and you’ll spend more time grinding out mistakes than actually joining parts.
- Match your tool to the material thickness, not your ego. Using a heavy-duty pneumatic riveter on thin-gauge sheet metal is a quick way to buckle the work and ruin a perfectly good piece of stock.
- Keep your anvils and backing plates clean. A single speck of grit or a bit of old scale trapped between your tool and the rivet can cause an uneven set, and an uneven rivet is just a fancy way of saying the joint is weak.
- Don’t go chasing speed with cheap, disposable hand tools. If you’re using a manual pop-rivet tool, get one with a decent leverage ratio; if you’re fighting the tool, you’re going to lose your rhythm and your precision.
- Listen to the sound of the set. Whether you’re using a hammer or a power tool, there’s a specific “thud” when a rivet is properly seated. If it sounds hollow or keeps clicking, you haven’t finished the job, and you shouldn’t walk away yet.
Making the Right Call at the Bench
Don’t pick a tool just because it’s fast; if you’re working on something meant to endure, choose the manual method that gives you total control over the metal’s deformation.
Stop treating rivets like screws; a rivet is a permanent commitment to a joint, so ensure your tooling is heavy enough to set the head properly without marring the workpiece.
Invest in quality over convenience, because a cheap, flimsy riveter will only frustrate you and ruin your materials when you’re trying to do a job right.
The Soul of the Connection
A screw is just something you turn until it stops; a rivet is something you forge into the very bones of the piece. If you don’t respect the tool in your hand and the heat in the metal, you aren’t building a connection—you’re just making a temporary fix.
Alistair Fenwick
Putting the Hammer Down
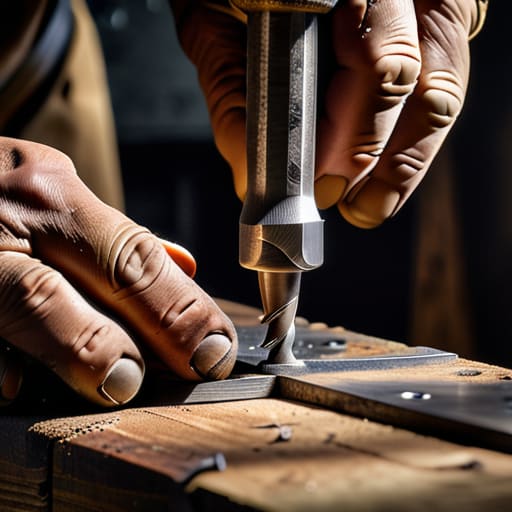
At the end of the day, picking the right tool isn’t about finding the fastest way to get a job done; it’s about choosing the right way to do it. Whether you’ve decided that a permanent rivet is superior to a screw for your specific load, or you’re weighing the steady, tactile control of a manual hand tool against the raw speed of a pneumatic driver, remember that your choice dictates the integrity of the joint. If you rush into a power tool before you understand the physics of the metal, you’re going to end up with nothing but wasted material and frustration. Take the time to match the tool to the task, and never settle for a connection that feels flimsy under your hand.
I’ve seen plenty of folks try to bypass the fundamentals by buying cheap, flimsy kits that fall apart after a month of real work. Don’t be one of them. Invest in quality tools that you can actually maintain, because a good set of riveting gear should outlive the project it’s building. There is a profound kind of satisfaction that comes from looking at a finished piece and knowing every fastener was set with purpose and precision. We aren’t just slapping parts together; we are building things to last. So, grab your gear, mind your heat, and do the job right the first time.
Frequently Asked Questions
How do I know if a rivet is set properly just by the feel of the hammer?
You’ll feel it in the vibration through the handle. When you’re first hitting a loose rivet, the hammer feels “mushy”—it’s got a bit of a bounce because the metal is still shifting and finding its seat. But once that rivet is properly compressed and seated against the material, the strike will turn sharp and crisp. It’ll feel like you’re hitting a solid block of steel rather than something moving underneath. If it still feels soft, keep swinging.
What kind of anvil or backing material should I use to keep from marring the workpiece?
If you’re worried about marring the surface, stop thinking about a heavy anvil for a second and start thinking about your backing. For delicate work, skip the hardened steel. I usually grab a piece of scrap hardwood or a thick slab of leather to sit between the rivet and the anvil. It absorbs the shock and protects the finish. If you must use metal, a soft copper or lead block is your best friend.
Can I use standard hardware store rivets for structural repairs, or do I need to source specific grades?
Listen, if you’re just fixing a loose gutter or a decorative piece, those cheap aluminum rivets from the big-box store will do fine. But if you’re talking about structural work—anything that carries a load or faces real vibration—stay away from them. You need to know exactly what grade of steel or stainless you’re pulling. Using the wrong rivet is like using a toothpick to hold up a beam; it might look okay, but it’ll fail when you need it most.
