I was hunched over my workbench last Tuesday, staring at a rusted-out Stanley plane I’d picked up at a yard sale, when I realized just how much junk is being passed off as “patina” these days. Most folks think antique tool restoration is about slapping on some fancy wax or using a high-speed grinder to make an old piece look shiny and new. That’s a mistake. If you go in there trying to sand away the history of a tool just to make it look pretty on a shelf, you aren’t restoring it—you’re destroying it. Real work requires you to respect the steel and understand the soul of the machine before you even think about picking up a file.
In this guide, I’m going to show you how to do things the right way, without the shortcuts that lead to wasted material. We aren’t looking for a quick fix here; we are looking for longevity and precision. I’ll walk you through the proper cleaning methods, how to address pitting without losing the tool’s character, and the exact way to hone an edge so it bites into wood like it did eighty years ago. If you’re willing to put in the steady work, I’ll show you how to bring those old beauties back to life.
Table of Contents
- Step-by-Step Instructions
- Mastering Rust Removal Techniques Without Rushing the Heat
- Reconditioning Old Metalwork Through Patience and Precision
- Five Rules to Keep from Ruining a Good Piece of Iron
- The Bottom Line on Doing It Right
- ## The Soul of the Steel
- The Final Polish
- Frequently Asked Questions
Guide Overview
Tools & Supplies
- Wire brush for removing loose rust
- Sandpaper assortment for smoothing metal
- Bench vise to hold the workpiece
- Microfiber cloths for buffing
- Penetrating oil (e.g., WD-40 or PB Blaster) 1 can
- Vinegar for rust soaking 1 gallon
- Mineral oil for finishing 1 small bottle
- Steel wool (fine grade) 1 pack
Step-by-Step Instructions
- 1. First things first, you need to get that tool clean. I don’t care how much rust you see; you can’t work on a surface covered in decades of grime and scale. Get yourself some heavy-duty degreaser or even just some simple dish soap and a stiff nylon brush to strip away the grease and oil. If the rust is particularly stubborn, a soak in a mild acidic solution like white vinegar can do the heavy lifting for you, but don’t leave it in so long that you start eating into the healthy metal underneath.
- 2. Once the surface is clean and dry, it’s time to tackle the oxidation. Now, this is where most folks make a mistake by grabbing a high-speed grinder and going to town. Slow down. If you use too much aggression, you’ll round off the crisp edges that make an antique tool worth having in the first place. I prefer using a wire brush on a drill or a hand-held abrasive pad. You want to peel the rust away, not reshape the tool.
- 3. After the bulk of the rust is gone, you’ll likely find some pitting in the metal. This is part of the tool’s history, but if those pits are deep enough to catch your skin or snag a workpiece, you’ll need to sand them out. Start with a coarser grit, maybe around 80 or 120, and work your way up to a finer finish. Always follow the natural contour of the metal; if you fight the shape of the tool, you’ll end up with a mess that looks amateurish.
- 4. Now that the metal is smooth, you have to address any mechanical parts. If it’s a tool with moving components—like a plane or a vise—you need to strip the old, hardened grease out of the threads and joints. Use a small pick or a stiff brush to clear out the gunk. A tool that doesn’t move smoothly is just a heavy paperweight, so take the time to ensure every moving part is free of debris before you even think about lubrication.
- 5. Once everything is clean, smooth, and moving as it should, you have to protect that bare metal. Raw steel is an invitation for rust to come crawling back the second the humidity rises. I usually go with a high-quality paste wax or a thin coat of boiled linseed oil. Rub it in well with a clean rag, making sure you get into every little crevice. You aren’t trying to build up a thick, gummy layer; you just want a microscopic barrier between the steel and the air.
- 6. Finally, give the tool a proper inspection. Run your hands over the surfaces—carefully—to feel for any remaining burrs or rough spots. If it feels right, it’s ready for the bench. Remember, restoration isn’t about making something look brand new like it just rolled off a factory line; it’s about honoring the tool and making sure it’s ready to work for another fifty years.
Mastering Rust Removal Techniques Without Rushing the Heat
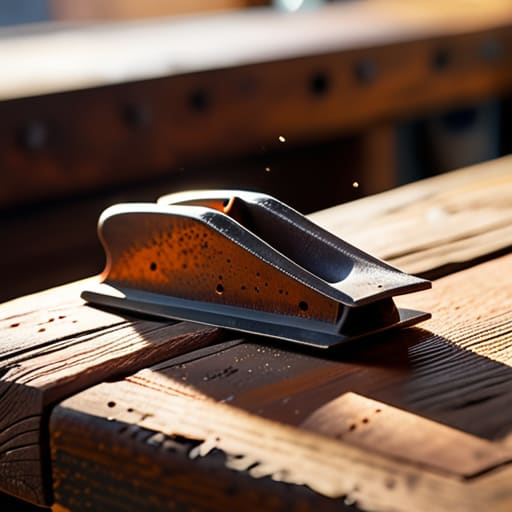
Now, when it comes to the actual grit of the job, you’ll find that most folks try to blast through the corrosion with whatever they can find. They grab a heavy grinder and go to town, thinking speed is their friend. That’s a mistake. If you’re serious about reconditioning old metalwork, you have to respect the surface underneath the decay. I’ve seen too many young lads turn a beautiful, sharp bevel into a wavy mess because they let a high-speed wheel get too hot. If the metal starts changing color from the friction, you’ve already gone too far.
When you’re exploring different rust removal techniques, I usually lean toward a slow soak in a mild acid or even just a steady hand with some fine-grade emery cloth. It takes longer, sure, but it keeps the original dimensions of the tool intact. If you’re working on woodworking tool refurbishment, precision is everything. A plane iron needs to be flat, not just shiny. Once you’ve got the scale off, don’t just walk away. Apply a thin coat of oil immediately; preventing tool oxidation from starting all over again is just as important as the cleaning itself.
Reconditioning Old Metalwork Through Patience and Precision
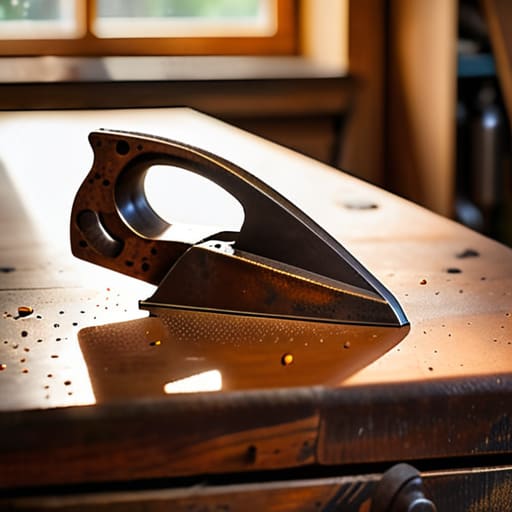
Once you’ve cleared away the heavy scale and the surface corrosion, you’re left with the real character of the piece. This is where most folks get ahead of themselves. They see a bit of pitting and want to grab a heavy grinder to smooth it out immediately. Don’t do that. If you’re serious about reconditioning old metalwork, you have to treat the surface like a conversation, not a fight. I always suggest starting with a fine-grit abrasive and working in one direction. It takes longer, sure, but you won’t end up scarring the metal or losing the original geometry that makes a quality tool worth saving in the first place.
Precision isn’t just about how you shape the metal; it’s about how you finish it. After you’ve achieved a smooth surface, your next job is preventing tool oxidation before it can even think about setting in. I like to apply a thin, even coat of boiled linseed oil or a dedicated paste wax while the metal is still slightly warm to the touch. This seals the pores of the iron and creates a barrier that keeps moisture at bay. If you skip this step, all that hard work you put into restoring vintage hand tools will be undone by a damp workshop air in a matter of weeks.
Five Rules to Keep from Ruining a Good Piece of Iron
- Listen to the metal. When you’re working a piece in the forge or even just scrubbing away at a stubborn patch of scale, the sound tells you everything. If it sounds brittle or wrong, stop what you’re doing. You can’t argue with the physics of the material.
- Don’t go overboard with the grinders. I see too many young folks grab a high-speed angle grinder and try to sand away twenty years of patina in five seconds. You’ll end up eating into the actual dimensions of the tool, and once that metal is gone, it’s gone for good.
- Check your measurements twice, then check them again. A tool that isn’t square or true isn’t a tool—it’s a paperweight. Use your calipers and your squares religiously; don’t just eyeball it because you think you’ve got a “feel” for it.
- Keep your workspace organized. A cluttered bench leads to a cluttered mind, and a cluttered mind leads to dropped hammers or slipping chisels. If you can’t find your file, you’re going to start getting frustrated, and frustration is when mistakes happen.
- Treat your tools better than you treat yourself. If you wouldn’t want to work with a dull, rusted blade, don’t expect a tool to work for you. Clean your workspace and oil your finished pieces every single time you put them away.
The Bottom Line on Doing It Right
Respect the material and never rush the process; if you try to force a result with heat or heavy striking before the metal is ready, you’re just asking to ruin a piece that’s been around longer than you’ve been alive.
Invest in your tools and your technique rather than buying cheap replacements, because a steady hand and a sharp file will always beat a shortcut every single time.
Aim for longevity, not just a quick shine; true restoration means fixing the structural soul of the tool so it stays in your workshop for another fifty years instead of ending up in a scrap heap.
## The Soul of the Steel
“You aren’t just scrubbing away rust or straightening a bent blade; you’re negotiating with someone else’s hard work from fifty years ago. If you approach a piece of old steel with ego instead of respect, it’ll fight you every step of the way.”
Alistair Fenwick
The Final Polish
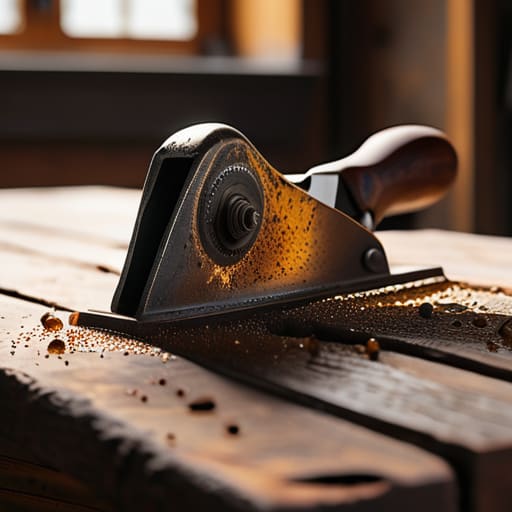
At the end of the day, restoring an old tool isn’t just about scrubbing away decades of grime or getting a surface to shine. It’s about the discipline you showed when you were fighting that stubborn rust or deciding to wait another ten minutes for the metal to reach the right temperature. You’ve learned that you can’t force a result; you have to earn it through steady, methodical work. By focusing on proper rust removal and avoiding the temptation to rush the reconditioning process, you’ve ensured that this piece of history isn’t just cleaned up, but actually restored to a state where it can be used again. Remember, if you skip the prep work, you’re just masking the problem, and that’s a recipe for a tool that fails when you need it most.
There is a certain kind of quiet satisfaction that comes from holding a tool you’ve brought back to life in your own hands. In a world that seems hell-bent on throwing everything away the moment it gets a little bit scuffed, choosing to repair something is a radical act of respect. You aren’t just saving a piece of steel; you’re keeping a tradition of craftsmanship alive for the next person who picks it up. So, keep your tools sharp, keep your workspace organized, and never be in such a hurry that you forget to respect the metal. If you do that, you’ll find that the work itself becomes just as rewarding as the finished product.
Frequently Asked Questions
How can I tell if a tool has been heat-treated properly or if the metal has been compromised by too much rust?
You’ll know a tool’s heat treatment is shot if you see “bluing” or uneven discoloration where it shouldn’t be—that’s a sign it’s been overheated. As for rust, grab a file. If you find deep pitting that looks like craters in a moonscape, the structural integrity is compromised. If the metal feels spongy or flakes off in layers rather than shavings, leave it alone. That metal’s tired, and no amount of polishing will save it.
Is there a point where a tool is too far gone to save, or can almost anything be brought back with enough work?
Look, I’ve seen just about everything come through my shop door. Most folks think a heavy layer of pitting or some deep oxidation means the end, but they’re usually wrong. If the structural integrity is still there—meaning the core metal hasn’t been eaten away to nothing—it’s worth the sweat. But if the metal is paper-thin or the geometry is warped beyond repair, don’t waste your time. Some things are meant to be scrap.
What’s the best way to protect my finished work from moisture without using those cheap, modern sprays that just sit on the surface?
If you want it to last, stay away from those aerosol cans. They just create a plastic film that eventually flakes off, leaving you with a mess. For real protection, I swear by boiled linseed oil or a high-quality beeswax paste. Rub it in thin, let it soak, and buff it out. It penetrates the pores of the metal and wood alike, creating a barrier that actually breathes with the piece instead of just sitting on top.
