People will tell you that if a tool is pitted with rust or has a seized joint, it’s nothing more than scrap metal waiting for the bin. They’re wrong. I spent forty years in heavy fabrication, and I’ve learned that most of the junk you find in a barn or a damp basement is just sleeping. The real mistake people make isn’t having a rusted hammer or a dull chisel; it’s the impatient urge to go out and buy a cheap, plastic-handled replacement from a big-box store instead of restoring old tools that were built to outlive us all. You don’t need a miracle to bring them back; you just need a bit of patience and the right sequence of steps.
In this guide, I’m going to skip the fancy, expensive gadgets you see in those glossy magazines and get straight to the grit. I’ll show you how to strip away years of neglect without ruining the temper of the steel, and how to recognize which pieces are worth your time. I’m talking about honest, practical methods—the kind you learn when you’ve spent too many hours hunched over a workbench. We aren’t just cleaning up metal here; we are bringing back something substantial.
Table of Contents
Guide Overview
Tools & Supplies
- Wire brush for removing loose rust
- Sandpaper assorted grits for smoothing metal
- Screwdrivers for disassembly
- Penetrating oil 1 bottle
- Vinegar 1 gallon
- Steel wool 1 pack
- Mineral oil 1 small bottle
Step-by-Step Instructions
- 1. First things first, you need to clear the grime away. I don’t care how much rust is on that piece; you can’t work on what you can’t see. Grab a stiff wire brush or some coarse steel wool and start scrubbing. You aren’t trying to polish it yet—you’re just trying to get down to the actual surface of the metal so you know what kind of damage you’re truly dealing with.
- 2. Once the loose flakes are gone, it’s time to deal with the stubborn oxidation. If the rust is deep, don’t go reaching for a chemical soak right away; those things can be unpredictable and sometimes they eat into the good metal. I prefer a bit of elbow grease with some fine-grit sandpaper. Work in one direction, not in circles, and don’t rush the process or you’ll end up with uneven patches that’ll drive you mad later.
- 3. Now, if you’ve got a tool with a wooden handle that’s seen better days, don’t just slap a new one on. Take some fine sandpaper to the wood to smooth out the splinters and old, dried-out varnish. If the wood is bone-dry, it’s going to snap the first time you put some real weight behind a swing. I usually rub a little linseed oil into the grain to bring it back to life before I even think about reattaching it to the head.
- 4. For the metal parts that are actually meant to move—like the sliding parts of a plane or the pivot on a pair of shears—you need to check for burrs. Take a small, fine file and lightly run it along the edges. You aren’t trying to reshape the tool, you’re just removing the imperfections that cause friction. If it doesn’t move smooth as silk after this, you haven’t gone far enough.
- 5. Once the metal is clean and the wood is prepped, you need to protect your work. Metal is a thirsty thing; if you leave it bare after all that scrubbing, it’ll start rusting again before you’ve even put your tools back in the rack. I like to use a thin coat of paste wax or a bit of machine oil. Rub it in well, let it sit for a minute, and then buff it out with a clean rag until it feels right in your hand.
- 6. Finally, take a moment to inspect everything one last time. A good craftsman never just finishes and walks away; you check your work against the original intent of the tool. Make sure the weight feels balanced and the edges are true. If it feels off, go back to step one. There’s no shame in doing it twice to ensure it’s done right.
Removing Oxidation From Steel Without Wasting Good Material
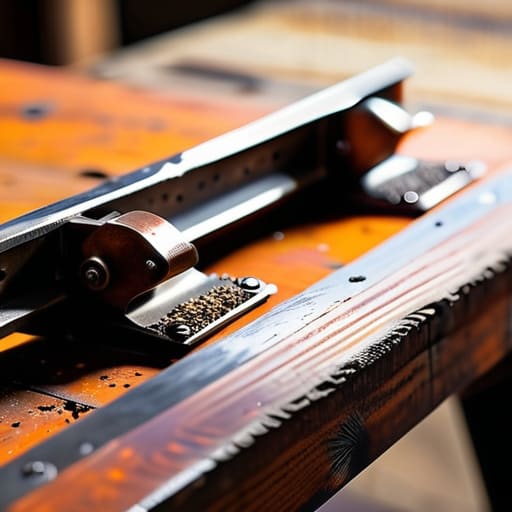
Now, when you’re getting into the thick of removing oxidation from steel, there’s a temptation to grab the heaviest grinder you can find and just start tearing away. I’ve seen plenty of youngsters do exactly that, only to realize ten minutes later they’ve ground away the very temper or the specific geometry that made the tool useful in the first place. If you’re working on vintage hand tool refurbishment, you have to remember that the rust is often just a thin skin. Start with a fine-grade abrasive or even a brass brush. You want to peel back the decay, not butcher the substrate.
If the pitting is deep, don’t panic and don’t go overboard. I prefer using a mild acid bath—something like white vinegar—to let the chemistry do the heavy lifting while I focus on other parts of the shop. It’s a slow process, but patience is your best tool here. Once the surface is clean, you need to move immediately to a light oil coating. If you leave that bare steel sitting in the humid air for even an hour, you’re just inviting the rot to come back. Preventing tool corrosion is just as important as the cleaning itself.
The Patient Art of Metal Polishing for Old Tools
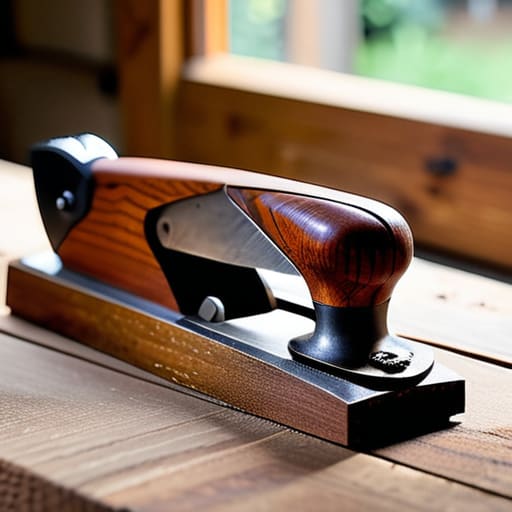
Now that you’ve cleared off the heavy scale and addressed the deep-seated rust, you’re left with the actual surface of the tool. This is where most folks lose their nerve and start grinding away the very soul of the piece. I’ve seen too many men turn a beautiful, heirloom plane into a shapeless hunk of scrap because they thought more speed meant better results. Metal polishing for old tools isn’t about making something shine like a new chrome bumper; it’s about bringing back the smoothness that the original maker intended. Use a fine-grit abrasive and work with the grain, not against it.
If you’re working on vintage hand tool refurbishment, remember that the finish should feel like silk under your thumb, not glass under a light. I always keep a bit of fine-grit sandpaper handy in my pocket for those final, stubborn spots. Take your time with the oils and compounds. If you rush this stage, you’ll leave micro-scratches that will only catch moisture later, effectively undoing all your hard work. Patience is your best tool in the shop.
Five Things I Wish I Knew Before I Picked Up the Grinder
- Listen to the metal, not just your eyes. When you’re cleaning or shaping, you’ll start to hear a difference in the sound of your tools when they hit a burr or a deep pit. If the pitch changes, stop and look closer; you’re likely about to take off more than you intended.
- Never skip the degreasing stage. I’ve seen too many folks slap a fresh coat of oil or wax over a tool that still had traces of old, gummy grease or fine dust. You aren’t protecting the metal; you’re just sealing the rot underneath.
- Keep your sandpaper organized by grit, and don’t jump around. If you go from a coarse grit straight to a fine one because you’re in a hurry, you’re going to leave deep swirl marks that’ll haunt you for the rest of the job. Work your way up slowly.
- Respect your workspace cleanliness. A single stray grain of coarse grit sitting on your workbench can ruin an hour of fine polishing work the second you set your tool back down. Keep a clean rag in your hand and use it constantly.
- Invest in quality handles, not just metal repair. A tool is only as good as the connection between your hand and the work. If the steel is sound but the hickory handle is cracked or dried out, don’t bother with the fancy polishes until you’ve addressed the wood.
Lessons from the Workbench
Respect the material by never rushing the heat or the abrasive; if you try to force a result with speed, you’ll end up thinning the metal or ruining the temper.
Keep your tools as sharp as your focus, because a dull file or a dirty workspace is just a recipe for a sloppy, uneven finish.
Aim for longevity over aesthetics, remembering that a tool is meant to be used in the shop, not just sat on a shelf to look pretty.
## The Soul of the Work
You can tell everything you need to know about a man by how he treats a rusted wrench; if he treats it like junk, he’ll treat his work like junk, too. You don’t just strip the rust away to make it shiny—you do it to find the strength that’s still hiding underneath.
Alistair Fenwick
The Final Inspection
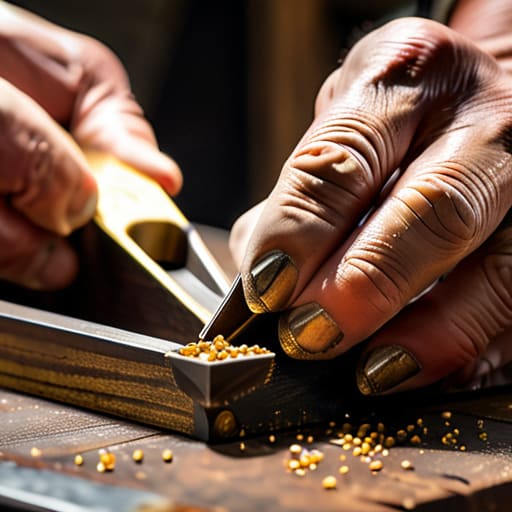
At the end of the day, restoring a tool isn’t about making it look like it just came off a showroom floor; it’s about bringing back its utility and integrity. We’ve gone through the grit of removing heavy oxidation, the slow grind of polishing out the surface imperfections, and the careful application of protective oils to keep the rust at bay. If you’ve done it right, you haven’t just cleaned a piece of steel—you’ve preserved a legacy. Remember, if you find yourself getting frustrated with a stubborn pit or a stubborn patch of scale, just step back and take a breath. You can’t force the metal to cooperate, and rushing the finish is the quickest way to ruin a perfectly good restoration.
There is a particular kind of satisfaction that comes from holding a tool in your hand that you once thought was headed for the scrap heap. It’s a quiet, steady feeling that reminds you that most things in this world are worth the extra effort. We live in a culture that wants everything new, shiny, and replaceable, but there is more soul in a tool that has been reclaimed through hard work. So, don’t just tuck these pieces away on a display shelf. Get them out in the shop, put them to work, and let them earn their keep once again. That is how we ensure that real craftsmanship survives for the next generation.
Frequently Asked Questions
How do I know if a tool is too pitted or rusted to be worth the effort of a full restoration?
Look, I’ve seen plenty of folks pour hours into a piece of scrap that was never coming back. Before you pick up a file, run your fingernail over the surface. If those pits are deep enough to catch your nail like a canyon, you’re looking at losing too much structural integrity just to make it smooth. If the tool feels light or brittle, or if the pitting goes right through the core, let it go. Some things are meant to be retired.
Is there a way to stop the rust from coming back once I've finally got the metal looking clean and smooth?
Once you’ve done the hard work of cleaning that steel, the last thing you want to do is watch it turn orange again overnight. You’ve got to seal it. For most tools, a light coat of boiled linseed oil or a high-quality paste wax is your best bet. Rub it in thin, wipe away the excess, and let it cure. It creates a barrier that keeps the moisture out and the life in.
Should I be using modern chemical cleaners for the heavy stuff, or is it better to stick to traditional methods like vinegar and electrolysis?
Look, those modern chemical cleaners might save you twenty minutes, but they often strip away more than just the rust. They can be too aggressive, eating into the healthy metal and leaving you with a pitted surface that’s a nightmare to polish later. I’ve always found vinegar or a slow electrolysis setup to be much more respectful to the tool. It takes longer, sure, but it preserves the integrity of the steel. Don’t trade quality for speed.
