I remember standing in my first apprenticeship shop back in the late seventies, the air thick with the smell of coal smoke and scorched scale. I watched an old-timer take a piece of scrap and turn it into something beautiful, not by using some fancy, computerized hydraulic press, but by simply listening to the metal. Nowadays, you see these kids buying thousand-dollar starter kits and expecting a miracle because they read a manual, but they don’t realize that forging steel is as much about patience as it is about power. If you don’t feel the vibration of the hammer through your elbows, you aren’t actually working the material; you’re just making noise.
I’m not here to sell you on some high-tech, expensive shortcut that’ll leave your workshop cluttered with junk. What I want to do is show you how to respect the anvil and understand the rhythm of the heat. I’ll walk you through the fundamental realities of the craft—the stuff they don’t tell you in those glossy magazines—so you can stop wasting good metal and start building things that actually deserve to be kept.
Table of Contents
Understanding Carbon Steel Properties and Temperament
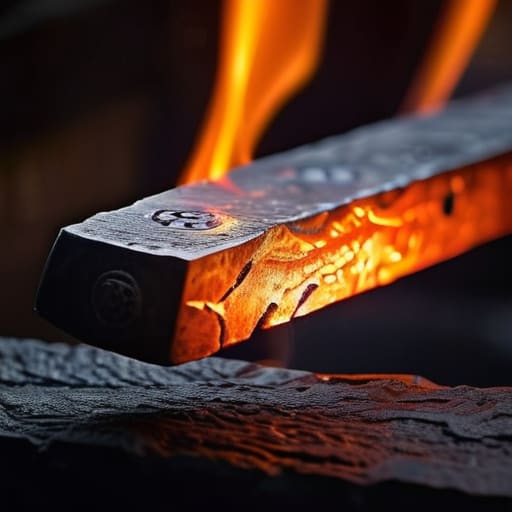
Before you even think about striking an anvil, you need to understand what you’re actually working with. Not all metal is created equal, and if you treat a high-carbon blade like a piece of mild steel, you’re going to have a bad time. When we talk about carbon steel properties, it’s really all about the balance between hardness and toughness. The carbon is what gives the metal its “teeth,” allowing it to hold an edge, but it’s also what makes the material temperamental. If you don’t respect that chemistry, the steel will either shatter like glass or stay as soft as a paperclip.
You’ll notice the metal changes color as it climbs through the different forging temperature ranges, moving from a dull cherry to a bright, glowing lemon. This isn’t just for show; those colors are your only real way of communicating with the material. If you try to force a bend when the steel is too cold, you aren’t just working hard—you’re stressing the grain structure and inviting cracks that’ll ruin your piece before you’re even finished. Slow down and watch the glow.
Mastering Forging Temperature Ranges Without Wasting Metal
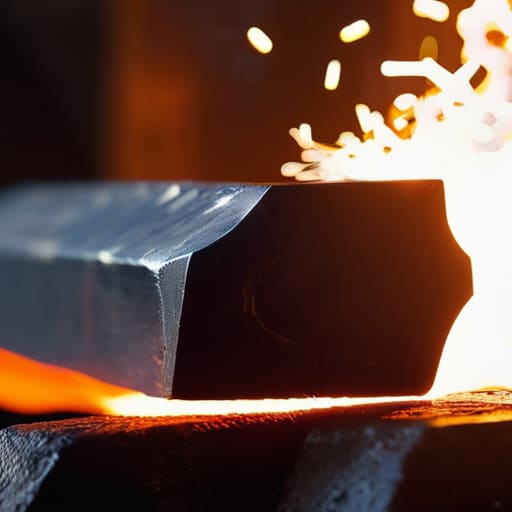
You can’t just stare at the color of the metal and hope for the best; you have to learn to read the glow like it’s a language. If you’re working too cold, you’re not forging—you’re just bruising the grain. When you hammer steel below its proper temperature, you’re essentially creating microscopic fractures that will show up later when you’re trying to finish the piece. I’ve seen many a young person ruin a perfectly good billet by trying to force a bend when the metal was barely cherry red. You have to respect those forging temperature ranges; if the color isn’t right, put it back in the fire.
It’s a common mistake to think more heat equals faster work, but that’s a one-way ticket to a wasted project. If you overheat the piece to the point of sparking, you’re burning the carbon right out of the steel, and once that’s gone, you can’t get it back. You’ll end up with a piece of soft, useless iron that won’t hold an edge or a shape. Watch your colors closely—aim for that bright, consistent orange. It’s about patience, not speed.
Five Rules to Keep Your Hammer Straight and Your Steel Whole
- Listen to the metal, not just your eyes. You’ll start to hear a change in the ring of the anvil when the steel is getting too cold; if you keep hitting it when it’s below the right temperature, you aren’t shaping it anymore, you’re just creating internal fractures that’ll snap the piece later.
- Stop treating your hammer like a blunt instrument. It’s about controlled energy, not raw strength. If you’re swinging with everything you’ve got just to make a dent, your form is off and you’re going to tire yourself out before the work is even halfway done.
- Keep your scale under control. If you let that black oxidation build up too thick without brushing it off, you’ll end up hammering that waste right into the surface of your piece, and no amount of grinding is going to fix a pitted finish.
- Mind your tongs like they’re an extension of your own hands. A loose grip or a poorly fitted tong leads to a slipped workpiece, and once that steel hits the shop floor, you’ve wasted more time picking it up than you spent forging it.
- Don’t be afraid to step away. I’ve seen plenty of young lads ruin a perfectly good billet because they were too stubborn to let the metal cool or too impatient to wait for the forge to hit the right soak; if you feel yourself rushing, put the hammer down and take five.
The Bottom Line Before You Strike
Listen to the steel; if you try to force a shape when the metal is too cold, you aren’t just working harder, you’re creating internal fractures that’ll ruin the piece later.
Respect the carbon content by matching your heat to the specific grade of steel you’re holding, or you’ll find yourself with a brittle mess instead of a tool.
Slow down and do it right the first time, because in my experience, the time you think you’re saving by rushing is usually spent later grinding away mistakes.
## The Lesson in the Glow
“You can’t bully the steel into submission; you have to listen to what the color is telling you. If you try to force a bend when the metal’s too cold, you aren’t just working hard—you’re just breaking your tools and wasting good material.”
Alistair Fenwick
The Long Game in the Shop
At the end of the day, forging isn’t about how fast you can swing a hammer or how much heat you can pile on a piece of scrap. It’s about the marriage of understanding your material and having the discipline to respect it. We’ve talked about why you need to know your carbon content and why watching your color temperatures is the only way to avoid ruining a good billet. If you ignore the science of the steel or try to force a shape before the metal is ready, you aren’t crafting; you’re just making a mess. Remember, every mistake you make is just a lesson in material integrity that you won’t have to repeat next time.
When you finally step back from the anvil and look at what you’ve shaped, I hope you see more than just a piece of metal. I hope you see the hours of patience and the steady hand it took to get there. We live in a world that’s obsessed with the “new” and the “disposable,” but there is a deep, quiet pride in making something that can be repaired, reused, and passed down. Don’t just aim to finish the job; aim to build something that lasts. Now, clean up your station, put your tools away properly, and I’ll see you back at the forge tomorrow.
Frequently Asked Questions
How do I know if I've over-heated the steel and ruined the grain structure before I even start hammering?
You’ll see it in the color, but you’ll feel it in the metal. If you see bright, dancing sparks jumping off the surface, stop immediately—that’s the steel literally burning up, and those sparks are tiny bits of carbon being lost to the air. If the metal looks “wet” or greasy even when it’s cooling, or if the color turns a sickly, pale yellow instead of a deep cherry, you’ve likely cooked the life out of it. Once that grain structure shatters, you’re just working with expensive scrap.
What’s the best way to handle a piece of steel that’s already cracked or has a deep flaw from a previous attempt?
If you’ve got a crack, you’ve got a choice: fix it or scrap it. If the flaw is shallow, you can try to forge-weld it by heating the area to a bright, white-hot welding temperature and hammering it shut, but you’ve got to be precise. Honestly, though? If it’s a deep crack, I usually scrap it. A flaw is a structural weakness, and I’d rather lose a bit of steel than waste my time on something that’ll snap mid-swing.
Do I really need a dedicated anvil, or can I get by with a heavy piece of scrap steel while I'm still learning the basics?
Look, I’ve seen plenty of fellas try to make do with a hunk of railroad track or a heavy scrap block. It’ll get the metal moving, sure, but you’re fighting the tool as much as the steel. A real anvil has the mass and the rebound you need to work with, not against. If you’re just practicing basic bends, scrap is fine, but don’t call it blacksmithing until you’ve got a proper surface.
