I remember standing in my first real workshop forty years ago, the air thick with the scent of coal smoke and hot iron, listening to a master smith tell me that a man is only as good as his patience. I’ve seen too many young folks walk into a shop today thinking they can skip the fundamentals by buying a fancy, computerized forge and a stack of expensive pre-cut billets. They treat forging steel basics like some sort of video game where you just press a button and magic happens. But let me tell you, the steel doesn’t care about your expensive gadgets; it only cares if you respect the heat and understand how the metal actually moves under your hammer.
I’m not here to sell you a dream or a complicated manual that requires a degree to read. What I’m going to give you is the straight truth, stripped of all the unnecessary fluff you find in those glossy magazines. We’re going to walk through the actual, gritty reality of forging steel basics—from reading the color of the glow to finding your rhythm on the anvil. My promise to you is simple: I’ll show you how to build things that actually last, ensuring you don’t waste a single scrap of good material.
Table of Contents
Understanding Carbon Steel Properties Before You Strike
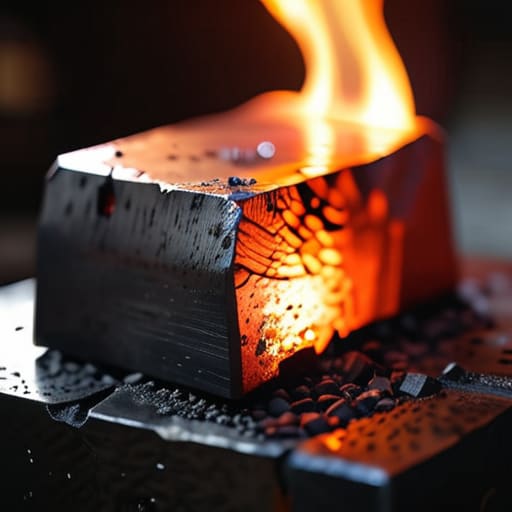
Before you even think about picking up a hammer, you need to understand what you’re actually working with. Not all metal is created equal, and if you treat high-carbon steel like a piece of mild scrap, you’re going to have a bad time. You have to respect the carbon steel properties that dictate how the metal responds to heat. High carbon means better edge retention and strength, but it also means the material is much more temperamental. It’ll hold its shape better once it’s done, but it’s also prone to cracking if you aren’t careful with how you manage the thermal cycle.
It’s not just about the metal itself, though; it’s about how that metal behaves when it hits the sweet spot in the forge. You’ll need to keep a sharp eye on your forging temperature ranges to ensure you aren’t working the steel when it’s too cold, which causes internal stress, or too hot, which burns the carbon right out of it. I’ve seen plenty of youngsters ruin a perfectly good billet because they were too impatient to wait for the right color. Patience is your most important tool in the shop—more than any hammer or tongs.
Essential Blacksmithing Tools for the Honest Craftsman
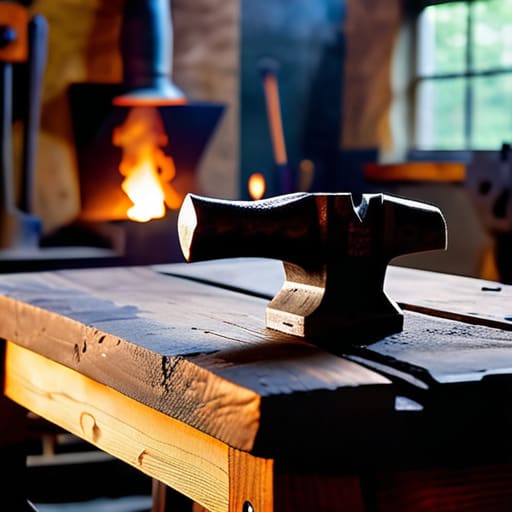
You don’t need a shop full of shiny, expensive gadgets to get started, but you do need a few things that won’t fail you when the metal is glowing. First and foremost, you need a decent anvil. It doesn’t have to be a massive industrial piece, but it needs to be solid steel with a true face. If your anvil is pitted or uneven, your anvil striking methods will suffer, and you’ll spend more time fighting the tool than shaping the work. Pair that with a good, heavy-duty hammer—something with enough weight to do the work so your wrist doesn’t have to—and you’ve got the foundation of a real workspace.
Beyond the heavy hitters, don’t overlook your tongs. A man is only as good as his grip, and if your tongs are poorly sized or slipping, you’re asking for a burn or a ruined piece. I always tell my apprentices that investing in quality essential blacksmithing tools is just common sense; it’s cheaper to buy one good set of tongs once than to replace a dozen cheap ones every year. Get a solid pair of pliers and some tongs that fit the stock you’re working with, and you’ll find the work flows much smoother.
Five Hard-Won Lessons from the Anvil
- Watch your colors, not just the clock. You can’t judge heat by how long you’ve been standing there; you have to watch the glow. If you try to hammer steel that’s turned a dull, dark red, you’re just bruising the metal and making your job twice as hard. Wait for that bright cherry red, or better yet, a bit of orange, before you even think about bringing the hammer down.
- Listen to the ring of the anvil. A seasoned smith doesn’t just use their eyes; they use their ears. A clear, consistent ring tells you the metal is at the right temperature and the strike is true. If the sound starts to go flat or thuddy, you’ve likely let the piece get too cold, and you need to get it back in the forge immediately.
- Don’t fight the metal; work with it. I see young folks trying to muscle a piece into shape through sheer stubbornness, and all they end up with is a deformed mess and a sore back. If the steel is resisting you, it’s telling you something—usually that it’s too cold or you’re hitting it at the wrong angle. Step back, let it reheat, and approach it with a bit more sense.
- Keep your hammer blows rhythmic and purposeful. You aren’t trying to win a boxing match; you’re shaping a tool. Small, controlled strikes are always better than heavy, swinging blows that you can’t control. It’s about precision and moving the mass of the metal exactly where you want it to go, one measured hit at a time.
- Respect the quench. This is where most beginners ruin a perfectly good project. If you’re hardening a tool, you have to be decisive. Don’t hesitate halfway through the quench, or you’ll end up with a piece that’s unevenly tempered and prone to snapping. Get it in, get it out, and do it with the same steady hand you used while forging.
The Essentials to Carry Away From the Forge
Get your head right before you touch the metal; if you don’t understand what kind of steel you’re working with, you’re just making a mess of good material.
Invest in quality tools that you can actually rely on, because a cheap hammer or a poorly made tong will fail you exactly when you need them most.
Respect the process and don’t try to cheat the heat; real craftsmanship comes from patience and doing the job right the first time, not from rushing to the finish line.
## The Truth in the Metal
“You can’t trick the steel; if you try to force a bend before the heat is through the core, the metal will tell you exactly where you failed, and usually by snapping right in your face.”
Alistair Fenwick
Putting the Hammer to Work
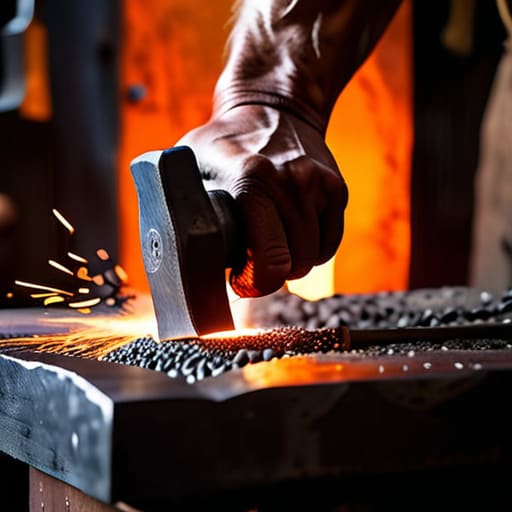
At the end of the day, forging isn’t about how many pieces you can churn out in a single afternoon; it’s about how well you understand the material in front of you. We’ve covered the necessity of knowing your carbon content, selecting tools that won’t fail you when the heat is on, and respecting the temper of the steel. If you try to skip the prep work or ignore the properties of the metal, you’re just going to end up with a pile of scrap and a sore back. Remember, patience is your most important tool in the shop. Take the time to let the steel reach the right temperature and listen to what the metal is telling you under the hammer. Doing it right the first time saves you more than just time—it saves your sanity.
I know it can feel overwhelming when you first step up to the anvil, looking at a glowing piece of iron and wondering if you’ve got what it takes. But don’t let the fear of a ruined workpiece keep you from picking up the tongs. Every master smith I ever worked with started out by making nothing but crooked nails and wasted slag. The goal isn’t perfection on your first strike; it’s about building the muscle memory and the discipline that comes from years of trial and error. Stop looking for the easy way out and start embracing the slow, steady work. If you treat the steel with respect, it’ll eventually start treating you like a craftsman. Now, get to work.
Frequently Asked Questions
How do I know if I've overheated the steel and ruined its temper?
You’ll see it in the color. If you’re aiming for a specific temper and the steel turns a pale, straw-yellow or starts creeping toward a deep blue too fast, you’ve gone too far. The real giveaway, though, is the grain. If the metal looks “burnt” or develops a crusty, scaly texture that won’t clean off, you’ve cooked the life out of it. Once that structure breaks down, you’re just working with brittle scrap.
What’s the best way to set up a small forge in a home workshop without making a mess of everything?
Keep it contained and keep it clean. First, get yourself a dedicated welding blanket or a heavy steel tray to sit your forge on; it catches the scale and stray sparks before they ruin your concrete. Work in a spot with good ventilation—don’t go thinking you can cheat the air. Lastly, keep your fuel and your finished pieces on separate, elevated benches. If you mix your coal with your scrap, you’ll be sweeping all day instead of working.
Do I really need a power hammer, or can I get decent results with just a hand sledge and a good anvil?
Look, a power hammer is a fine piece of machinery if you’re running a production shop, but it isn’t a requirement for craftsmanship. If you’ve got a solid anvil and a well-balanced sledge, you’ve got everything you need to make something meaningful. In fact, I’d argue starting with the hand hammer is better. It teaches you how the steel is actually moving under the blow. You can’t feel the metal’s temper through a machine.
