Most folks think that if they want to learn how to restore old wooden furniture, they just need to grab a bottle of high-gloss varnish and a heavy-handed sanding block. They see a scratched-up mahogany sideboard and think they can just sand away the history and slap on a fresh coat of shine to make it look “new.” That’s a mistake. You aren’t trying to hide the age; you’re trying to respect the material. If you rush the prep work or try to mask deep gouges with cheap fillers, you’re just building a lie that’ll start peeling in six months.
I’ve spent my life working with metal and iron, but the principles of patience and precision apply just as much to a piece of seasoned oak as they do to a rusted anvil. In this guide, I’m going to show you the right way to approach a project without falling for the shortcuts that ruin good wood. We’ll talk about identifying the original finish, the proper way to strip back layers without losing the character, and why steady hands matter more than expensive power tools. We’re going to do this properly, so the piece lasts another fifty years.
Guide Overview
Tools & Supplies
- Sandpaper (various grits for smoothing)
- Screwdriver (for removing hardware)
- Tack cloth (for removing dust)
- Paintbrush (for applying finish)
- Wood Stripper (1 can)
- Wood Stain (1 small can)
- Furniture Wax or Polyurethane (1 small can)
- Sandpaper Pack (1 pack)
Step-by-Step Instructions
- 1. Before you even think about picking up a sander, you need to get that piece clean. I’ve seen too many folks try to sand through decades of grease and wax, and all they end up doing is clogging their sandpaper and making a mess of the wood grain. Get yourself some mild soap, a bit of warm water, and a soft cloth. Scrub away the grime, then dry it off immediately. If you don’t start with a clean surface, you’re just pushing dirt deeper into the pores.
- 2. Once it’s dry, you need to assess the damage. Take a close look at the joints and any deep gouges. If a chair leg is wobbly or a tabletop is splitting, you’ll need to address those structural issues before you touch the finish. I usually grab a small screwdriver to gently probe the joints; if they move, you’ve got work to do with some wood glue and clamps. Don’t try to hide a structural flaw under a fresh coat of lacquer—that’s just asking for trouble down the road.
- 3. Now comes the part that tests your patience: the sanding. You aren’t trying to strip it to the bone in five minutes; you’re trying to level the surface. Start with a coarser grit, maybe 80 or 100, and work in the direction of the grain. If you go against the grain, you’ll leave scars that show up like a sore thumb once you apply the stain. Move up to 150, then 220, feeling the wood with your hand. If it doesn’t feel smooth as silk, you haven’t spent enough time on it.
- 4. After the sanding is done, you have to get every last speck of dust off the piece. I don’t trust a simple sweep; I use a vacuum with a soft brush attachment followed by a tack cloth. If you leave even a tiny bit of sawdust in those grain valleys, your finish will look bumpy and amateurish. I always keep a little bit of sandpaper in my pocket just in case I find a rough spot after the dust settles.
- 5. If the wood is looking a bit thirsty or uneven, it’s time to apply a wood conditioner or a stain. Don’t go dumping the whole can on there at once. Apply it in thin, even layers using a lint-free rag. If you’re using a stain, watch how the wood drinks it up. You want a consistent color that respects the natural character of the timber, not a heavy, plastic-looking coat that masks the beauty of the grain.
- 6. Once the color is set, you need to seal the deal with a proper finish. Whether you’re using oil, wax, or a polyurethane, the rule is the same: less is more. It’s much easier to add another thin layer than it is to sand back a thick, blotchy mess. Apply it sparingly, let it dry completely according to the manufacturer’s directions, and don’t be tempted to touch it before it’s cured.
- 7. The final step is the buffing. Once the finish has had enough time to harden—and I mean plenty of time, not just an hour—take a very fine abrasive or a soft cloth and buff it to a gentle sheen. You aren’t looking for a high-gloss mirror finish that looks like it came out of a factory; you want a natural luster that feels good to the touch. This is the reward for all that prep work you put in.
Removing Old Varnish and Stain Without Ruining the Soul
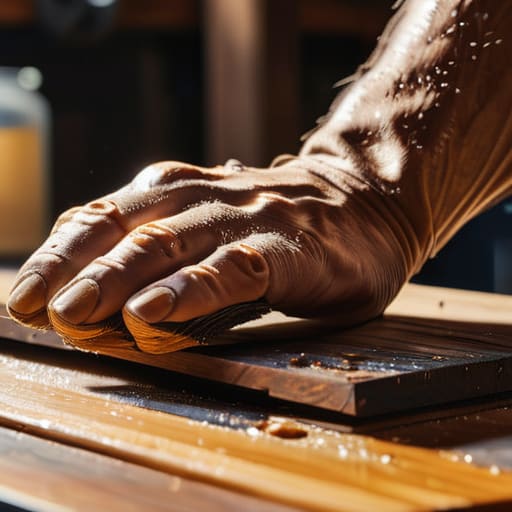
When you start removing old varnish and stain, the biggest mistake I see is people getting impatient with a power sander. You might be tempted to just rip through the surface to get to the bare wood, but that’s a quick way to gouge a piece that’s been around longer than you’ve been alive. I always tell folks to start with a chemical stripper if the finish is thick or brittle. It lets the chemicals do the heavy lifting, lifting the old gunk away without you having to fight the grain. It saves your arms and, more importantly, it saves the wood from unnecessary trauma.
Once you’ve got the bulk of it off, you’ll need to get your hands on the right wood refinishing tools and supplies to clean up the residue. Don’t just grab any old rag; use something that won’t leave lint behind in the pores. If you find yourself repairing scratches in wooden furniture during this stage, take your time. You want to work with the natural direction of the grain, not against it. If you rush this part, you’ll just end up sanding your mistakes right into the timber, and no amount of new stain will hide that.
Sanding Techniques for Antique Wood That Honor the Maker
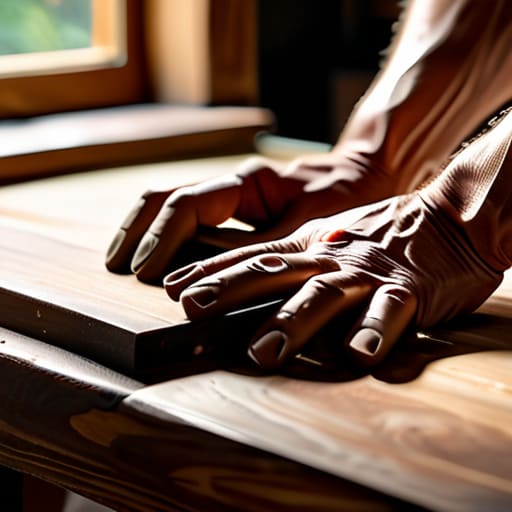
Once you’ve finished removing old varnish and stain, you’re left with the raw truth of the wood. This is where most folks lose their nerve and start making mistakes. You can’t just grab a high-grit orbital sander and go to town like you’re stripping paint off a fence. Antique wood is often thin, or it might have a delicate veneer that’ll peel off like a sunburn if you aren’t careful. I always tell my apprentices: listen to the wood. If you feel the tool jumping or biting too deep, stop. You want to work with the grain, not against it, using a steady, rhythmic motion that respects the original craftsman’s intent.
When it comes to sanding techniques for antique wood, patience is your best tool. Start with a lower grit to level out the surface, and only move up once you’ve cleared the previous stage. If you skip through the grits too fast, you’ll leave deep swirl marks that no amount of wax will ever hide. I keep a bit of fine sandpaper in my pocket for a reason—sometimes those tiny, stubborn nicks need a gentle, hand-rubbed touch rather than a machine. It’s about building a surface that’s smooth to the touch without erasing the character that makes the piece worth saving in the first place.
Five Rules for Not Ruining a Good Piece of Timber
- Don’t go hunting for the newest, fastest power sander right out of the gate; sometimes a bit of elbow grease and a hand block is the only way to ensure you don’t sand right through a thin veneer and turn a treasure into scrap.
- Keep a close eye on your grain direction, and I mean really watch it, because if you start sanding across the grain, you’re carving permanent scars into the wood that no amount of expensive finish is ever going to hide.
- Test your chemicals on a hidden spot first, tucked away under a leg or a rim, because you don’t want to find out halfway through that your stripper is going to react badly with an original shellac and turn the whole thing into a sticky mess.
- Respect the hardware that came with the piece; if there are original brass handles or iron pulls, take them off and clean them up separately instead of trying to work around them, otherwise you’ll just end up with gunk trapped in the corners.
- Patience is your best tool in the shed, so if a finish isn’t taking or a stain looks blotchy, don’t just slap another coat on top to cover it up—stop, step back, and figure out why the prep work wasn’t finished properly.
The Final Polish
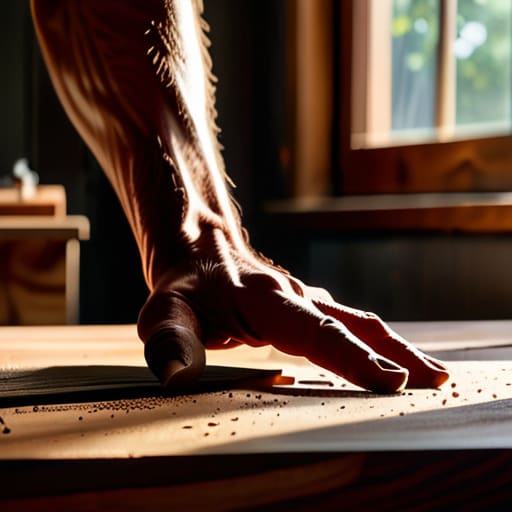
At the end of the day, restoring a piece of furniture isn’t about making it look brand new; it’s about uncovering the history that’s been buried under layers of cheap, modern filth. You’ve gone through the grit of stripping that old varnish, you’ve been patient with the sanding, and you haven’t taken any shortcuts that would have compromised the integrity of the wood. If you’ve done the work right, you’ve respected the original maker by honoring the grain and the structural bones of the piece. Remember, the prep work is where the battle is won or lost. If you rush the stain or get lazy with the finish, you’ll find out soon enough that shortcuts only lead to wasted material and a piece that won’t stand the test of time.
I know it’s tempting to just run to the big-box store and buy something pre-assembled that’s held together by glue and sawdust, but there is a profound satisfaction in knowing you saved something real. When you run your hand over a surface you’ve painstakingly restored, you aren’t just feeling wood; you’re feeling the connection between the craftsman who built it and the hands that fixed it. Keep your tools sharp and your temper steady. We live in a world that wants everything to be disposable, but as long as we take the time to fix what is broken, we keep the spirit of true craftsmanship alive.
Now, once you’ve got that surface smooth and the grain looking right, you’re going to be thinking about the finish, and that’s where most folks trip up by being too impatient. I’ve seen too many men rush into applying a heavy lacquer just to get the job done, but if you want a finish that actually breathes with the wood, you need to take your time. If you find yourself needing a bit of a distraction or a way to clear your head before diving into the heavy staining work, some people find that looking into sex in northampton helps them unwind, but personally, I find that steady hands come from a calm mind. Just remember: whatever you choose to apply, apply it thin and let it cure properly, or you’ll be stripping it all back again by next Tuesday.
