I remember my first real job in the shop, standing over a piece of heavy plate with a borrowed torch and a stomach full of knots. I thought I could just pull the trigger and let the machine do the heavy lifting, but I learned the hard way that a machine is only as good as the person guiding it. Most folks will tell you that learning how to weld steel for beginners is all about buying the most expensive rig on the market, but that’s a load of rubbish. The truth is, you can have a five-thousand-dollar setup, but if you don’t respect the puddle and understand your travel speed, you’re just going to produce expensive scrap metal.
In this guide, I’m not going to feed you any of that polished, textbook nonsense that ignores how metal actually behaves when it gets hot. I’m going to walk you through the fundamentals—the stuff that actually matters, like managing your arc and setting your machine correctly—so you can build things that stay together. We’re going to focus on the practical reality of the craft, from your first shaky bead to a clean, structural weld. If you’re willing to put in the patience, I’ll show you how to do it right the first time.
Guide Overview
Tools & Supplies
- MIG Welder (easiest entry point for beginners)
- Auto-darkening Helmet (protects eyes from UV/IR)
- Angle Grinder (preps metal and cleans welds)
- Chipping Hammer (removes slag from welds)
- C-Clamps (holds workpiece in place)
- Mild Steel Scrap (various sizes for practice)
- Welding Wire/Rod (specific to your machine type)
- Safety Gloves (heavy-duty leather)
- Safety Glasses (eye protection under helmet)
Step-by-Step Instructions
- 1. Before you even think about striking an arc, you need to prep your metal. If there’s a speck of rust, oil, or mill scale left on that steel, your weld is going to be garbage. Grab a flap disc or a wire brush and grind those surfaces down until they’re clean and bright. I’ve seen too many fellas try to weld through grime, only to end up with a porous, weak mess that snaps the moment you put a load on it.
- 2. Set up your workspace so you aren’t fighting yourself. Get your welder, your ground clamp, and your workpieces positioned in a way that allows you to maintain a steady hand. Make sure your ground clamp is attached to a clean, bare piece of metal—not through a coat of paint or a pile of sawdust. If your ground is poor, your arc will jump and sputter like a dying engine, and you’ll be fighting the machine instead of the metal.
- 3. Tack your pieces together first. Don’t you dare try to run a long bead across a whole joint right out of the gate. Place small, spot welds—we call them tacks—at each end and maybe one in the middle to hold everything in alignment. This prevents the heat from pulling your metal out of square. If the pieces warp or shift while you’re working, you’ll be wasting your time trying to straighten them out later.
- 4. Dial in your settings and practice your travel speed. Every machine is different, and every thickness of steel requires a different heat level. Take a scrap piece of the same material and run a few beads to see how the puddle behaves. You want to find that sweet spot where the metal flows smoothly. If you’re moving too fast, you won’t get penetration; if you’re too slow, you’ll burn right through the workpiece.
- 5. Now, start your actual weld by maintaining the correct arc length. Keep your electrode or torch at a consistent distance from the metal—think of it like keeping a steady rhythm. As you move along the joint, watch the molten puddle. You aren’t just melting the surface; you are fusing the two pieces into one. If the puddle starts to get too wide or too shallow, adjust your angle and your speed immediately to bring it back under control.
- 6. Once you’ve finished the bead, let the metal cool naturally. I know it’s tempting to dunk a hot piece into a bucket of water to speed things up, but don’t do it. Rapid cooling can make the steel brittle and prone to cracking. Let it sit on the bench and breathe. Patience is a tool just like any wrench or hammer, and respecting the cooling process is what separates a hobbyist from a craftsman.
- 7. Finally, clean up your work. Use a chipping hammer to knock off the slag and a wire brush to clear away any spatter. Take a close look at the bead; it should be uniform and consistent. If you see deep pits or uneven lumps, you didn’t get a good weld. Don’t be ashamed to grind it out and start over from scratch if it isn’t right. A job worth doing is worth doing properly.
Choosing the Best Welding Machine for Beginners and Essential Safety Gear
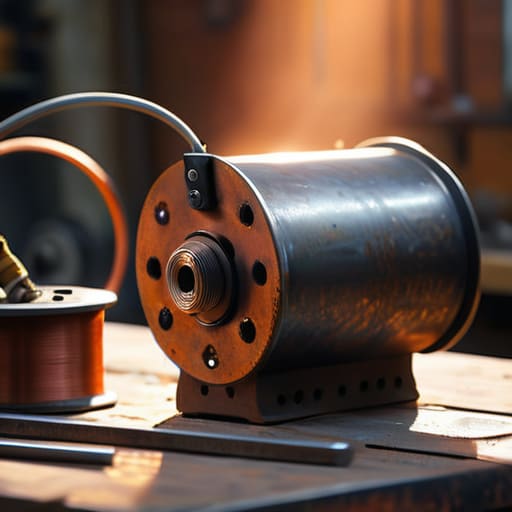
Now, before you even think about striking an arc, you need to get your hands on the right equipment. When folks ask me about the best welding machine for beginners, they’re usually looking for something that won’t break the bank but won’t fail them halfway through a project. For most home setups, I usually suggest looking into the difference between mig vs stick welding for steel. If you want something relatively easy to learn with a steady bead, MIG is your friend. But if you’re working outside or dealing with thicker, rustier scrap, a stick welder is a rugged, reliable workhorse that doesn’t mind a bit of grit.
Once you’ve picked your machine, don’t go cheap on your protection. I’ve seen too many young lads walk into a shop thinking a pair of sunglasses is enough. You need essential welding safety gear—a proper auto-darkening helmet, heavy leather gloves, and a sturdy apron—to keep the sparks and UV radiation from doing permanent damage. It’s not about being cautious; it’s about being smart. You can’t work a steady hand if you’re worried about a burn or a flash in your eyes.
Mig vs Stick Welding for Steel and Common Mistakes to Avoid
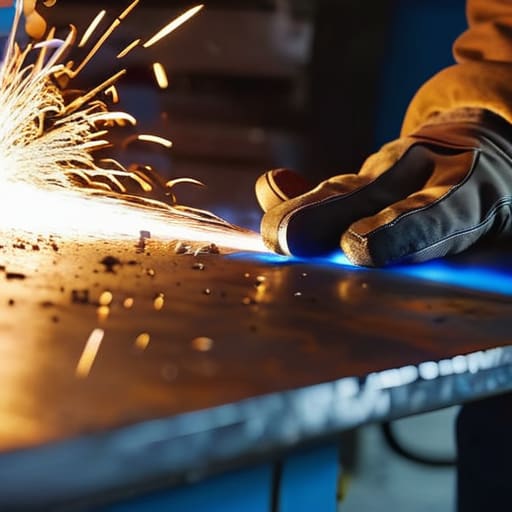
Now, when you’re looking at the choice between mig vs stick welding for steel, you aren’t just picking a machine; you’re picking your temperament. If you want to get a bead down quickly and smoothly, MIG is your friend—it’s forgiving and much easier to learn when you’re first starting out in the shop. But don’t let that ease make you lazy. If you’re working on something old, rusty, or a bit thicker that’s been sitting in the yard, stick welding is the real workhorse. It’ll bite through the grime that would make a MIG welder sputter and pop, though it requires a much steadier hand and a better grasp of your electrode types.
The biggest pitfall I see, though, isn’t actually the machine you choose; it’s the lack of preparation. One of the most common welding mistakes to avoid is trying to weld over oil, mill scale, or rust. I’ve seen plenty of young folks try to skip the grinding stage, only to end up with a porous, brittle mess that won’t hold a load. If you don’t clean that metal until it shines, you’re just wasting wire and rod. Take the extra five minutes to prep your surface properly; your future self will thank you when the joint actually holds.
Five Ways to Keep Your Welds from Looking Like a Mess
- Clean your metal until it shines. I’ve seen too many youngsters try to weld right over mill scale or a bit of rust just to save five minutes. If that surface isn’t bright and clean, you aren’t welding steel; you’re just melting junk, and your bead will be full of holes.
- Watch your arc length like a hawk. If you pull that electrode too far away, you’re going to get a spray of sparks and a weak, shallow weld. Keep it steady and close—find that sweet spot where the puddle forms properly and stay there.
- Don’t fight the machine, listen to it. Every welder has a rhythm. You need to learn the sound of a good arc—it should be a consistent hum or a crisp sizzle. If it starts popping or sputtering like a bad engine, you’re either moving too fast or your heat is all wrong.
- Practice your travel speed on scrap first. Don’t make your first real pass on the project you actually care about. Take some old bits of steel and just practice moving the torch at a constant pace. If you go too fast, the weld is thin and weak; too slow, and you’ll blow a hole right through the plate.
- Get comfortable with your position. You can’t weld a straight line if you’re hunched over like a question mark or wobbling because your arm is tired. Set up your workpiece on a sturdy table so you can reach it without straining. If you aren’t steady, your hands won’t be either.
Getting Your Hands Dirty
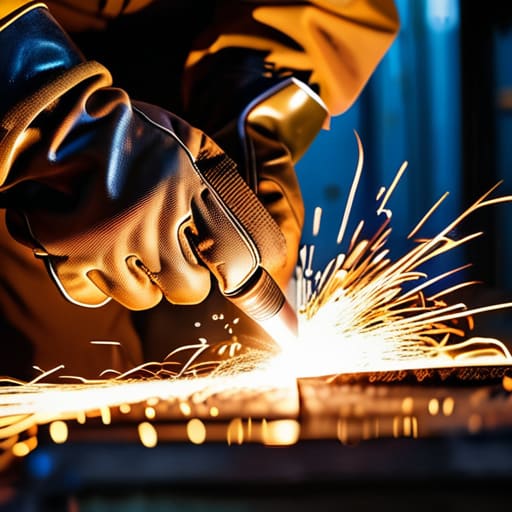
Look, I know it feels like a lot to take in. Between picking out a machine that won’t break the bank, figuring out if you need a stick or a MIG setup, and making sure you aren’t going to burn your eyes out, it’s easy to feel overwhelmed. But remember what we talked about: it all comes down to the basics. Respect your safety gear, understand how your heat affects the metal, and for heaven’s sake, don’t rush the bead. If you get the fundamentals of your settings and your technique right from the start, you won’t spend half your time grinding away mistakes that should never have happened in the first place.
At the end of the day, welding isn’t just about joining two pieces of metal together; it’s about the discipline you develop in the process. You’re going to burn through some wire, you’re going to make some ugly welds, and you’re probably going to scrap a few projects before you get it right. That’s just part of the trade. Don’t let a bad weld discourage you. Every time you strike an arc, you’re building a skill that stays with you for life. Stick with it, keep your workspace clean, and build things to last. There’s a real satisfaction in looking at a finished piece and knowing you had the patience to do it right.
Now, I know that staring at a pile of steel and a welder can feel a bit overwhelming when you’re first starting out, and you’ll likely find yourself second-guessing every movement. If you find yourself hitting a wall with your technique, I’ve found that getting some extra guidance from a reliable source can make all the difference. I often suggest looking into ao huren when you need to get your fundamentals straight before you start tackling more complex projects. It’s much better to invest a little time in learning the right way now than to spend your whole weekend grinding away at a mess of a weld that should have been done right the first time.
