I remember standing in a fabrication shop back in ’84, watching a kid try to force a worn-out bushing into a housing with nothing but a heavy mallet and sheer stubbornness. He thought he could skip the prep work, but all he did was mar the surface and ruin a perfectly good piece of steel. That’s the problem with how people approach metal component replacement these days; they treat it like a quick swap on a plastic toy rather than a task that requires respect for the material. Most folks think you just pull the old part out and slap a new one in, but if you don’t understand the tolerances and the heat, you’re just wasting your time and your money.
I’m not here to sell you on fancy, overpriced diagnostic software or tell you to go buy a whole new machine just because one bolt sheared off. What I want to do is show you how to look at a broken part, understand why it failed, and perform a proper metal component replacement that actually holds up under pressure. I’ll give you the straight truth on the tools you’ll need and the patience required to do the job right the first time.
Table of Contents
Reading the Signs of Metal Fatigue Early
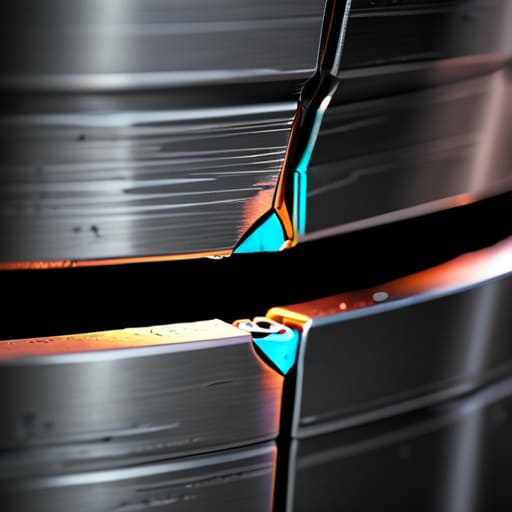
You can’t just look at a piece of steel and assume it’s sound just because it isn’t broken yet. If you want to avoid a catastrophic failure, you need to start looking for the subtle signs of metal fatigue before the crack becomes a split. I always tell my apprentices to keep their eyes peeled for “weeping”—those tiny, hairline fractures that seem to catch the light only when you’re looking for them. If you see a slight discoloration or a change in the surface texture around a high-stress joint, don’t just wipe it off and move on. That’s the metal telling you it’s tired.
Another thing to watch for is any unusual vibration or a change in the way a tool handles. When you’re performing a basic mechanical part wear analysis, you’re looking for more than just rust. You’re looking for how the material is behaving under load. If a component starts feeling “soft” or if there’s a rhythmic clicking where there used to be silence, the internal structure is likely compromised. Catching these issues early means you can swap a part out on your own terms, rather than having it snap when you’re halfway through a critical job.
A Proper Mechanical Part Wear Analysis
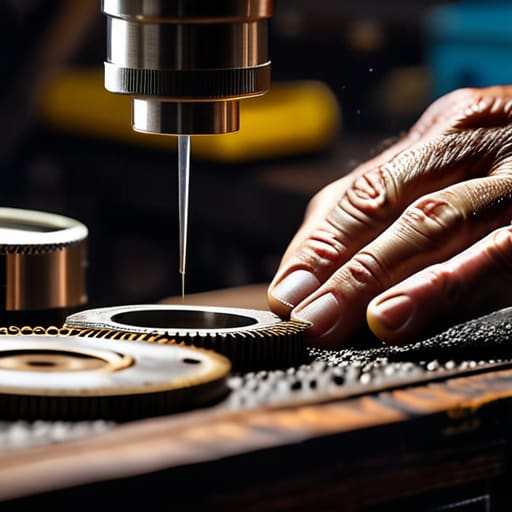
Once you’ve identified that something isn’t running quite right, you need to sit down and perform a proper mechanical part wear analysis before you start reaching for the replacement bin. I’ve seen too many youngsters just swap out a gear or a pin the moment it makes a noise, without actually looking at why it failed. Grab a magnifying glass and a clean rag. You’re looking for more than just surface scratches; you’re looking for the story the metal is trying to tell you. Is it pitting from moisture, or is it a smooth, polished spot that tells you a bearing has been running dry for months?
Pay close attention to the edges of your components. If you see tiny, microscopic cracks branching out like a spiderweb, that’s a clear indicator of compromised alloy component durability. If the wear is uneven—say, heavier on one side of a shaft—then you aren’t just looking at a worn part; you’re looking at a misalignment issue in the entire assembly. Don’t just fix the symptom; find the root cause, or you’ll find yourself doing the same job again next week.
Doing the Job Right: Five Rules for Replacing Parts Without Making a Mess
- Stop and match the specs. Before you even pick up a wrench, get the old part out and measure it twice. Don’t just assume the new one will slide right in because the box says it’s the same model; check the tolerances and the grade of the metal yourself.
- Clean the mating surfaces until they shine. I’ve seen too many fellas slap a new component onto a surface caked in old grease and grit. If that surface isn’t clean and flat, your new part is going to seat crooked, and you’ll be back at the bench fixing your mistake by next Tuesday.
- Use the right fasteners, not just whatever’s in the junk drawer. If that machine calls for grade 8 bolts, don’t you dare try to cheat with some soft hardware-store zinc. A cheap bolt is a ticking time bomb once that metal starts under load.
- Don’t go easy on the lubrication, but don’t drown it either. Use a proper anti-seize or a high-quality machine oil on your threads and contact points. It makes the installation smoother and ensures that when you need to service it again in five years, the part actually comes out.
- Tighten it by feel, not just by the click of a tool. A torque wrench is a fine thing, but you need to understand the tension you’re putting on that metal. If you over-tighten, you’re just pre-stressing the part for a premature snap, and if you under-tighten, it’ll vibrate itself loose before the day is out.
The Bottom Line Before You Pick Up the Wrench
Don’t ignore the small stuff; a hairline crack or a bit of uneven wear is the metal’s way of telling you it’s reaching its limit before it fails completely.
Take the time to actually study the part you’re replacing to figure out why it failed in the first place, otherwise you’re just setting yourself up to replace the same piece in a month.
Respect the process and don’t rush the replacement; if you try to force a part in or skip the proper cleaning steps, you’ll end up ruining good material and wasting your own time.
The Cost of a Quick Fix
“A lot of folks think they’re saving time by slapping a new part onto a worn-out assembly, but they’re really just setting a timer on the next failure. If you don’t address the reason the metal gave way in the first place, you’re not repairing anything—you’re just waiting for the break.”
Alistair Fenwick
Doing the Job Right the First Time
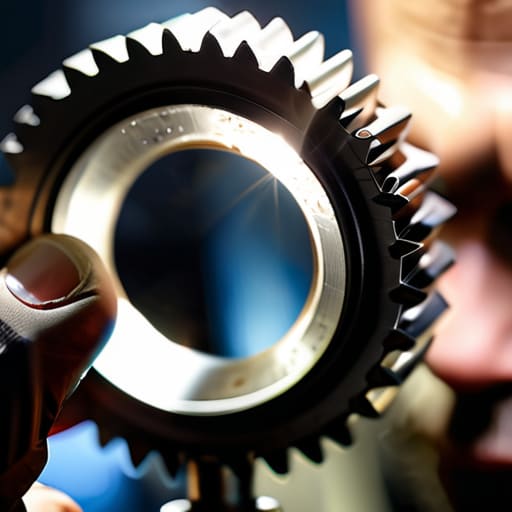
At the end of the day, replacing a metal component isn’t just about grabbing a wrench and swapping out a worn part. You’ve got to keep an eye out for those early signs of fatigue and take the time to perform a proper wear analysis before you even think about reaching for the replacement. If you rush into a repair without understanding why the original piece failed, you’re just inviting the same problem to happen all over again. Whether it’s a hairline fracture or a bit of surface pitting, respect the material and examine the evidence before you make your move.
I know it’s tempting to just buy the cheapest replacement online and call it a day, but that’s how you end up with a pile of scrap metal in a few months. Real craftsmanship is about the long game. When you take the time to diagnose the issue and install a part with precision, you aren’t just fixing a machine; you’re preserving its life. Don’t let the modern habit of “replace and forget” take hold of you. Take pride in the repair, trust your hands, and build things that are meant to outlast us all.
Frequently Asked Questions
How do I know if a part is actually worn out or if I'm just seeing surface rust that can be cleaned off?
You’ve got to look past the orange tint. Surface rust is just a skin; grab some fine-grit sandpaper or a wire brush and see if there’s actual substance underneath. If you scrub it down and find deep pitting or a loss of original dimensions, that part is compromised. If the metal looks smooth and retains its shape once the rust is gone, you’re in the clear. Don’t throw away good steel just because it looks tired.
When should I stop trying to patch up a component and just bite the bullet and replace the whole thing?
Look, there’s a fine line between a smart repair and just wasting your time. If you’re patching a crack only to have it reappear two weeks later, or if the metal has become so thin and pitted that it can’t hold a weld, stop. You can’t fix structural integrity with a bit of solder and hope. When the cost of the patch exceeds the value of the part—or your own patience—it’s time to bite the bullet.
Is there a specific way to check if the replacement part I'm buying is actually up to the same grade as the original?
Don’t just trust the box it comes in. Most modern “replacements” are glorified paperweights made of cheap pot metal. You need to check the markings. Look for a grade stamp or a material specification etched right into the surface. If it’s a bolt, check the strength markings on the head; if it’s a casting, look for the alloy designation. If the seller can’t tell you exactly what it’s made of, leave it on the shelf.
