I remember standing over a piece of salvaged mild steel back in ’84, the smell of ozone and hot scale thick in the air, trying to figure out why my surface looked like a cheap, stamped-out piece of junk from a big-box store. I’d spent hours trying to follow some fancy, overcomplicated manual, only to realize I was fighting the material instead of working with it. People today seem to think you need a thousand-dollar machine or some high-tech chemical bath to get decent metal texture techniques to actually work, but that’s a load of rubbish. Most of that high-end gear is just a way to sell you something you don’t need when a steady hand and the right bit of grit will do the job better.
I’m not here to sell you on any magic shortcuts or expensive gadgets that’ll just gather dust in your shed. What I want to do is show you how to actually read the grain and understand how heat and pressure change the face of your work. I’ll be laying out some honest, tried-and-true methods for applying metal texture techniques that rely on skill and patience rather than a heavy bank account. We’re going to do this the right way, so the finish you create is something you can actually stand behind.
Table of Contents
Mechanical Metal Texturing Without Rushing the Hammer
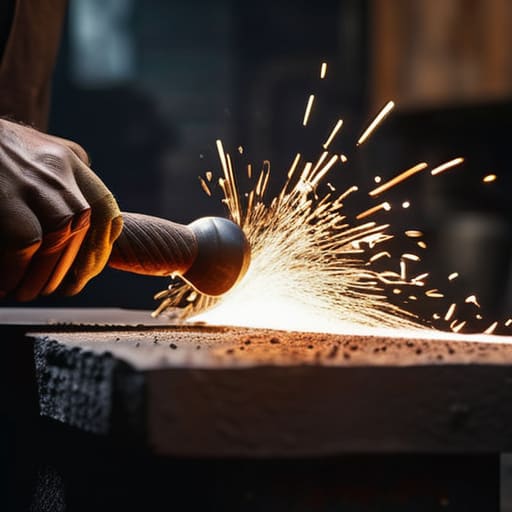
Now, if you’re looking to get some real character into a piece, you’ll eventually need to look at mechanical metal texturing. I’ve spent more hours than I care to count standing over an anvil or a bench grinder, and I’ll tell you right now: the machine doesn’t have the soul, you do. Whether you’re using a ball-peen hammer to create a dimpled effect or a rotary tool for something more intricate, you have to listen to the metal. If you start swinging wildly just to finish a job before lunch, you’re going to crack the grain or create uneven stress points that’ll show up later when you try to finish the piece.
When you’re creating tactile metal surfaces, patience is your best tool. I prefer a slow, methodical approach with a hand-held file or a textured hammer to build up the pattern layer by layer. It’s easy to get impatient and crank up the speed on a grinder, but that’s how you burn the temper right out of the steel. Take your time to establish a rhythm; it’s about artistic metal manipulation that feels intentional, not accidental. If the surface feels rushed, it’ll look rushed.
The Honest Art of Creating Tactile Metal Surfaces
Now, once you’ve moved past the heavy striking and the brute force of the hammer, you start to look at the finer side of things. There’s a real difference between a surface that looks like it was churned out by a machine and one that shows the hand of the maker. When I talk about creating tactile metal surfaces, I’m not talking about hiding your work under a thick layer of lacquer. I’m talking about using your tools to coax a specific feel out of the material—something that catches the light just right and feels substantial when you run your thumb over it.
A lot of folks today think they can just slap on a chemical wash and call it a day, but that’s a lazy way to handle good steel. If you want a finish that actually has some soul, you need to understand artistic metal manipulation. Whether you’re using fine-grit abrasives to create a brushed effect or working with heat to shift the color, you have to respect the grain. Take your time with the transitions. If you rush the process, you’ll end up with a surface that looks uneven and amateurish, and there’s no fixing a botched finish once the metal has been worked too hard.
Five Rules for Getting the Texture Right the First Time
- Watch your heat like a hawk. If you’re using a torch or a forge to soften the surface for texturing, don’t just crank it up to speed through the job. If you overheat the metal, you’ll ruin the temper and leave yourself with a surface that’s brittle and useless.
- Test your patterns on scrap first. I don’t care how much you think you know; every batch of steel or iron behaves a little differently. Take a piece of leftover material, run your hammer or tool over it, and see how it takes the mark before you commit to the real piece.
- Keep your tools sharp and your edges clean. Using a dull chisel or a worn-out punch is just a recipe for frustration. A blunt tool won’t bite into the metal; it’ll just bounce and leave ugly, inconsistent gouges that you’ll spend hours trying to sand out later.
- Control your strike, not just your strength. It isn’t about how hard you can swing; it’s about the precision of the contact. A heavy, uncontrolled blow can deform the structural integrity of the piece, whereas a steady, rhythmic strike builds a texture that actually looks intentional.
- Don’t fear the sandpaper, but don’t rely on it to fix a bad job. I always keep a bit of grit in my pocket for smoothing out the inevitable rough spots, but remember: sandpaper is for refining a good texture, not for hiding a sloppy one. If the metalwork is bad, no amount of sanding will make it right.
Lessons from the Workbench
Patience is your best tool; whether you’re hammering a pattern or grinding a finish, rushing the process only leads to uneven surfaces and wasted material.
Respect the grain and the heat, because if you don’t understand how the metal is reacting under your tools, you’ll end up fighting the material instead of working with it.
Aim for character over perfection, because a texture that feels good in the hand and shows the work behind it will always outlast a superficial, machine-perfect finish.
The Truth in the Surface
A texture shouldn’t just be something you slap on to hide a bad weld or a sloppy grind; it’s about working with the grain of the metal until the surface tells the story of the tool that shaped it.
Alistair Fenwick
Final Thoughts Before You Hit the Bench
At the end of the day, whether you’re using a ball-peen hammer to create a hand-forged pattern or employing more modern mechanical methods, the principle remains the same: you have to listen to the material. We’ve covered how to manage your heat to prevent cracking and how to approach surface textures without losing the structural integrity of the piece. Remember, there is a massive difference between adding character to a surface and undermining the strength of the metal itself. If you find yourself getting frustrated or if the grain isn’t behaving the way you expected, put the tools down. Take a breather, grab a coffee, and come back when your hands aren’t shaking with impatience. The metal isn’t going anywhere, and it certainly won’t forgive a rushed mistake.
I know it’s tempting to just slap a finish on something and call it a day, especially when the world around us seems obsessed with things that are meant to be thrown away. But there is a deep, quiet satisfaction in knowing that the texture you’ve laid down wasn’t just an afterthought—it was part of the build. When you take the time to do it right, you aren’t just making something look pretty; you are imparting a history onto that steel or iron. My advice? Don’t just aim for perfection. Aim for something that feels honest, something that shows the work, and something that is built to endure long after you’ve cleared your workbench for the night.
Frequently Asked Questions
How do I know if I'm heating the metal too fast and risking a structural crack while trying to work a texture?
Watch for the color and the sound. If you’re pushing the heat too hard and the metal starts looking “wet” or glassy instead of a steady, even glow, you’re playing with fire. More importantly, listen to the metal. If you hear a sharp, sudden ping or a crackling sound like dry wood snapping, stop immediately. That’s the sound of internal stress. You’ve pushed it too fast, and you’re about to ruin a good piece.
What’s the best way to clean up a surface after heavy hammering without stripping away the character of the work?
You don’t want to go at it with a heavy grinder; that’ll just turn your hard work into a flat, soulless slab of steel. Instead, reach for some fine-grit sandpaper or a brass brush. Work with the grain of the hammer marks, not against them. If you’re feeling patient, a light pass with a Scotch-Brite pad can lift the scale and grime without erasing those beautiful, honest indentations you spent so much time forging.
Can I use these same texturing methods on thinner, lighter metals, or am I just going to warp the whole piece?
Slow down there. If you try to bring a heavy hammer down on thin sheet metal with the same force you’d use on a thick slab, you aren’t texturing it—you’re mangling it. You’ll end up with a warped, wavy mess that’s more trouble than it’s worth. For lighter gauges, you need to swap the heavy tools for something more delicate, or better yet, use heat or chemical etching to do the work for you.
