I remember sitting in a cramped, poorly ventilated corner of a fabrication shop back in ’84, watching a kid try to force a joint together by cranking the heat way too high. He thought he could make up for a lack of patience by just blasting the area, but all he did was scorch the flux and leave a brittle, ugly mess that wouldn’t hold for a week. That’s the problem with how people approach soldering metal these days; they treat it like a quick fix from a hardware store kit rather than a discipline of heat management. You can’t bully the metal into doing what you want, and you certainly can’t rush a bond that’s meant to last a lifetime.
I’m not here to sell you on some fancy, expensive gadget or a “magic” way to skip the fundamentals. What I’m going to give you is the straight truth about how to actually get a clean, structural bond without wasting good material. We’re going to talk about the rhythm of the flame and the importance of preparation, because if you don’t respect the process, you’re just playing with fire.
Table of Contents
Choosing Your Arsenal Tin Lead vs Lead Free Solder
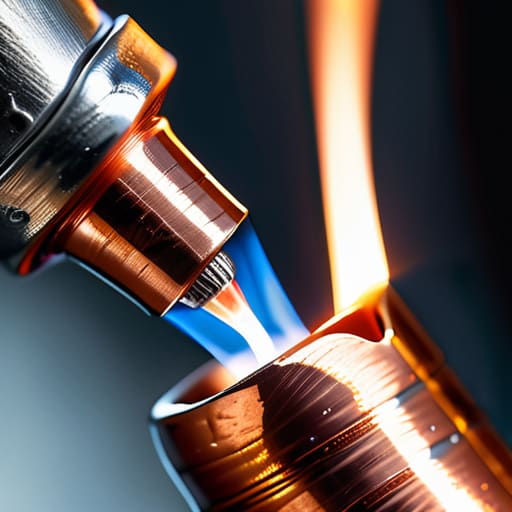
Now, before you even think about heating up your iron, you need to decide what you’re actually putting into the joint. Most folks these days will tell you that you have to go with lead-free because it’s safer, and for most household repairs, that’s true enough. But if you’re working on something that requires a lower melting point or a bit more “give,” you’ll find that tin lead vs lead free solder is a debate that comes down to the specific job at hand. Lead-based solder flows much more predictably and stays liquid a little longer, which gives you more time to work the metal.
That said, if you’re messing with anything electronic, you’ve got to consider the electrical conductivity in solder joints. Lead-free options are the standard there for a reason, but they can be a real headache if your iron isn’t up to the task. They require higher heat to flow properly, and if you don’t get your temperature dialed in, you’ll end up with a “cold joint” that looks okay but will fail the moment it’s put under any real stress. Don’t get caught out by choosing the wrong material for the job.
Mastering the Flame Critical Soldering Temperature Settings
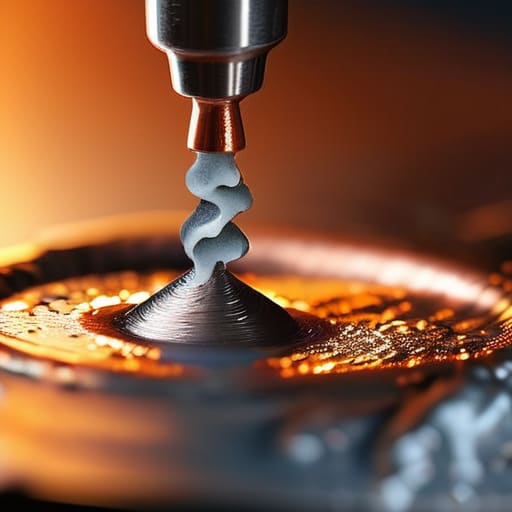
Once you’ve got your solder picked out, you have to learn how to read the metal. It’s not like following a recipe in a cookbook where you just turn a dial and hope for the best; you have to watch how the heat moves. Every piece of metal has a different thermal conductivity, meaning a thick chunk of copper is going to soak up your heat much faster than a thin sheet of brass. If you’re working on something heavy, you can’t just hover your iron over one spot and expect it to bite. You need to get the base metal up to temperature first. If the metal is cold, the solder will just bead up and roll off like water on a waxed car, and you’ll be left with a cold joint that’ll fail the moment it sees any stress.
You also need to keep a close eye on your soldering temperature settings to avoid the two biggest mistakes in the shop: overheating or underheating. If you push the heat too high, you risk burning off your flux before it can even do its job, leaving you with a crusty, oxidized mess that won’t bond. On the other hand, if you’re too timid, you’ll end up with a “dry” joint. Patience is your best tool here. Watch the way the solder flows—it should melt and spread smoothly, almost like it’s being pulled into the joint by a magnet. If it isn’t flowing, don’t just crank the heat; check your work and make sure you aren’t fighting the metal itself.
Five Rules to Keep Your Joints from Failing
- Clean your metal until it shines. I’ve seen too many fellas try to solder over rust, oil, or old oxidation, and it’s a fool’s errand. If that surface isn’t bright and bare, the solder won’t bite, and you’ll just end up with a bead that sits on top like a scab instead of flowing into the joint.
- Use flux like it’s meant to be used, not like you’re trying to save money. Flux is what pulls the oxides away so the metal can actually bond. Apply it thin and even; if you go overboard, you’ll just create a mess that’s a nightmare to clean up later, but if you skimp, you’re asking for a cold joint.
- Don’t cook the solder; heat the work. A common mistake I see in shops is people holding the flame or the iron directly to the solder wire. That’s not how it works. You need to get the base metal up to the right temperature so that when the solder touches it, it flows naturally. If you have to force it, you’ve done something wrong.
- Watch the flow, not the flame. You’re looking for that moment where the solder suddenly decides to “wet” the surface and pull itself into the seam by capillary action. It should look smooth and consistent. If it looks grainy or lumpy, your temperature is off or your metal is dirty.
- Let it cool without the drama. Once you’ve got your joint set, leave it be. I’ve seen youngsters try to rush the process by hitting it with a fan or a blast of compressed air to speed things up. You’ll only end up with internal stresses and a brittle connection. Let the metal find its own equilibrium.
The Essentials to Carry Away
Know your material before you strike the flame; using the wrong solder for the job is a quick way to end up with a joint that fails when you need it most.
Respect the temperature, because if you’re rushing the heat to save time, you’re likely going to scorch the metal or end up with a brittle, useless mess.
Patience is your best tool in the shop—take the time to prep your surfaces clean and let the heat do the work instead of forcing it.
## The Patience of the Joint
You can’t bully the metal into a bond; if you’re fighting the heat instead of working with it, you’ve already lost the repair.
Alistair Fenwick
The Final Inspection
At the end of the day, successful soldering comes down to how well you respect the fundamentals we’ve discussed. You’ve got to pick the right alloy for the job, whether you’re sticking with the old-school tin-lead or moving to lead-free, and you absolutely cannot afford to mess up your temperature control. If you’re too cold, the solder won’t flow; if you’re too hot, you’ll burn the flux and ruin the joint entirely. It’s a balancing act that requires a steady hand and a patient eye. Remember, the goal isn’t just to get the pieces to stick together, but to create a bond that is structurally sound and clean enough to withstand the test of time.
I know it can feel a bit daunting when you’re staring down a piece of metal and a hot iron for the first time, but don’t let that stop you. Every master fabricator I ever worked with started exactly where you are—making a mess and learning from it. The real skill isn’t just in the movement of your hands, but in the discipline of your process. Don’t be in such a hurry to finish that you skip the cleaning or the pre-heating. If you take the time to do it right the first time, you won’t have to do it twice. Go ahead, get into the workshop, and build something that lasts.
Frequently Asked Questions
What should I do if the metal is too thick for my current iron to heat up properly?
If you’re staring at a piece of thick steel and your iron is struggling to even get warm, stop pushing it. You’re just going to burn your tip and waste time. You need more thermal mass. If you’re doing serious work, put down the small hobby iron and grab a torch or a larger soldering station. Sometimes, you’ve got to pre-heat the workpiece itself with a flame to bridge that gap.
How can I tell if I've cleaned the surface well enough, or if there's still invisible oxidation in the way?
You can’t just eyeball it and hope for the best. If you’re staring at the metal and thinking it looks clean, you’re probably wrong. The real test is the “wetting” action. When you apply your flux and heat, the solder should flow like water across the surface, not bead up like rain on a waxed car. If it beads or pulls away, you’ve still got oxidation hiding in the pores. Keep scrubbing until that solder grabs.
Is there a way to fix a joint that I've just botched because I got the temperature too high?
Look, we’ve all been there. You get a bit too eager with the torch, the metal turns a nasty color, and suddenly the joint looks like a mess. If you haven’t burned a hole right through the piece, don’t panic. You need to clean it back to bright, bare metal with some emery cloth or a wire brush. Once you’ve stripped away that oxidized junk, you can start fresh. Just take it slower this time.
