I remember a Tuesday back in ’88, hunched over a piece of fine-grained steel in a shop that had nothing but a single, flickering fluorescent tube hanging from the rafters. I was trying to check a bevel, but between the heavy shadows and that damn strobe-light effect from the dying bulb, I couldn’t tell a clean edge from a disaster. I ended up grinding away half a millimeter of good material just because I couldn’t see what I was doing. It’s a mistake that stays with you. Most folks today think they can just slap a few cheap LED strips on the ceiling and call it a day, but those flimsy workshop lighting solutions you find at the big-box stores won’t cut it when you’re doing real, precision work.
I’m not here to sell you on the latest flashy gadget or some overpriced smart-lighting system that requires an app to turn on. What I want to do is show you how to set up a workspace that actually serves the craftsman. I’ll be sharing the practical, battle-tested methods I’ve used to ensure that every cut, weld, and polish is done under light that is steady, bright, and reliable. We’re going to focus on built-to-last setups that won’t leave you squinting in the dark.
Table of Contents
- Led Shop Lights vs Fluorescent Choosing Gear That Lasts
- Meeting Lumen Requirements for Garage Workshops Without Compromise
- Five Ways to Stop Squinting and Start Working
- The Bottom Line on Shop Lighting
- ## The Cost of Working in the Dark
- Final Thoughts Before You Flip the Switch
- Frequently Asked Questions
Led Shop Lights vs Fluorescent Choosing Gear That Lasts
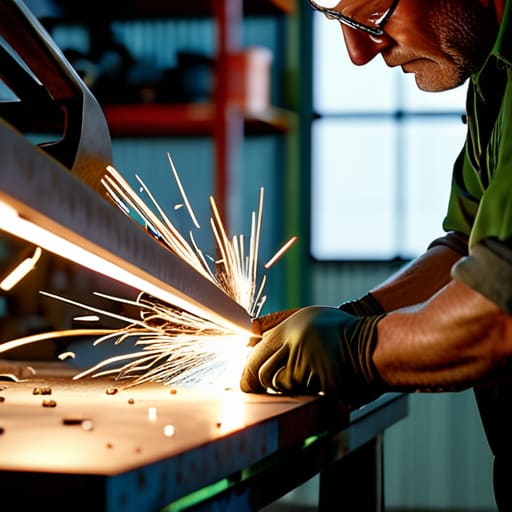
Now, I’ve seen plenty of shops transition from those old humming fluorescent tubes to the newer LED setups, and there’s a lot to consider before you go spending your hard-earned money. For years, fluorescent bulbs were the standard, but they’ve got a habit of flickering when they get old, which is a real headache when you’re trying to do precision welding or fine detail work. When you’re weighing LED shop lights vs fluorescent, you have to look past the initial price tag. LEDs are generally more efficient and, more importantly, they don’t rely on those fragile glass tubes that crack if you bump them with a heavy tool.
The real difference, though, is how they actually handle the light. If you’re working with different grades of steel or trying to spot a hairline crack in a casting, you need to pay attention to the color rendering index for workshops. A high CRI means the colors and textures look the way they actually are, rather than everything looking like a muddy, grey mess. I always tell people: don’t just aim for raw brightness; aim for clarity and consistency. If you pick cheap, low-quality LEDs, you’ll find yourself squinting by mid-afternoon, and that’s when mistakes happen.
Meeting Lumen Requirements for Garage Workshops Without Compromise
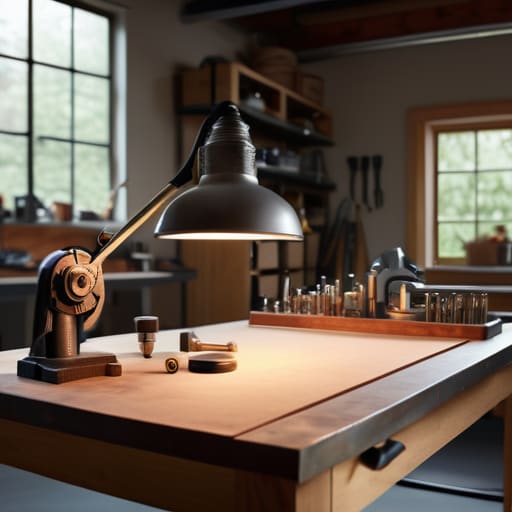
Now, don’t go making the mistake of thinking a high number on a box means you’ve actually solved your problem. When you’re looking at lumen requirements for garage workshops, you have to account for the fact that light doesn’t just sit there; it travels, hits your workbench, and bounces off whatever metal you’re currently grinding. If you just slap a few high-output fixtures on the ceiling and call it a day, you’ll find yourself squinting through a mess of dark spots. You need enough raw brightness to fill the room, but you also need to think about how that light is distributed so you aren’t constantly fighting your own body for position.
The real trick to a functional shop is balancing ambient vs task lighting. I like to have a steady, even wash of light across the whole floor to keep me from tripping over a rogue vise or a scrap pile, but that’s never going to be enough when I’m trying to spot a hairline fracture in a piece of cast iron. For the real work, you need dedicated, high-intensity lamps positioned exactly where your hands are. It’s about reducing shadows in your workspace so you can actually see the grain of the metal instead of just guessing where the edge is.
Five Ways to Stop Squinting and Start Working
- Watch out for shadows. I’ve seen too many fellas hang a single, bright light right in the middle of the ceiling, only to find they’re standing in their own shadow every time they lean over the workbench. You want multiple light sources coming from different angles to fill in those dark spots.
- Mind the color temperature. You don’t want that sickly yellow light you see in old living rooms, but you also don’t want the harsh, blue glare of a hospital wing. Aim for something in the “daylight” range—around 5000K—so you can actually see the true color of the metal and the grain of the wood.
- Get the light close to where the work happens. A bright ceiling is fine for walking around, but if you’re doing fine detail work or threading a bolt, you need dedicated task lighting. A sturdy, adjustable lamp on your bench will save your eyes from a headache by the end of the hour.
- Don’t ignore the glare. If you’ve got polished steel or a fresh coat of paint on your workbench, high-intensity lights can bounce right back into your eyes and blind you. Position your fixtures so the light hits the work, not your retinas, or use diffusers to soften the blow.
- Check your power setup before you commit. There’s nothing more frustrating than mounting a heavy-duty light fixture only to realize your workshop’s circuit is already maxed out by the compressor and the welder. Plan your load so you aren’t tripping breakers every time you flip the switch.
The Bottom Line on Shop Lighting
Stop wasting money on cheap, flickering fluorescent tubes that’ll quit on you in six months; invest in decent LED fixtures that provide steady, reliable light for the long haul.
Don’t just aim for “bright enough”—make sure you’ve got enough lumens spread across your workspace so you aren’t squinting at a weld or a fine measurement.
Position your lights to kill the shadows, because there’s nothing more dangerous or frustrating than working in a dark patch where you can’t see the edge of your material.
## The Cost of Working in the Dark
“You can buy the cheapest shop lights on the shelf to save a few bucks, but you’ll pay for it tenfold in eye strain and missed mistakes. If you can’t see the grain of the metal or the true edge of your blade, you aren’t working—you’re just guessing, and in this shop, guessing is how things get broken.”
Alistair Fenwick
Final Thoughts Before You Flip the Switch
At the end of the day, getting your lighting right isn’t about chasing the newest gadget or buying whatever’s on sale at the big-box store. It’s about making a calculated decision between the longevity of LEDs and the old-school reliability of fluorescents, and ensuring you’ve got enough lumens to actually see the grain in the metal or the fine teeth on a saw blade. If you skimp on the brightness or buy cheap, flickering fixtures, you’re just asking for eye strain and mistakes that’ll cost you more in ruined material than the lights ever would have. Invest in gear that works as hard as you do, and make sure your layout accounts for the shadows that creep in when you’re leaning over a workbench.
A workshop is more than just a place to store tools; it’s where you hone your craft and build things that actually matter. When you step into a well-lit shop, you aren’t just seeing better—you’re setting a standard for the work you’re about to do. Don’t let a dim corner or a poorly placed fixture stand between you and a clean, precise finish. Treat your workspace with the same respect you show your tools, and you’ll find that the quality of your output follows suit. Now, stop reading about it, get out there, and get your shop sorted so you can get back to the real work.
Frequently Asked Questions
Is it worth the extra money to go with high-end industrial fixtures, or can I get away with the cheap stuff from the big-box stores?
Look, I’ve seen enough cheap, plastic-housed fixtures flicker out and die right when you’re halfway through a precision weld to tell you this: save your money on the materials, but don’t skimp on the gear that keeps you safe and accurate. Those big-box specials are built for a seasonal hobbyist, not a working shop. If you want lights that won’t dim or rattle when the compressor kicks in, invest in industrial-grade housings.
How do I figure out where to mount the lights so I'm not constantly working in my own shadow?
If you’ve got a single light hanging right over your shoulder, you’re just going to spend the whole afternoon fighting your own shadow. Stop thinking about just “one big light” and start thinking about coverage. I always tell people to aim for overlapping light sources. Mount your fixtures slightly ahead of where you’ll be standing, or better yet, use a couple of runs to wash the workspace from multiple angles. It fills in those dark spots.
Will these new LED setups mess with my power tools or cause any interference when I'm running my welder?
That’s a fair concern, and I’ve seen it happen with cheap, off-brand LED drivers. If you buy low-quality stuff, those electronic components can leak “noise” back into your circuits, which might make your welder act jumpy or cause your grinders to lose speed. Don’t cut corners here. Stick to reputable, shielded LED fixtures. A well-built light won’t interfere with a heavy load, but a bargain-bin light will just give you headaches.
