I remember sitting in a cramped industrial shop back in ’84, staring at a rusted-out bracket that looked like it might be mild steel, but I had a gut feeling it was something else entirely. I spent three hours heating it up, only to watch the metal crack like cheap porcelain because I’d misjudged the carbon content. That’s the danger of rushing into a job without proper metal object identification; you aren’t just wasting your time, you’re wasting good material that can’t be replaced. People today think you need a laboratory or a thousand-dollar spectrometer to know what’s sitting on your workbench, but that’s just more expensive nonsense designed to sell you tools you don’t actually need.
I’m not here to give you a lecture from a textbook or some fancy, sanitized guide written by someone who’s never felt the heat of a forge. I’m going to show you how to use your eyes, your hands, and a few simple tests to figure out exactly what you’re dealing with before you ever strike the hammer. My goal is to give you the straightforward, practical truth so you can work with confidence and build things that actually last.
Table of Contents
- Mastering Non Destructive Metal Testing Methods Without Wasting Material
- Reading the Magnetic Properties of Metals to Avoid Costly Mistakes
- Five Rules for Knowing Your Metal Before You Make a Mess
- The Bottom Line Before You Fire Up the Forge
- ## Respect the Material
- Final Thoughts Before You Head to the Anvil
- Frequently Asked Questions
Mastering Non Destructive Metal Testing Methods Without Wasting Material
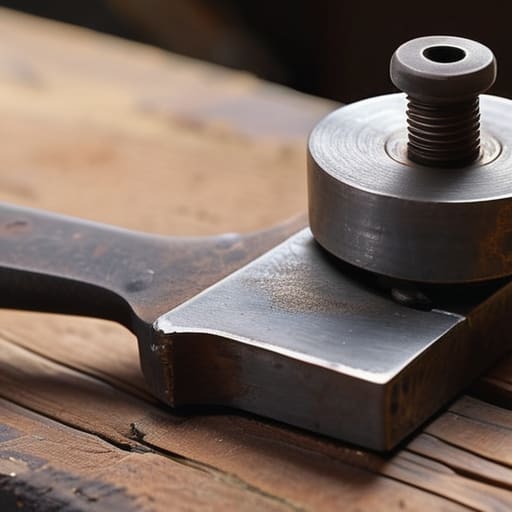
Now, before you go drawing a file across a surface or taking a sample with a drill, you need to understand that you don’t always have to mar the piece to know what it is. I’ve seen too many young fellas ruin a perfectly good vintage tool just because they were too impatient to use proper non-destructive metal testing methods. If you’re working on something with sentimental or high monetary value, your first step should always be checking the magnetic properties of metals. A simple neodymium magnet can tell you a lot; if it sticks, you’re likely looking at a ferrous alloy, but if it doesn’t, you’ve moved into the territory of brass, aluminum, or certain stainless steels.
Once you’ve ruled out the magnetism, you can move on to more subtle indicators. You might want to look into basic metal hardness testing techniques, like the scratch test, but do it on a hidden edge or a non-critical surface first. You aren’t looking for a laboratory-grade reading here, just a general sense of whether you’re dealing with something soft like copper or something stubborn like high-carbon steel. Measure twice and strike once—that applies to your testing just as much as it does to your welding.
Reading the Magnetic Properties of Metals to Avoid Costly Mistakes
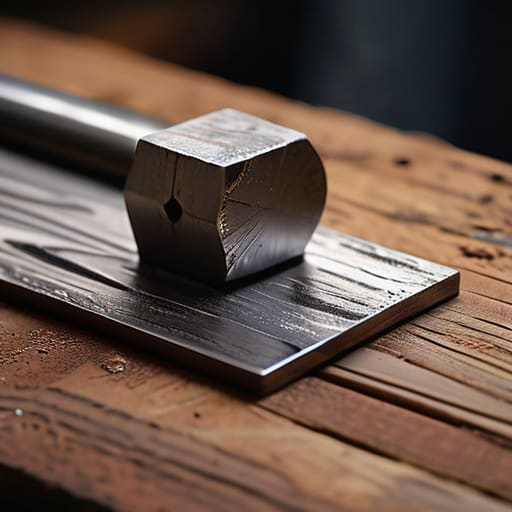
Now, if you don’t have a fancy lab setup, a simple magnet is one of the best tools you can keep on your workbench. It’s a quick way to narrow things down before you even think about pulling out the grinder. If that magnet leaps toward the workpiece and sticks tight, you’re likely looking at a ferrous metal—something like steel or iron. These are the workhorses, but they can be tricky because they’re prone to rust if you don’t treat them right. On the flip side, if the magnet won’t grab hold, you might be dealing with aluminum, copper, or a high-grade stainless steel.
But don’t go thinking a magnet tells the whole story. Some stainless steels are magnetic, while others aren’t, so you can’t just rely on a single test and call it a day. You have to use this as a starting point, not a final answer. While it’s a decent way of understanding the magnetic properties of metals on the fly, it won’t give you the full picture of the metallurgical composition analysis required for high-precision work. Use the magnet to rule out the obvious, but keep your wits about you.
Five Rules for Knowing Your Metal Before You Make a Mess
- Check the weight against your intuition. If you’re holding something that looks like heavy steel but feels light as a feather, you’re likely looking at aluminum or a thin-walled alloy. Don’t go heating it up thinking it’s iron, or you’ll be surprised by how quickly it warps.
- Use a file to find the truth. A simple, old-fashioned way to tell if you’re dealing with something soft or hard is to take a fine file to a hidden spot. If the file bites in deep with little effort, it’s a soft metal like copper or mild steel; if it skids across the surface, you’re dealing with something much harder, like high-carbon steel.
- Watch how it reacts to a spark. If you can safely use a grinder, take a tiny nick out of the edge and watch the sparks. Long, bushy, yellow sparks usually mean high carbon, while short, reddish sparks tell me I’m working with something more forgiving like low-carbon mild steel.
- Listen to the ring. Give the object a light tap with a small hammer. A clean, ringing tone often points toward brass or bronze, whereas a dull “thud” usually means you’ve got cast iron or something with significant internal impurities.
- Look for the tell-tale oxidation. Don’t just look at the surface color, which can be faked with paint or plating. Look at the corrosion. Greenish crust is a dead giveaway for copper or its alloys, while that reddish-brown flaky rust is your old friend, iron.
The Bottom Line Before You Fire Up the Forge
Never assume a piece of metal is what it looks like; take the time to test its properties before you apply heat or a grinder, because a single wrong assumption will ruin your workpiece and waste your afternoon.
Use your senses—the sound of a tap, the way a magnet clings, and the color of the finish—to build a profile of the material before you commit to a repair.
Treat every piece of metal with respect by verifying its identity first; in this shop, we don’t believe in guesswork, we believe in doing the job right the first time.
## Respect the Material
“You wouldn’t try to drive a nail with a screwdriver, so don’t you dare start heating up a piece of metal until you’ve figured out exactly what it is; treating an unknown alloy like common mild steel is the fastest way to turn a weekend project into a pile of expensive scrap.”
Alistair Fenwick
Final Thoughts Before You Head to the Anvil
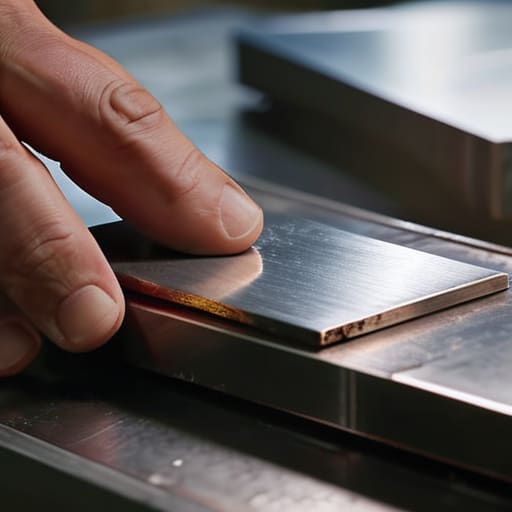
At the end of the day, identifying your metal isn’t about memorizing a textbook; it’s about developing a sense for the material. We’ve talked about using non-destructive tests to keep your workpiece intact and checking for magnetism so you don’t accidentally try to weld something that won’t take a bead. If you take the time to observe the weight, the color, and how it reacts to a magnet, you’re going to save yourself a world of frustration and a whole lot of scrap metal. Don’t be the person who rushes into a project only to realize halfway through that they’re working with something completely incompatible with their plan. Measure twice, identify once, and move with purpose.
I know it might feel like extra work to pause and think before you start heating up the forge or grabbing the grinder, but that’s what separates a real craftsman from someone just playing with tools. There’s a certain dignity in knowing exactly what you’re holding in your hands. When you respect the metal, the metal respects your work, and the results will show it in the finish and the strength of the joint. Stop chasing the quick fix and start building a foundation of proper technique. If you do things the right way from the start, you aren’t just making something—you’re making something that lasts.
Frequently Asked Questions
What if I've already started grinding or heating the piece and I'm still not sure what the metal is?
Look, if you’ve already started heating or grinding, you’ve already crossed the line from testing to altering. You’re playing a dangerous game now. If you’ve hit it with a torch and it didn’t react the way you expected, stop immediately. Take a look at the color of the scale or how the metal deformed under the heat. If you’re still guessing, put the grinder down. It’s better to lose an hour of time than to ruin a perfectly good piece of steel.
Is there a reliable way to tell the difference between a high-carbon steel and a low-carbon mild steel without a lab kit?
If you don’t have a lab, the spark test is your best friend. Grab a grinder and watch the sparks fly. Low-carbon mild steel will give you long, straight, reddish-orange streaks that die out quickly. High-carbon steel, though, is more temperamental; you’ll see those sparks burst into more numerous, smaller, yellowish-white bursts at the ends. It’s a bit of an art, but once you’ve seen it a dozen times, you won’t need a kit.
How do I deal with old, rusted-over scrap where the original markings or stamps have been completely eaten away?
When the stamps are gone and you’re staring at a crusty, unrecognizable hunk of iron, you have to stop looking and start feeling. Take a wire brush to it—slowly—to clear the scale. Once you’ve got a clean patch, look for grain patterns or weight. A heavy, dull thud usually means cast iron, while something lighter might be a forged steel. If you’re still stumped, a quick spark test with a grinder tells the real truth.
