I remember sitting in my old workshop back in ’84, the smell of burnt oil and ozone thick in the air, staring at a rusted-out lathe component that most folks would have tossed straight into the scrap bin. My mentor leaned over, wiped a greasy hand on his apron, and told me that most people treat metal restoration like a magic trick—they think you can just spray some fancy chemical on a piece of junk and call it a day. That’s a load of rubbish. Real work isn’t about finding a quick fix in a can; it’s about understanding the grain and respecting the decades of wear that the oxidation is trying to hide.
I’m not here to sell you on any miracle products or overpriced gadgets that promise the moon. What I am going to give you is the honest truth about how to actually bring life back to old iron and steel without wasting your time or your material. We’re going to talk about the grit, the heat, and the patience required to do the job right the first time. If you’re willing to put in the elbow grease, I’ll show you how to build something that’s actually worth keeping.
Table of Contents
Respecting the Grain Through Metal Oxidation Removal
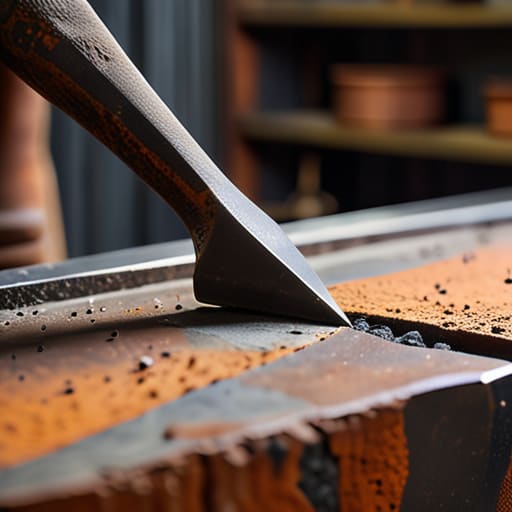
When you’re sitting there looking at a piece of pitted iron, it’s tempting to grab the heaviest grinder you’ve got and just start eating away at the surface. I’ve seen plenty of young fellas do that, thinking they’re making progress, but all they’re really doing is destroying the integrity of the piece. Real metal oxidation removal isn’t about speed; it’s about understanding how much healthy material you have left under that crust. If you go too aggressive, you’ll round off the sharp edges that give a tool its character, and once that’s gone, you can’t get it back.
I usually find myself weighing the pros and cons of sandblasting vs chemical stripping depending on what’s sitting on my workbench. Sandblasting is fine for heavy-duty industrial stuff, but for the delicate work of restoring vintage metalwork, I prefer a more measured approach. I’ll start with a fine abrasive or even a vinegar soak to lift the rust without scarring the underlying grain. You have to listen to the metal. If it feels like it’s fighting you, you’re being too rough. Take your time to get it clean, because a smooth surface is the only way to ensure your next layer actually sticks.
The Honest Truth of Sandblasting vs Chemical Stripping
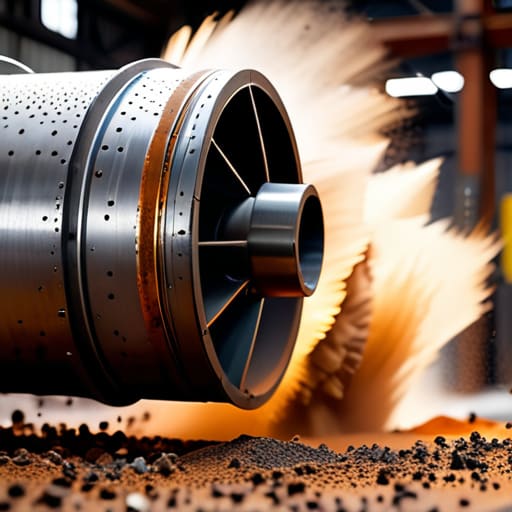
Now, when you’re looking at sandblasting vs chemical stripping, you’re going to hear a lot of folks telling you there’s one “right” way. That’s nonsense. It depends entirely on what you’re holding in your hands. If you’ve got a heavy-duty piece of industrial machinery or a thick steel frame, sandblasting is your best friend. It’s fast, it’s aggressive, and it gets right down to the bone. But you have to be careful; if you’re too heavy-handed with a high-pressure nozzle, you’ll end up pitting the surface, and you’ll spend more time on metal surface polishing than you ever wanted to.
On the other hand, if you’re working on something delicate—say, a thin-walled vintage tool or an antique piece of cast iron—sandblasting is a recipe for disaster. That’s when you bring out the chemicals. Chemical stripping is a slower, more patient process, but it’s much kinder to the integrity of the metal. It allows for a more controlled metal oxidation removal without the risk of physical impact. Just don’t get lazy with the neutralization step, or you’ll find yourself fighting rust again before the week is out.
Five Rules to Keep You From Ruining a Good Piece
- Watch your temperature like a hawk. If you’re working with heat to move metal or strip old coatings, don’t just guess by the color. If you push it too far too fast, you’ll ruin the temper of the steel, and once that’s gone, you’ve got nothing but a paperweight.
- Invest in decent abrasives. I’ve seen too many young fellas try to save a buck by using cheap, coarse grit that leaves deep scratches all over a surface. You’ll spend twice as much time trying to polish those gouges out later. Buy the good stuff; your elbows will thank you.
- Cleanliness isn’t just about looks; it’s about the bond. If you’re prepping a surface for a new finish or a weld, any trace of oil, grease, or even the sweat from your palms can cause the whole thing to fail. Wipe it down properly before you even think about applying a coating.
- Don’t go looking for the easy way out with power tools. Sure, an angle grinder is fast, but it’s easy to get aggressive and eat away too much material. Sometimes, a hand file and a bit of elbow grease are the only way to ensure you aren’t destroying the very shape you’re trying to save.
- Always protect the metal once it’s bare. The second you strip that oxidation off, the metal is vulnerable to the air. If you don’t get a protective oil, wax, or primer on it immediately, you’ll be staring at a fresh layer of rust before you’ve even finished cleaning your workbench.
The Bottom Line Before You Start Stripping
Choose your method based on the metal’s soul, not just the speed of the job; sandblasting might be fast, but it can chew up the fine details on a vintage tool if you aren’t careful.
Never skip the prep work, because if you leave even a hint of oxidation under your new finish, you’re just setting yourself up to do the whole job over again in six months.
Patience is your most important tool in the shop, so take the time to understand how the metal reacts to the chemicals or the grit before you go full throttle.
## The Cost of a Shortcut
“A piece of metal will tell you exactly where you’ve been lazy; it’ll show in the uneven pitting or the heat-warped edge, and no amount of polishing is going to hide the fact that you tried to outrun the process.”
Alistair Fenwick
The Long Road to a Job Well Done
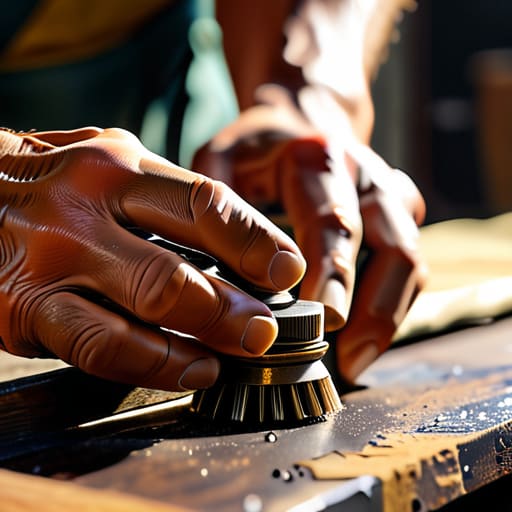
At the end of the day, whether you chose the grit of the sandblaster or the patience of a chemical soak, the goal remains the same: preserving the integrity of the piece. You’ve learned that you can’t just scrub away the years without understanding what lies beneath the oxidation. It’s about finding that balance between aggressive cleaning and preserving the original character of the metal. If you rushed the process or ignored the grain, you’d see it in the finish—a dull, uneven surface that tells anyone looking closely that the job was done poorly. Remember, the method you choose should always serve the metal, not just your desire to be finished by lunchtime. Don’t let the tools dictate the quality of your work.
Restoration isn’t just about making something old look new again; it’s about honoring the history embedded in the steel and iron. When you take the time to do it right, you aren’t just fixing a tool or a pan—you are ensuring that it survives another fifty years of hard use. There is a quiet, steady satisfaction that comes from running your hand over a surface you’ve painstakingly brought back to life. It’s a way of pushing back against a world that wants everything to be disposable. Build things to last, and never be afraid to get your hands dirty to make it happen.
Frequently Asked Questions
How do I know when I've gone too far with the abrasives and actually started thinning out the original metal?
You’ll feel it before you see it. When you’re working a piece, the resistance changes; the metal starts feeling “soft” or thin under the grit. If you see the surface starting to look unnaturally bright or “polished” in certain spots, you’re losing the original profile. Keep a steady hand and don’t get greedy. If the edges start looking rounded instead of crisp, stop immediately. You can always take more off later, but you can’t put it back.
Is it worth trying to patch a rusted-out section of a vintage tool, or should I just scrap it and find a better donor piece?
Look, if the tool has sentimental value or a solid handle, don’t scrap it just yet. If the rust is just skin-deep, you can save it. But if the structural integrity is gone—if the metal is pitted through or thinning out—you’re just wasting your time and your good welding rod. A patch is a bandage, not a cure. If the core is compromised, find a donor piece. Don’t build a house on a rotten foundation.
Once the surface is clean and smooth, what's the best way to seal it so the oxidation doesn't just crawl right back on next week?
If you leave that metal naked, the air will start eating it before you’ve even put your tools away. For cast iron, I swear by a solid seasoning—layers of flaxseed or grapeseed oil, baked in until it’s hard as nails. If you’re working with steel, you’ll want a high-quality paste wax or a clear, industrial-grade lacquer. Just don’t go slapping on cheap spray paint; it’ll flake off and leave you right back where you started.
