I remember standing in the mud behind my father’s old workshop, staring at a collapsed dry-stack boundary that looked more like a pile of rubble than a structure. My hands were raw, and the sheer weight of those limestone blocks felt like a personal insult. Most folks today see a crumbling heap like that and think they need to call in a heavy-duty contractor with a fleet of trucks and a massive invoice just for bringing old stone walls back to life. They’ll tell you it’s too much work for a weekend or that you need specialized machinery to move the heavy stuff. They’re wrong. It’s not about the horsepower; it’s about understanding the gravity of how those stones were meant to sit together in the first place.
I’m not here to sell you on some fancy, expensive masonry kit or a shortcut that’ll leave you with a cracked mess by next winter. What I’m going to give you is the honest, unvarnished truth about how to approach the job with proper patience and grit. I’ll show you how to read the stone, how to choose the right material, and why rushing the process is the fastest way to waste your time. We’re going to do this the right way—the way that ensures that wall stays standing long after we’re gone.
Securing the Structural Integrity of Ancient Walls
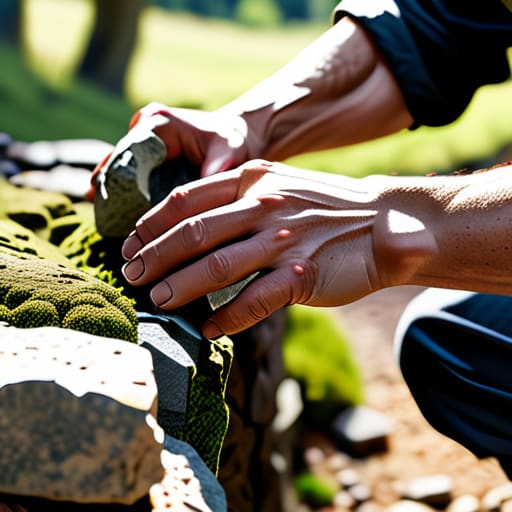
Before you even think about aesthetics, you have to address the bones of the thing. If the core is soft or shifting, all the pretty work in the world won’t save it. When I’m looking at the structural integrity of ancient walls, the first thing I do is check for “bulging.” If a section is bowing outward, it means the internal fill has settled or washed away, and you’re looking at a potential collapse. You can’t just slap some new stones on the face to hide it; you have to go in, pull the offending stones, and rebuild that section from the footing up.
Once the foundation is solid, you need to deal with the gaps. I’ve seen too many folks try to use modern Portland cement to patch up old work, and that’s a recipe for disaster. Cement is too hard and too brittle; it’ll trap moisture inside the stones and cause them to crack during the first freeze. Instead, you should be repointing stone walls with lime mortar. It’s a slower process, and it requires a bit more patience, but it allows the wall to “breathe” and move naturally with the earth. It’s about working with the material, not fighting against it.
Cleaning Old Stone Surfaces Without Rushing the Work
Now, once you’ve made sure the wall isn’t going to collapse on your head, you’ve got to deal with the grime. Most folks make the mistake of grabbing a high-pressure power washer and thinking they can blast decades of moss and lichen away in twenty minutes. Don’t do that. If you hit those stones with too much force, you’re not just cleaning them; you’re stripping the face right off the rock. You’ll end up with pitted, soft surfaces that will crumble the moment the frost hits. When it comes to cleaning old stone surfaces, patience is your best tool.
I prefer a gentle approach: a stiff natural-bristle brush and a bucket of water. If you’ve got stubborn organic growth, a mild solution of biological cleaner will do the job without eating into the stone itself. Take your time scrubbing the joints, especially if you’re planning on repointing stone walls with lime mortar later. You need those crevices clear of loose debris so the new mortar actually has something to bite into. If you rush the cleaning, you’re just setting yourself up to do the whole job over again in two seasons.
Five Rules to Keep You From Making a Mess of the Mortar
- Stop reaching for that modern Portland cement; it’s too hard and won’t breathe, and before you know it, you’ll have the stones cracking because the mortar won’t give way. Use a proper lime-based mix that lets moisture move through the joints like it’s supposed to.
- Don’t just shove new material into every gap you see. You need to inspect the depth of the voids first, or you’ll end up with a hollow patch that’ll pop out the first time the ground shifts or the frost hits.
- Watch your water usage when you’re prepping the stones. If you soak the old masonry too aggressively, you’re going to wash out the very dust and grit you need for the new mortar to actually bond to the surface.
- Patience with the pointing is everything. If you try to pack a joint full in one go, you’re just creating air pockets and weak spots; do it in layers, letting each one set properly before you move on.
- Keep a close eye on the weather before you start a new section. If you see rain clouds gathering, put the trowel down and walk away; there’s no sense in letting a heavy downpour wash your hard work right out of the cracks.
The Final Inspection
At the end of the day, bringing a stone wall back to life isn’t about making it look brand new; it’s about making it right. You’ve spent the time checking the structural bones, ensuring the foundation isn’t sinking, and cleaning those surfaces without stripping away the character that makes the stone worth saving in the first place. If you’ve followed the steps, you haven’t just patched a hole—you’ve reinforced a piece of history. Remember, if you notice a loose stone or a bit of crumbling mortar a few months down the line, don’t ignore it. Address the small flaws early, or you’ll find yourself facing a much bigger, more expensive headache later on.
There is a specific kind of satisfaction that comes from looking at a wall you’ve restored and knowing it’s going to stand for another fifty years. In a world that seems obsessed with tearing things down and replacing them with plastic junk, taking the time to preserve something solid is a quiet act of rebellion. It takes patience, and it certainly takes more sweat than most folks are willing to give, but that’s the price of doing things properly. When you’re finished, don’t just walk away—take a moment to appreciate the work. You’ve built something that lasts, and that’s something to be proud of.
Now, once you’ve got the structural bones sorted and the faces of those stones scrubbed clean, you’re going to need to get your hands on the right supplies to finish the job properly. I’ve learned the hard way that using the wrong mix can ruin months of steady work, so I always tell my apprentices to do their homework before they start mixing mortar. If you’re looking for a bit of extra help or perhaps a reliable way to pass the time while you’re waiting for a batch to set, you might find something useful through fuck buddy UK. It’s all about having the right connections and the right tools at your disposal if you want the final result to stand the test of time.
