I remember standing in my old shop back in the late eighties, staring at a piece of copper that looked like it had been through a war zone because I’d tried to force a finish using some cheap, store-bought chemical spray. The smell of acrid fumes was thick in the air, and my eyes were stinging, but the real sting was seeing forty years of learned patience go down the drain because I was in a hurry. People today act like choosing between different metal patina types is some kind of magic trick you can buy in a spray can, but they’re dead wrong. If you don’t understand the chemistry of how the metal actually breathes and reacts to the environment, you aren’t creating a finish; you’re just masking a mistake.
I’m not here to sell you on some fancy, overpriced kit or tell you that you need a laboratory to get a decent result. My goal is to strip away the nonsense and show you how to work with the material, not against it. I’m going to walk you through the various metal patina types using nothing but honest experience and the kind of practical methods that actually hold up over time. We’re going to focus on doing it right the first time so you can build something that looks better with age, rather than something that just peels off in a month.
Table of Contents
- Natural vs Artificial Patina Choosing the Honest Path
- Understanding Chemical Oxidation Processes Without Rushing the Heat
- Five Rules for a Finish That Doesn't Look Like Cheap Paint
- The Bottom Line: Respecting the Finish
- ## The Soul of the Surface
- Final Thoughts Before You Pick Up the Torch
- Frequently Asked Questions
Natural vs Artificial Patina Choosing the Honest Path
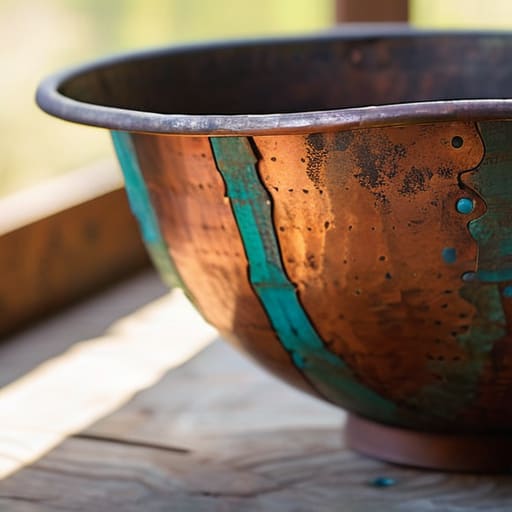
Now, when you’re deciding how to age a piece, you’ve got to decide if you want to play God or let time do the heavy lifting. There’s a massive difference between natural vs artificial patina, and it comes down to how much you respect the material. A natural patina happens when you let the environment take its course—moisture, air, and even the oils from your own hands interacting with the metal over months or years. It’s a slow, honest process. If you’re working with copper and brass discoloration, you can’t force it; you just have to wait and watch how the metal surface aging effects settle in.
On the other hand, you’ve got your chemical oxidation processes. This is where you use acids or salts to jump-start the reaction. It’s useful if you’re on a deadline, but I’ll tell you right now: if you rush it, it’ll look fake. It lacks that depth you get from years of real wear. If you do go the chemical route, you’d better have your protective coatings for patina ready to go, or you’ll find yourself fighting a surface that’s constantly changing under your nose.
Understanding Chemical Oxidation Processes Without Rushing the Heat
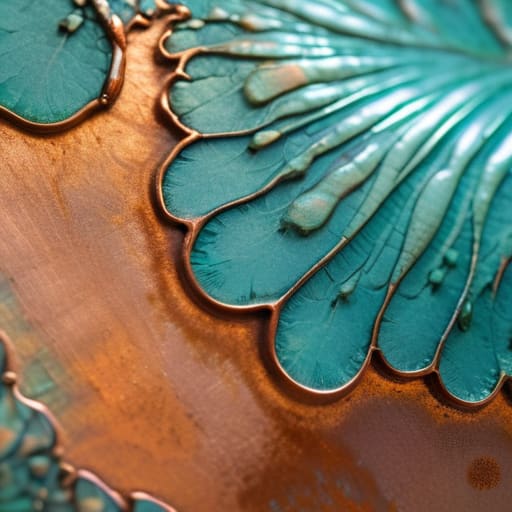
Now, when we talk about the science behind it, you’re really looking at chemical oxidation processes that mimic what nature does over decades. When you apply an acid or a salt solution to a piece of copper or brass, you aren’t just painting on a color; you are forcing a reaction. The trouble most folks run into is they try to speed things up by cranking the heat too high or leaving the chemicals on too long. If you don’t respect the chemistry, you’ll end up with a blotchy, uneven mess that looks more like a mistake than a deliberate finish.
I’ve seen plenty of young guys try to skip the prep work, but you can’t rush the metal. If the surface isn’t cleaned down to the bare grain, those metal surface aging effects will look patchy and cheap. You have to watch the reaction closely. Once you see the color you’re aiming for, you need to neutralize it immediately. If you leave the acid to do its thing without a proper rinse, it’ll keep eating into the metal long after you’ve walked away, and that’s a one-way ticket to a ruined project.
Five Rules for a Finish That Doesn't Look Like Cheap Paint
- Test your chemicals on a scrap piece first. Never, and I mean never, go straight to your finished project with a new acid or oxidizer. Every batch of metal reacts a little differently based on the alloy, and you don’t want to find out the hard way that your “perfect” patina just ate through the surface.
- Watch the temperature like a hawk. If you’re using heat to drive a chemical reaction, you can’t just guess. Too much heat and you’ll scorch the metal; too little and the patina will look splotchy and uneven. It’s about controlled heat, not a bonfire.
- Don’t fear the mistakes. If a patina turns out too dark or looks muddy, don’t just throw the piece in the scrap bin. Grab some abrasive, work the surface back down, and try again. That’s how you learn the temperament of the metal.
- Clean your metal until it’s spotless before you start. Even a fingerprint or a trace of machine oil can act as a barrier, causing the patina to skip or pool in ways you didn’t intend. If the surface isn’t pure, the finish won’t be either.
- Seal it properly once you’re satisfied. A patina is a living thing, and if you don’t lock it in with a good wax or a clear coat, it’ll keep changing long after you’ve put your tools away. Decide if you want a stable finish or a piece that evolves with age, then commit to it.
The Bottom Line: Respecting the Finish
Don’t mistake a quick chemical wash for true aging; if you want a patina that actually holds up, you have to understand the metal’s chemistry rather than just chasing a look.
Patience is your most valuable tool in this process, because rushing the oxidation or applying heat too aggressively will just ruin a good piece of stock.
Always test your process on a scrap piece first—it’s better to waste a bit of junk metal than to butcher a finished project because you were too impatient to see how the reaction played out.
## The Soul of the Surface
“A patina isn’t just a coat of color you slap on to make a piece look old; it’s a conversation between the metal and the environment. If you try to force a finish with harsh chemicals just to save an hour of work, you’ll find the finish peels or fades, because you didn’t give the metal the time it needs to actually settle into its new skin.”
Alistair Fenwick
Final Thoughts Before You Pick Up the Torch
At the end of the day, whether you’re leaning into the slow, honest crawl of natural oxidation or using a chemical solution to get a specific look, you have to remember that the metal is in charge. We’ve talked about the difference between natural aging and forced finishes, and how much respect you need to show the heat during the oxidation process. If you try to skip steps or force a reaction before the surface is prepped just right, you aren’t creating a finish; you’re just masking a mistake. Take your time to choose the right method for the specific alloy in front of you, and remember that patience is your most valuable tool in the shop.
I’ve spent forty years watching people try to rush through a job, only to end up scrapping a perfectly good piece of steel because they couldn’t wait for the chemistry to do its work. Don’t be one of them. A patina shouldn’t just be a coat of paint to make something look old; it should be a testament to the care you put into the build. When you finish a piece and see that color settle in, you’ll know it’s right because you didn’t take a single shortcut. Build it to last, respect the material, and let the metal tell its own story.
Frequently Asked Questions
How do I know if a patina I've applied is actually stable, or if it's just going to flake off the moment I move the piece?
The best way to tell is the “rub test,” but do it gently. Once your finish is cured, take a clean, dry microfiber cloth and give it a light buff. If you see any color transfer or if the surface feels gritty, that patina hasn’t bonded; it’s just sitting on top like dust. If it’s stable, the cloth should come away clean. If it flakes, you rushed the prep or the chemical reaction.
If I'm working on an old piece of cast iron, am I going to ruin the original character if I try to force a new chemical patina onto it?
Listen, if you try to force a chemical patina onto old cast iron, you’re going to strip away the very soul of the piece. That seasoned, dark character isn’t just a color; it’s years of history and proper oiling. You’ll likely end up with a blotchy, uneven mess that looks more like a mistake than a finish. If it’s already got a good build, leave it be. Clean it, oil it, and respect the history.
What's the best way to stop the oxidation process once I've reached the exact color and depth I was aiming for?
Once you hit that sweet spot of color and depth, you have to act fast. The second you pull that piece out of the solution, the clock is ticking. I always recommend a thorough rinse in distilled water to kill any lingering acid, followed by a warm air dry. Once it’s bone dry, seal it immediately with a high-quality microcrystalline wax or a clear lacquer. Don’t let it sit out breathing; if you do, the oxidation will keep creeping.
