I remember standing over a workbench in a cramped shop back in ’84, watching a young apprentice try to save a few bucks by mixing a DIY batch of metal etching acid without a lick of sense. The smell of those fumes was sharp enough to peel the paint off the walls, and before I could yell, he’d gone and bit too deep into a custom brass plate that took him three days to polish. Most people today think you can just grab some bottle from a big-box store and follow a fancy label, but they don’t realize that chemistry doesn’t care about your schedule. If you treat your acid like a magic wand instead of a tool, you’re going to end up with a ruined workpiece and a whole lot of wasted time.
I’m not here to sell you on some overpriced, proprietary solution or give you a lecture filled with fluff you won’t use. What I’m going to do is show you how to handle your metal etching acid with the respect it deserves, from choosing the right concentration to managing the dwell time. I’ll give you the straight truth on how to control the bite so you can get clean, professional results without destroying your material or your patience.
Table of Contents
Perfecting Metal Surface Preparation for Etching
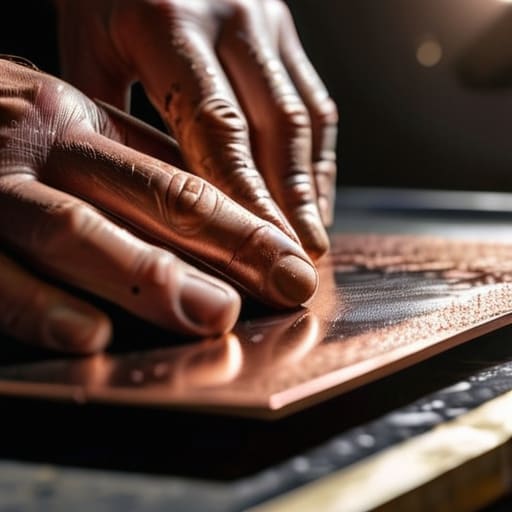
Before you even think about opening a bottle of acid, you need to look at the metal in front of you. If there’s a fingerprint, a smudge of grease, or even a bit of oxidation left on that plate, your etch is going to look like a mess. You aren’t just cleaning it; you are preparing the foundation. I always start with a thorough degreasing using a good solvent, followed by a light scuff with a fine abrasive. Most folks think metal surface preparation for etching is just a quick wipe-down, but if you skip the grit, the chemicals will bite unevenly, and you’ll end up with a blotchy finish that’s impossible to fix.
Once the surface is clean, give it one last rinse with distilled water and let it dry completely. Any moisture trapped under your resist will cause the solution to lift, and you’ll lose the crisp lines you worked so hard to mask. I’ve seen many beginners jump straight into the bath, only to realize they’ve wasted a perfectly good piece of copper because of a bit of oil. Patience in the prep stage is what separates a professional finish from a hobbyist’s mistake.
Copper Etching Solutions That Wont Fail You
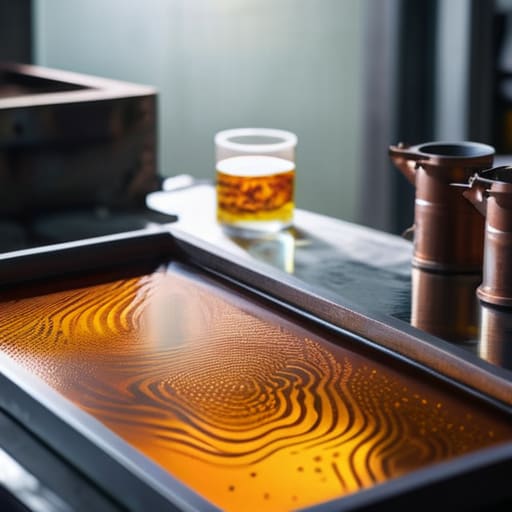
Now, when it comes to the actual chemistry, you need to decide if you’re looking for a quick bite or a controlled, slow burn. Most folks I talk to start with Ferric Chloride because it’s predictable, but if you’re working with copper, you’ve got to respect what you’re mixing. I’ve seen too many beginners try to mix their own concoctions without a clear grasp of corrosive material handling, and that’s a fast way to end up with a ruined workpiece or a nasty burn. If you want consistent results, stick to a proven solution rather than playing chemist with household cleaners.
When you’re choosing your copper etching solutions, remember that the concentration dictates your control. A stronger mix works faster, but it can also undercut your lines, turning a crisp design into a blurry mess. It’s a bit like heat-treating steel; you can’t just crank it up and hope for the best. You also need to have your neutralizing etching chemicals—usually a baking soda bath—ready and waiting the second you pull that plate out of the tank. Don’t wait until the job is done to think about cleanup; by then, the damage is already done.
Five Rules to Keep Your Etching from Turning Into a Mess
- Watch your temperature like a hawk. If your acid solution gets too warm, it’ll bite much faster than you intended, and before you know it, you’ve eaten right through your fine lines and ruined the whole design. Keep it cool, keep it steady.
- Never, and I mean never, add water to your acid. You’ve probably heard the old saying, but it’s the truth. Always pour the acid into the water, slow and steady. If you do it backward, you’re asking for a splashback that’ll ruin your skin and your workspace.
- Don’t skimp on the ventilation. I don’t care if you’re working in a big shop or a small garage; those fumes are nasty business. If you can’t smell the air getting heavy, you aren’t breathing enough. Get a fan going or work near an open door.
- Keep a neutralizing agent within arm’s reach. I always keep a box of baking soda nearby. If you spill a drop or if the etch starts behaving erratically, you need to be able to kill that reaction instantly. Don’t wait until you’re scrambling to find something to clean it up.
- Test a scrap piece every single time. Even if you’ve used the same batch of solution for a month, things change with the humidity and the metal’s composition. Don’t go wasting a good piece of copper just to find out your etch is running too hot; use a bit of junk metal first.
The Bottom Line Before You Start Etching
If you skip the cleaning or rush the degreasing, you’re just wasting your acid and your time; a clean surface is the only way to get a clean bite.
Don’t go chasing the strongest acid just because it’s fast; control your reaction time and watch the metal closely so you don’t eat through your design.
Treat your etching solutions with respect and keep your workspace organized, because a messy shop is where good material goes to die.
## Respect the Bite
“Treat your etching acid like a temperamental apprentice; if you don’t respect its strength and try to rush the process, it’ll bite back harder than you intended, and you’ll be left with a ruined piece of metal instead of a finished work.”
Alistair Fenwick
A Final Word Before You Get to Work
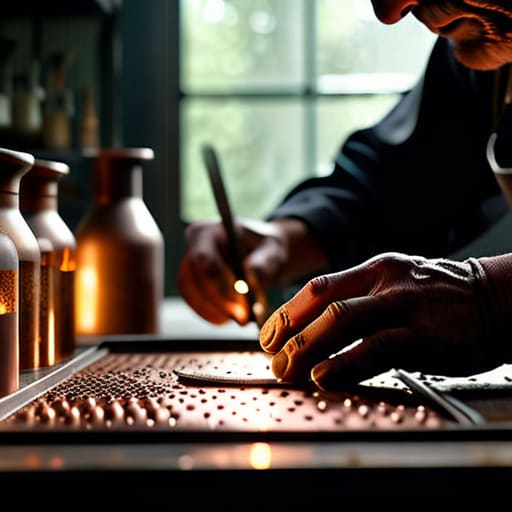
At the end of the day, successful etching comes down to how much respect you show the process. You’ve got to get that surface cleaned until it’s spotless, pick a solution that actually matches your metal, and most importantly, you have to control your temperament. If you try to force the acid to work faster than it wants to, or if you get sloppy with your measurements, you’re going to end up with a ruined piece and a wasted afternoon. Remember, the chemistry does the heavy lifting, but your preparation dictates the outcome. Don’t skip the degreasing step just because you’re in a hurry; that’s how mistakes happen.
I know it can feel a bit daunting when you’re standing there over a tray of chemicals, wondering if you’ve done it right. But that’s part of the craft. There is a real, quiet satisfaction in watching a design bite into a piece of copper or brass that you prepared with your own two hands. My advice? Take your time, keep your workspace organized, and never rush the bite. We aren’t just making decorations here; we’re learning how to master the materials we live with. Once you get the hang of it, you’ll realize that patience is the most important tool in your entire shop.
Frequently Asked Questions
How do I know when the acid has bitten deep enough without accidentally eating through the entire sheet?
You can’t just stare at it and hope for the best; you need to be proactive. I always keep a small scrap of the same metal nearby. Every ten minutes or so, I pull my piece out, give it a quick rinse in fresh water, and check the depth against that scrap. If the lines aren’t crisp or deep enough, pop it back in. Better to check twice than to end up with a hole where your design should be.
What’s the best way to neutralize the acid once I’m done so I don't end up with a corroded mess later on?
Listen, this is where most folks slip up. They pull the piece out, rinse it with water, and walk away—only to find a pitted, corroded mess a week later. You can’t just rinse it; you have to kill the reaction. Keep a tray of baking soda mixed with water handy. Submerge that metal until the fizzing stops completely. Once it’s neutralized, give it a thorough scrub and dry it immediately. Don’t let moisture linger.
Can I reuse the etching solution for a second pass, or am I just wasting my time once it starts looking cloudy?
You can reuse it, but don’t get greedy. Once that solution turns cloudy, it means the acid is getting “spent”—it’s saturated with dissolved metal and losing its bite. You can try a second pass, but you’ll find yourself waiting twice as long for the same result. If it’s looking murky, it’s better to pour it out, neutralize it properly, and start fresh. Don’t waste your time fighting a tired solution.
