I remember sitting in my old shop back in ’84, staring at a piece of brass that I’d completely ruined because I thought I could skip the prep work. The acid had bit into the grain unevenly, leaving me with nothing but a scarred, useless hunk of metal and a wasted afternoon. Nowadays, you see these fancy kits online claiming you can master complex metal etching techniques with a single spray bottle and a prayer, but that’s just marketing nonsense. If you think you can bypass the fundamentals of surface preparation and chemical timing, you aren’t making art; you’re just making a mess that you’ll eventually have to throw in the scrap bin.
I’m not here to sell you on some magic shortcut or a high-priced gadget you’ll never use. What I want to do is walk you through the actual, hands-on methods that work when the stakes are high and the material is good. We’re going to look at the real metal etching techniques—the ones that require a steady hand and a bit of patience—so you can stop guessing and start building things that last.
Table of Contents
- Proper Metal Surface Preparation Before You Start
- Choosing Etching Resist Materials That Wont Fail
- Five Rules to Keep Your Etching from Going Sideways
- Lessons from the Bench: What You Can't Afford to Ignore
- ## The Cost of Impatience
- Final Thoughts Before You Step to the Bench
- Frequently Asked Questions
Proper Metal Surface Preparation Before You Start
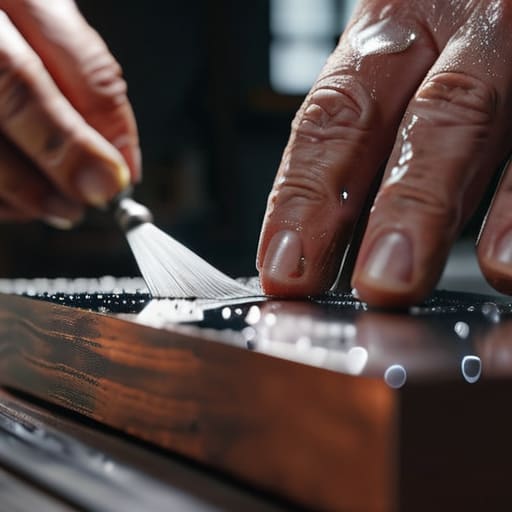
Before you even think about touching an acid bath or a power supply, you need to understand that your final result is only as good as the surface underneath it. I’ve seen plenty of young folks jump straight into the chemical etching process with a piece of metal that still had fingerprints or a thin film of machine oil on it. If you don’t get that surface surgically clean, your resist is going to lift, and you’ll end up with blurry, uneven lines that’ll drive you mad. You want to start with a thorough metal surface preparation—scrub it with a degreaser, use a fine abrasive if you need to, and then clean it again with denatured alcohol.
Once the metal is stripped of every bit of grime, you have to handle it with care. From this point on, try to use gloves or even tweezers to move your workpiece. Any oil from your skin can act as a barrier, causing the etch to fail in certain spots. If you’re aiming for precision metal engraving, there is absolutely no room for error in this stage. Take your time to ensure the surface is completely dry and chemically neutral; otherwise, you’re just setting yourself up for a headache.
Choosing Etching Resist Materials That Wont Fail
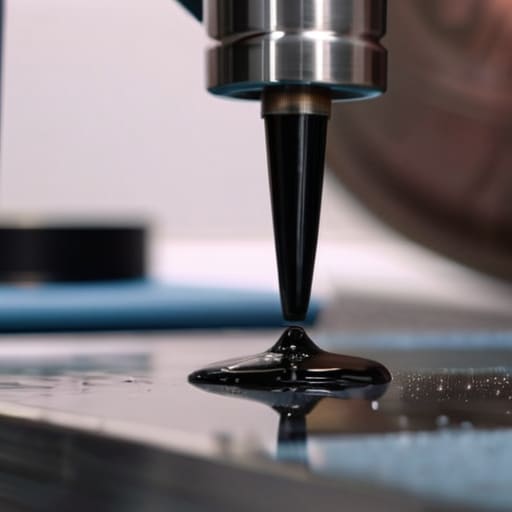
Once you’ve got your surface cleaned and ready, the next thing you have to get right is your barrier. If your etching resist materials fail halfway through the job, you aren’t just looking at a messy finish—you’re looking at ruined metal. I’ve seen too many folks try to save a buck by using cheap spray paint or low-grade lacquer, only to find the acid eats right through the edges. It’s a waste of time and a waste of good steel. If you want clean lines, you need a resist that actually bites and holds its ground.
For most of the work I do in the shop, I stick to high-quality vinyl or specialized acid-resistant coatings. If you’re moving into electrolytic metal etching, your choice of resist becomes even more critical because the electrical current can be unforgiving. You want something that stays bonded even when the reaction gets active. Don’t forget that the thinner the layer, the more detail you can get, but don’t push it so thin that it becomes brittle. A little bit of patience in selecting your materials will save you from a lot of frustration later on.
Five Rules to Keep Your Etching from Going Sideways
- Watch your acid temperature like a hawk. If the solution gets too hot, it’ll bite faster than you can control, and you’ll end up with blurred lines and ruined detail. Keep it steady, keep it cool, and don’t go chasing a faster result.
- Don’t just dunk the metal and walk away to grab a coffee. You need to keep that piece moving in the bath. If the metal sits still, the acid settles in the grooves and eats deeper than you intended, creating those ugly, uneven pits.
- Always neutralize your work immediately. The moment you pull that piece out of the etch, get it into a bath of water and baking soda. If you don’t stop the chemical reaction right then and there, the acid keeps working under your resist, and you’ll lose your crisp edges.
- Test your resist on a scrap piece of the exact same metal first. I don’t care how much you trust a brand name or a recipe; every batch of metal has its own quirks. If the resist peels on a scrap piece, it’ll fail on your project, and you’ll be left holding a piece of expensive junk.
- Use a soft brush to gently agitate the surface during the etch. You aren’t scrubbing it, mind you—you’re just nudging the spent acid away from the etched areas so fresh solution can get in. It’s a bit of extra work, but it’s the difference between a clean line and a muddy mess.
Lessons from the Bench: What You Can't Afford to Ignore
Never skip the cleaning stage; if there’s even a fingerprint of oil or a speck of oxidation left on that metal, your resist is going to lift and your pattern will be ruined before you even get to the acid.
Match your resist to your patience level, because a cheap spray or a poorly applied wax will fail you halfway through the job, and you’ll end up fighting the metal instead of working with it.
Treat the etching process as a slow burn, not a race, because pulling the piece out too early or rushing the chemical soak is the fastest way to turn a precision job into a pile of scrap.
## The Cost of Impatience
“You can buy the most expensive acid and the finest resists in the world, but if you haven’t taken the time to truly understand how the metal reacts to the bite, you’re just making a mess. Etching isn’t about forcing a design into a surface; it’s about knowing exactly when to step back and let the chemistry do the work it was meant to do.”
Alistair Fenwick
Final Thoughts Before You Step to the Bench
At the end of the day, successful etching isn’t about finding a magic chemical or a shortcut; it’s about the groundwork you laid before the acid ever touched the plate. If you didn’t clean that surface until it was spotless, or if you chose a cheap resist that’s going to peel under pressure, you’ve already lost the battle. Remember that every step—from the initial degreasing to the final neutralization—is a single link in a chain. If one link is weak, the whole project fails. Don’t try to bypass the preparation phase just to save twenty minutes, because you’ll spend two hours trying to fix a botched etch later. Respect the process, and the metal will respect you.
There’s a certain kind of satisfaction that comes from looking at a piece of metal you’ve permanently altered with your own hands. It isn’t like the mass-produced, stamped-out junk you see in big-box stores that falls apart the moment it hits a bit of wear. When you etch something properly, you’re leaving a mark that’s meant to endure. It takes patience, and your hands might get a bit stained, but that’s part of the trade. Build things that have a story to tell, and remember that the best way to learn is to keep your tools sharp and your eyes open. Now, get to work and make it last.
Frequently Asked Questions
How do I know when the acid has bitten deep enough into the metal without risking a total failure of the resist?
You can’t just guess by looking at it; you have to watch the reaction. If you see a sudden surge of bubbling or a change in the color of the solution, that’s the acid working hard. I usually pull the piece out every few minutes to check the depth with a magnifying glass. If the lines look shallow, put it back. If you wait too long hoping for more depth, you’ll blow right through your resist.
What’s the best way to clean up the leftover etching solution so I don't end up with unintended corrosion later on?
Stop right there. If you think you’re done once the pattern appears, you’re asking for trouble. You need to neutralize that acid immediately. I always keep a tray of baking soda and water nearby; once the etching is finished, dunk that piece in the solution to kill the reaction. Then, scrub it with a stiff brush under running water. If you leave even a trace of that solution in the pits, you’ll be fighting rust for months.
If I'm working with a thinner gauge of metal, how do I keep the acid from eating through the back side?
When you’re working with thin gauge, you’ve got zero margin for error. The best way to handle it is to use a sacrificial backing. I always slide a piece of heavy-duty plastic or a thick layer of wax behind the metal. If you’re feeling brave, you can use a secondary resist on the back, but honestly, just keep a close eye on the clock. Don’t let it sit in the bath a second longer than necessary.
