I remember standing in a heavy fabrication shop back in ’84, watching a young kid try to spray a high-end industrial coating over a piece of steel that still had a thin film of machine oil on it. He was rushing, eyes on the clock, thinking the paint would just mask the problem. Two weeks later, that entire panel was bubbling and peeling like a bad sunburn. That’s the trouble with the way things are done today; everyone wants the finish to look pretty, but nobody wants to do the actual metal surface preparation required to make it stick. People think you can just slap a coat of primer on a dirty surface and call it a day, but that’s a fast track to wasted material and a job you’ll have to do twice.
I’m not here to sell you on some expensive, proprietary chemical spray that promises miracles in a can. What I’m going to give you is the straight truth about how to actually get a surface ready for work, using the tools and methods that have held up for forty years. We’re going to talk about the grit, the degreasing, and the patience required to do it right the first time.
Table of Contents
Mastering Metal Oxidation Removal Before the First Coat
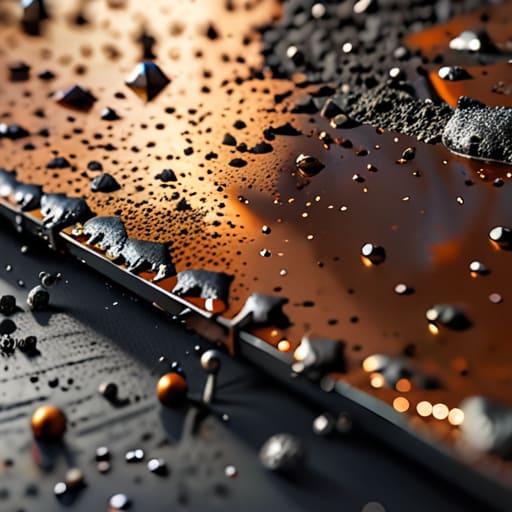
Now, once you’ve got the heavy scale knocked off, you’re left with the real challenge: getting rid of that stubborn, invisible layer of oxidation. You can’t just paint over a bit of rust and hope for the best; that’s a fool’s errand that’ll leave you peeling paint in six months. I’ve seen too many fellas try to skip the deep cleaning, only to find the coating failing because they didn’t commit to proper metal oxidation removal. You need to get down to the bright, honest metal. If you leave even a hint of discoloration, you’re essentially inviting the rot to continue right under your new finish.
Depending on what you’re working on, you’ll likely need to lean on some serious mechanical surface cleaning. For small parts, a stiff wire brush or some medium-grit sandpaper—the kind I always keep handy—will do the trick, but for larger structural pieces, you might need to look into abrasive blasting methods. The goal here isn’t just to make it look shiny; it’s about creating a consistent surface that’s ready to bite. If you don’t get that surface clean and uniform, you’re just wasting your time and your materials.
Why Industrial Coating Adhesion Fails on Lazy Work
I’ve seen it a hundred times in shops from here to Sheffield: a man spends three days applying a high-end finish, only to watch it peel off like a sunburn a month later. Most folks think the coating is the magic ingredient, but the truth is, the coating is only as good as the grit underneath it. If you haven’t established a proper surface roughness profile, you aren’t building a bond; you’re just laying paint on top of a lie. Without those microscopic “teeth” for the material to grab onto, the best industrial coating adhesion in the world won’t save you from a catastrophic failure.
When you get lazy with your mechanical surface cleaning, you leave behind oils, dust, or microscopic bits of scale. These act like a barrier, preventing the primer from ever actually touching the base metal. I always tell my apprentices that if you skip the hard work of grinding or blasting, you’re essentially asking the finish to float. You might get a decent look for a week, but shortcuts always come back to haunt you when that first sign of rust creeps under the edge.
Five Rules to Live By Before You Pick Up the Spray Gun
- Stop treating degreasing like an afterthought. If there’s even a thumbprint of oil or grease left on that steel, your expensive coating is going to peel off like a bad sunburn the moment it gets stressed. Use a proper solvent and wipe it down until the rag comes back clean every single time.
- Watch your grit progression. I see too many young fellas jump straight from a coarse grinding disc to a fine finish, leaving deep scratches that show through the paint like a roadmap. Work your way up through the grits—60, 120, 220—and let the tool do the work instead of leaning on it.
- Don’t ignore the “hidden” corners. It’s easy to make a flat plate look pretty, but rust loves to hide in the welds, the tight radii, and the undersides of joints. If you aren’t getting into those nooks with a wire brush or a small abrasive pad, you’re just painting over a ticking time bomb.
- Check your work with a light, not just your eyes. Turn off the overhead shop lights and hold a flashlight at an angle across the surface. If you see shadows or uneven patches, your surface isn’t level. A coating won’t hide a bad grind; it’ll only highlight it.
- Keep your hands clean during the final stage. Once you’ve finished the prep, stop touching the metal with bare skin. The oils from your hands are enough to ruin the bond you just worked so hard to create. If you have to move the piece, use gloves or a clean rag.
The Bottom Line on Doing It Right
If you find yourself reaching for more paint to cover up a patch of rust or scale, stop what you’re doing; you aren’t fixing the problem, you’re just burying it.
Take the extra time to degrease every inch of the surface, because even a fingerprint’s worth of oil is enough to make a high-quality coating peel off like old skin.
Respect the material and work at its pace—if you rush the cleaning process to save twenty minutes today, you’ll spend twenty hours grinding off failed work next month.
The Foundation of the Job
You can buy the most expensive industrial paint in the world, but if you slap it over a layer of grease or scale, you aren’t painting—you’re just decorating a failure. Real work starts with the grit and the degreaser, not the spray gun.
Alistair Fenwick
The Long View on a Clean Surface
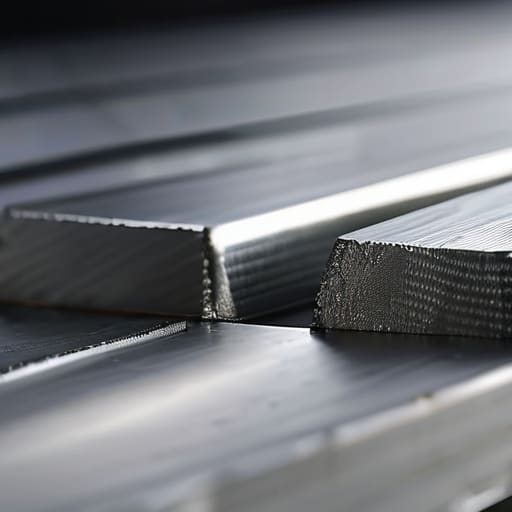
At the end of the day, it all comes down to what you can’t see once the paint is dry. You’ve spent the time stripping away the oxidation, degreasing every nook and cranny, and ensuring the profile is exactly where it needs to be. It’s easy to look at a pile of metal shavings and a greasy rag and feel like you’re just spinning your wheels, but that’s where the real work happens. If you skip the degreasing or leave a patch of scale behind, you aren’t just saving time; you are guaranteeing a failure down the road. Remember, a coating is only as good as the surface it’s clinging to, and shortcuts are just debt you’ll have to pay back with interest when that finish starts peeling in six months.
I know it’s tempting to pick up the spray gun or the brush the moment the metal looks “clean enough,” but I urge you to take a breath and check your work one more time. There is a quiet sort of pride in knowing that the foundation of your project is solid. We live in a world that’s obsessed with the quick fix and the overnight result, but real craftsmanship doesn’t care about your schedule. When you do the prep right, you aren’t just making something look pretty; you are building something that lasts. Take the time, respect the material, and do it once, do it right.
Frequently Asked Questions
Is it worth the extra time to sand down every bit of surface rust, or can I just use a chemical converter and call it a day?
Look, if you’re looking for the easy way out, the converter is tempting. But if you want the job done right, you’ve got to get that scale off first. A converter is a bandage, not a cure; it sits on top of the mess. If you don’t sand down to the healthy metal, you’re just sealing in the rot. Do the work now, or you’ll be scraping it all off again in six months.
How do I know if I've actually gotten all the oils and grease off the metal before I start applying the coating?
The best way to tell is to stop guessing and start testing. Take a clean, white lint-free cloth—not a shop rag that’s been sitting in a greasy bucket—and wipe a section of the metal firmly. If you see even a hint of grey or yellow on that cloth, you aren’t done. I also like the water bead test: if water sits in a tight bead, there’s still oil. If it sheets out flat, you’re ready.
If I'm working on an old piece of cast iron, should I be using a fine grit or a coarse grit to avoid pitting the surface?
If you’re working on old cast iron, you need to respect the material. Start with a coarse grit to knock off the heavy scale and old, flaking rust, but don’t stay there a second longer than necessary. Once the bulk is gone, switch immediately to a finer grit to smooth out those deep scratches. If you push that coarse grit too hard, you’ll dig permanent pits into the iron, and no amount of seasoning will ever fix that.
