I was hunched over a rusted wrought-iron garden chair last Tuesday, the kind of piece people usually toss into a scrap heap without a second thought. Most folks will tell you that once the pitting gets deep or the rust starts flaking like old skin, the piece is a lost cause, but they couldn’t be more wrong. The truth about restoring metal furniture isn’t about finding a magic spray can at the big-box store; it’s about having the patience to strip back the decay and respect the integrity of the base material. If you approach a job like that with a “quick fix” mindset, you aren’t restoring anything—you’re just masking the rot until it fails again in six months.
In this guide, I’m going to show you how to do this properly, from the first pass of the wire brush to the final coat of protective finish. I won’t waste your time with fancy, expensive gadgets you don’t need or chemical shortcuts that eat through good steel. Instead, we’ll focus on the steady, methodical steps required to bring that metal back to life so it lasts another forty years. Grab your gloves and a sturdy workbench; we’ve got work to do.
Table of Contents
- Step-by-Step Instructions
- The Truth About Removing Rust From Metal the Right Way
- Mastering Metal Surface Preparation Before You Strike
- Five Hard-Won Rules for a Finish That Actually Lasts
- The Bottom Line Before You Pick Up the Tools
- ## The Cost of a Shortcut
- Finishing the Job Right
- Frequently Asked Questions
Guide Overview
Tools & Supplies
- Sandpaper (various grits for smoothing)
- Wire brush (for removing heavy rust)
- Paintbrush or spray can (for application)
- Microfiber cloth (for cleaning)
- Rust remover (1 bottle)
- Metal primer (1 can)
- Metal spray paint (1-2 cans)
- Degreaser (1 bottle)
Step-by-Step Instructions
- 1. First things first, you need to clear the workspace and get a good, hard look at what you’re dealing with. Strip away any loose bits, old upholstery, or broken glass, and lay the piece out on a sturdy workbench. I always tell people to inspect the joints before they even pick up a tool; if the structural integrity is gone because of deep, crumbling rust, you’re looking at a much bigger job than just a bit of cleaning.
- 2. Once you know the frame is sound, it’s time to deal with the surface grime and that stubborn, flaky rust. Grab a wire brush—the stiff steel kind, not those flimsy ones that bend the second they hit resistance—and start scrubbing. You don’t need to get it down to shiny silver immediately, but you do need to remove the loose scale so your next steps actually have something to bite into.
- 3. If the rust is deep-seated in the crevices, don’t go trying to sand it all away with a power tool right out of the gate; you’ll just burn through the good metal. Instead, I prefer using a chemical rust converter or a soak in a mild acid bath to let the chemistry do the heavy lifting. Just remember to watch the clock on those converters, because if you leave them on too long, they can become a nightmare to prime later.
- 4. Now that the metal is clean, you need to smooth out the transitions. This is where most folks rush, but that’s a mistake. Take a medium-grit sandpaper and work in circular motions to knock down any pits or rough spots left by the oxidation. I keep a small piece of sandpaper in my pocket for a reason—you should always be able to run your hand over the surface and feel nothing but smoothness before you move on to the finish.
- 5. Before you even think about applying paint or lacquer, you have to degrease the entire piece. Any fingerprint oils or leftover residue from your cleaning will cause the finish to bubble or peel within a month. Use a bit of mineral spirits and a clean, lint-free rag to wipe it down thoroughly; you want that metal to be absolutely clinical before the coating goes on.
- 6. When you’re ready to finish, don’t go buying the cheapest spray can at the local hardware store. Use a high-quality metal primer first, and apply it in thin, even coats rather than trying to hide the metal under one thick, gloppy layer. It’s better to build the finish slowly through several light passes than to end up with drips that look like amateur hour.
- 7. Finally, once your topcoat is dry, let it cure. This is the hardest part for most people because they want to put their keys on the table five minutes after it’s done. Real finishes need time to harden and bond to the metal. Give it at least a few days in a dust-free area; if you rush the curing process, you’ll find yourself repairing the same piece again before the season is out.
The Truth About Removing Rust From Metal the Right Way
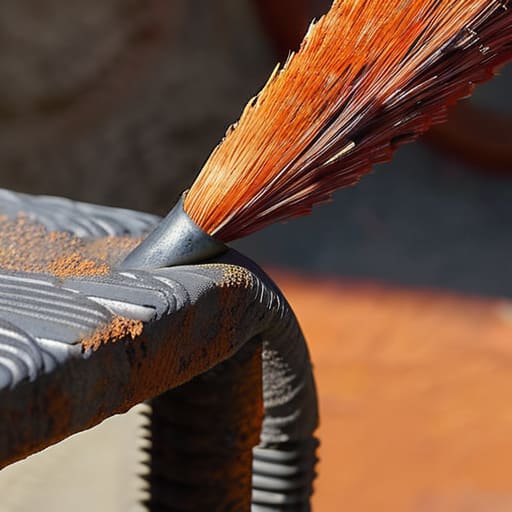
Now, listen close, because this is where most folks blow it. They see a bit of orange crust and think they can just slap some primer over it and call it a day. That’s a fool’s errand. If you don’t get down to the actual base metal, you aren’t fixing anything; you’re just burying a problem that’s going to eat that piece from the inside out. When it comes to removing rust from metal, you have to be thorough. I’ve seen plenty of “restored” chairs fall apart within six months because the person was too lazy to scrub out the deep pits. Use a wire brush or even a bit of steel wool to get into the crevices, and don’t stop until the surface feels smooth under your thumb.
Once you’ve cleared the decay, your next priority is proper metal surface preparation. If you leave even a fingerprint of oil or a speck of dust, your finish won’t bite. I always keep a rag soaked in a bit of degreaser nearby to wipe everything down before I even think about reaching for a spray can. You want a clean, honest surface. If you skip this step, you’re just wasting your time and your money.
Mastering Metal Surface Preparation Before You Strike
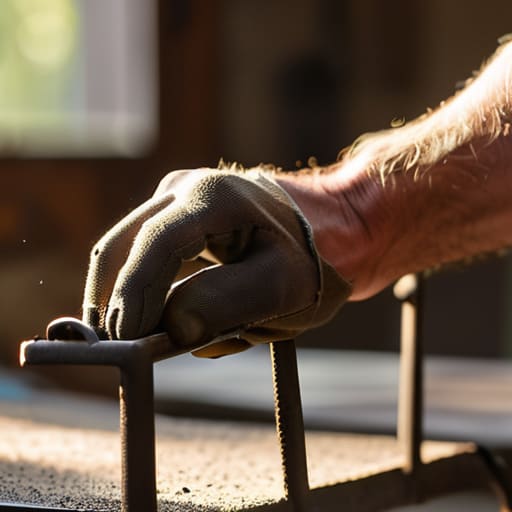
Once you’ve finished the heavy lifting of removing rust from metal, you can’t just jump straight to the finish. Most folks make the mistake of thinking that if it looks clean, it’s ready. It isn’t. If you leave even a microscopic layer of oxidation or a smear of grease on that surface, your new coating won’t bite. You need to treat metal surface preparation like the foundation of a house; if the ground is soft, the whole thing eventually leans. I always keep a handful of fine-grit sandpaper in my pocket for a reason—sometimes you need to go back and smooth out those tiny burrs that the power tools missed.
Take your time with a tack cloth or a bit of denatured alcohol to wipe everything down. You want that metal to feel almost unnaturally clean to the touch. This step is what separates a quick weekend project from true vintage metal furniture repair. If you skip this, you’re just sealing in the problems you thought you fixed. Don’t let your ego tell you it’s “good enough.” Precision at this stage is what ensures your hard work doesn’t flake off in six months.
Five Hard-Won Rules for a Finish That Actually Lasts
- Don’t go chasing the high-speed grinders right away. It’s tempting to try and blast through the grit in five minutes, but you’ll end up gouging the substrate and creating more work for yourself. Use a fine-grit abrasive and take your time; you want to level the surface, not carve it.
- Watch your temperature like a hawk when you’re working with old welds or joints. If you’re heating a piece to straighten a bend, do it slow and steady. If you rush the heat, you’ll warp the frame, and once that metal loses its temper or its shape, you’re fighting an uphill battle you won’t win.
- Check your metal for “hidden” rot before you commit to the job. I’ve seen plenty of folks spend hours polishing a chair leg only to realize the core is completely oxidized and hollow. Take a hammer to it—if it sounds thin or dull instead of a crisp ring, that part’s scrap, not a candidate for restoration.
- Never skip the degreasing stage. You can spend all day sanding until it shines, but if there’s even a trace of workshop oil or old wax left in the pores of the metal, your new finish is going to peel off like a bad sunburn within a month. Wipe it down with something honest and clean before you even think about coating it.
- Treat your tools with as much respect as the furniture itself. A dull file or a worn-out brush isn’t just a nuisance; it’s a recipe for a sloppy job. If your tools aren’t sharp and ready, your hands will try to compensate, and that’s exactly when you make a mistake you can’t take back.
The Bottom Line Before You Pick Up the Tools
Don’t let the urge to finish quickly ruin your work; if you rush through the cleaning or the prep, you’ll spend twice as much time fixing your mistakes later.
Invest in the right materials from the start, because cheap abrasives and low-grade finishes will fail you the moment you try to build something meant to last.
Respect the metal’s history and its limits, treating every piece of furniture as a project that deserves precision rather than a disposable item to be tossed aside.
## The Cost of a Shortcut
You can always buy a new chair at a big-box store, but you can’t buy back the character of a piece that’s stood the test of time. When you’re restoring metal, you aren’t just scrubbing away rust; you’re earning the right to keep that piece in your home for another fifty years.
Alistair Fenwick
Finishing the Job Right
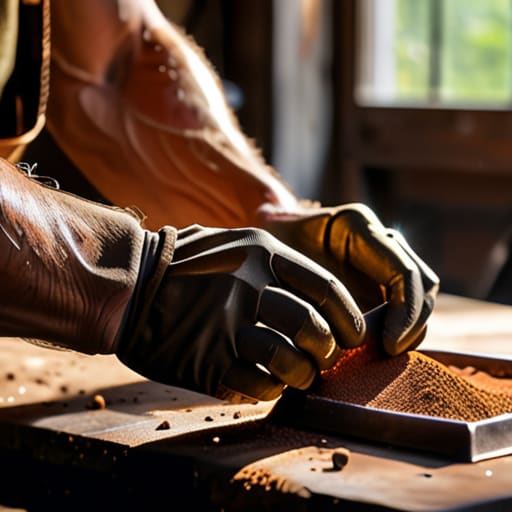
At the end of the day, restoring a piece of metal furniture isn’t about how fast you can get to the finish line. It’s about the work you put in when nobody is watching—the grit you show during the rust removal, the patience you exercise while prepping the surface, and the discipline to not skip a single step just to save an hour. If you’ve done the prep work properly, the coating will stick, the metal will stay protected, and you won’t find yourself staring at bubbling paint six months from now. Remember, a solid foundation is the only way to ensure that the repairs actually hold against time and use.
There is a certain kind of satisfaction you get from looking at a piece of furniture that others would have tossed into a scrap heap. When you take something weathered and worn and bring it back to its former strength, you aren’t just fixing a chair or a table; you are proving that quality is worth the effort. We live in a world that’s increasingly obsessed with the new and the disposable, but there is a quiet dignity in making things last. So, keep your tools sharp, keep your eyes on the details, and never settle for a job that’s merely “good enough.”
Frequently Asked Questions
If I find a deep pit or a gouge in the metal that won't come out with sanding, should I try to weld it shut or just leave it as character?
Now, you’ve hit on a real crossroads there. If that pit is just a surface blemish, leave it—call it “character” and let it tell a story. But if that gouge is deep enough to compromise the structural integrity of the piece, you can’t just ignore it. In those cases, you weld it. Don’t just glob metal in there, though; build it up in layers and grind it flush. Fix it so it stays strong.
How do I know when I've gone too far with the chemical rust removers and started attacking the actual integrity of the metal?
You’ll know you’ve overstepped when the metal starts looking “pitted” or feels unnaturally thin under your thumb. If the surface looks like a topographical map of the moon instead of a smooth plane, you’ve eaten too deep. Stop immediately. If you see any signs of uneven etching or if the metal starts feeling soft or spongy, you’ve moved past cleaning the rust and started dissolving the actual material. You want the rust gone, not the furniture.
Is it worth putting in the effort to refinish a piece that's clearly made of cheap, thin-gauge steel, or am I just wasting my time and good materials?
Look, I’ll give it to you straight: if it’s thin-gauge, flimsy steel, you’re mostly fighting a losing battle. That kind of metal doesn’t have the soul or the substance to hold a proper finish, and it’ll warp the moment you apply any real heat. Save your good sandpaper, your oils, and your time for something with some meat on its bones. If it’s built like a soda can, it belongs in the scrap bin, not your workshop.
