I remember sitting in my first industrial shop back in the seventies, the air thick with the smell of ozone and hot scale, watching a young apprentice try to hide a botched weld by slapping on a generic, sandblasted finish. He thought he was being clever, but the moment the light hit that piece, you could see every mistake he’d made. People today seem to think that you can just buy a canister of abrasive or click a button on a machine to fix a lack of character, but they’re wrong. Real metal texture methods aren’t about hiding flaws with a superficial layer of grit; they are about working with the material to give it a soul that lasts longer than a seasonal trend.
I’m not here to sell you on some expensive, high-tech gadget that’ll end up gathering dust in your shed next month. What I’m going to do is walk you through the honest, hard-earned ways to manipulate surface finishes using nothing but steady hands and the right amount of patience. We’re going to discuss how to use hammers, abrasives, and heat to achieve results that actually command respect. If you’re looking for a shortcut to make something look “distressed” for a weekend project, you’re in the wrong place, but if you want to learn how to build something with real substance, let’s get to work.
Table of Contents
Achieving Surface Roughness Control Without Rushing the Work
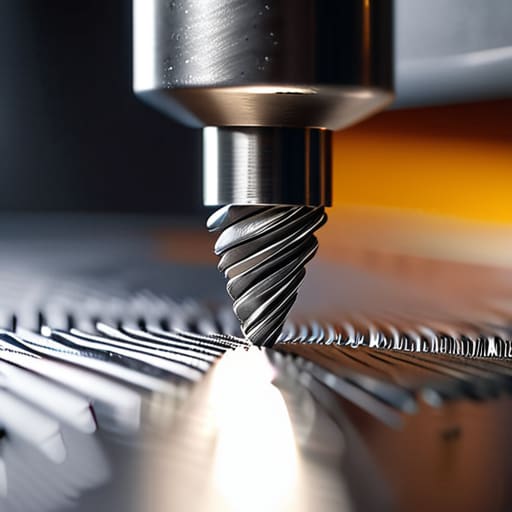
When you’re trying to dial in your surface roughness control, the biggest mistake I see is people treating the metal like it’s made of plastic. They start grinding away with a high-speed disc, hoping to hit a specific look in ten seconds flat. That’s how you end up with gouges that no amount of sanding will ever fix. If you want a finish that actually holds up, you have to work with the grain of the material, not against it. Whether you’re using a file or a specialized abrasive, you need to feel the resistance. If the tool starts skipping or jumping, you’re moving too fast and losing your precision.
I’ve seen plenty of young fellas try to skip the prep work just to get to the decorative metalwork techniques, but you can’t build a house on a cracked foundation. If your base surface isn’t consistent, your final texture will look amateurish and uneven. Take the time to step through your grits systematically. It might feel slow, but patience is your best tool in the shop. You want a surface that feels intentional, not something that looks like it was rushed through a machine just to meet a deadline.
Why Aesthetic Metal Finishes Require a Steady Hand
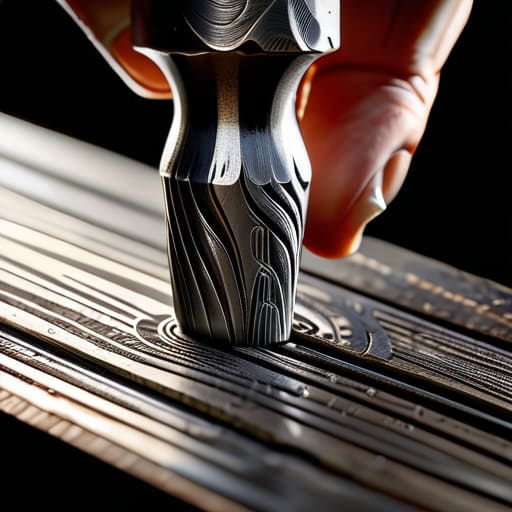
I’ve seen too many young lads walk into a shop, see a piece of steel with a bit of character, and think they can just sand it smooth and call it a day. That’s not how you do things. When you’re working with decorative metalwork techniques, you aren’t just trying to make something look pretty for a showroom; you’re trying to marry the look of the piece to its soul. If your hand is shaking or you’re moving too fast because you’re eager to get to the pub, you’ll see it immediately in the finish. A steady hand is the difference between a deliberate, purposeful mark and a messy, accidental scratch that ruins the entire surface.
The truth is, true aesthetic metal finishes rely on consistency. Whether you are working a hammer to create a pattern or applying a chemical wash, you have to maintain a rhythmic, controlled movement. If you rush the process, you’ll end up with blotchy patches that no amount of polishing can hide. You have to respect the rhythm of the tool, feeling the resistance of the metal beneath your grip. If you can’t control your motion, you shouldn’t be touching the workpiece.
Five Rules for Getting the Texture Right the First Time
- Don’t go hunting for the most expensive pneumatic tools right out of the gate; most of the time, a well-chosen hand file and a bit of elbow grease will give you a more controlled, honest finish than a machine that’s doing all the thinking for you.
- Always test your pattern on a scrap piece of the exact same stock first, because what looks good on a thin sheet of mild steel will behave completely differently when you’re working with something thicker or more temperamental.
- Watch your heat levels like a hawk when you’re using thermal methods to darken or pit a surface, because if you let it run too hot for even a second, you’ll ruin the structural integrity of the piece just to chase a look.
- Keep your abrasives clean and change them more often than you think you need to; there’s nothing more frustrating than spending an hour working a surface only to realize you’ve been dragging grit and contaminants across the metal the whole time.
- Respect the grain of the metal, whether you’re brushing it or grinding it, and never try to fight against the way the material wants to lay, or you’ll end up with a finish that looks amateurish and uneven.
The Essentials of a Job Done Right
Respect the material by understanding that texture isn’t just decoration; it’s a result of how you manage the heat and the force of your tools.
Avoid the temptation to rush through finishing stages, because a sloppy texture is a permanent mistake that no amount of polishing can truly hide.
Invest your time in mastering the fundamentals of hammer and abrasive control, ensuring you build a finish that lasts a lifetime rather than one that looks good for a day.
## The Cost of a Quick Finish
“A texture isn’t just something you slap onto a surface to hide a bad weld or a sloppy grind; it’s the signature of how much respect you gave the material while you were working it. If you rush the pattern to save ten minutes, you aren’t saving time—you’re just leaving a permanent record of your impatience in the metal.”
Alistair Fenwick
The Final Polish
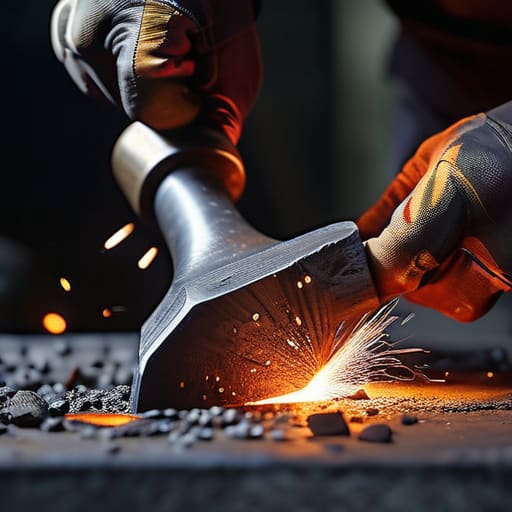
At the end of the day, whether you’re working with a heavy hammer to create a hand-forged texture or using a fine abrasive to achieve a satin finish, the principle remains the same: you have to work with the material, not against it. We’ve talked about controlling your surface roughness and why you can’t rush a finish just to get the job done, but it all comes down to patience and observation. If you try to skip the prep work or ignore how the metal is reacting to the heat, you aren’t just wasting time—you’re wasting the soul of the piece. Respect the process, keep your tools sharp, and never let a rushed hand dictate the quality of your work.
I know it’s tempting to look for the quickest way to make something look “finished,” but there is a profound difference between a surface that looks good and a surface that was built to endure. When you take the time to master these textures, you aren’t just decorating a piece of metal; you are leaving a mark of your own craftsmanship that will outlast any disposable, factory-made junk. Don’t be afraid to make a mistake and start over if the texture isn’t right. Build it to last, and remember that the most important tool in your shop isn’t your grinder or your forge—it’s your discipline.
Frequently Asked Questions
How do I know when I've gone too far with the hammer and started thinning the metal too much?
You’ll feel it before you see it. When you’re working the hammer, listen to the ring. A healthy piece of metal has a solid, consistent percussion. Once you start thinning it out too much, that sound turns hollow or “tinny.” You’ll also notice the metal starts to feel “spongy” under your strikes rather than pushing back. If it feels like you’re working through butter instead of steel, back off immediately or you’ll punch right through.
If I'm working on an old piece of cast iron, what's the best way to add texture without ruining the original integrity of the metal?
Listen, when you’re dealing with old cast iron, you’re handling something that’s brittle. You can’t just go swinging a heavy hammer and hope for the best; one wrong strike and you’ve got a crack that’ll ruin the piece for good. If you need to add texture, stick to hand-tooling or very light, controlled scoring. Avoid high-impact methods. Respect the history of that iron—work slow, keep your pressure steady, and don’t force it.
Does the type of heat I use during the process change how the final texture holds up against wear and tear?
It absolutely does. If you’re just heating the surface for show and ignoring the metallurgy, that texture is going to flake or wear smooth the first time it sees real use. Controlled, even heat helps stabilize the grain structure. If you rush the process or use uneven heat, you’re creating internal stresses. You might get a pretty finish today, but without proper thermal management, that texture won’t stand a chance against years of honest work.
