I remember standing in my first real shop forty years ago, staring at a piece of molten brass that looked more like a glowing mistake than a tool. The air was thick with the smell of burnt sand and scorched charcoal, and my hands were shaking just enough to make me doubt every bit of training I’d ever received. Most of the “experts” you’ll find online today will try to sell you on some expensive, computerized setup or a fancy kit that promises perfection with the push of a button. They make it sound like magic, but let me tell you, there’s nothing magical about it—it’s just physics and patience. If you want to get the metal casting basics right, you need to stop looking for a shortcut and start respecting the heat.
I’m not here to give you a polished, textbook lecture that leaves you more confused than when you started. My goal is to strip away the fluff and give you the straight truth about how to pour your first melt without wasting a pound of good material. We’re going to focus on the grit: how to prep your molds, how to read the color of the metal, and how to avoid the common blunders that turn a hard day’s work into a pile of scrap.
Table of Contents
- Foundry Equipment Essentials for a Proper Build
- Mastering Metal Melting Temperatures Without Wasted Material
- Five Hard-Learned Lessons Before You Pour Your First Melt
- Lessons from the Forge: What You Can't Afford to Forget
- The Cost of Impatience
- The Long Game of the Foundry
- Frequently Asked Questions
Foundry Equipment Essentials for a Proper Build
You don’t need a factory floor to get started, but you do need the right tools if you want to avoid a mess. When I first set up my garage studio, I learned the hard way that skimping on your foundry equipment essentials is a quick way to ruin a good pour. You’ll need a reliable crucible that can handle the heat without cracking, and a furnace that actually holds its temperature. If your heat source is inconsistent, you’re going to struggle with the metal melting temperatures required for a clean flow, and that’s when you start seeing bubbles and voids in your work.
Beyond the heat, you need to think about your molds. Whether you’re diving into sand casting or something more complex, your pattern making for casting has to be spot on. If your pattern is slightly off or has a rough surface, your final piece will inherit every single one of those flaws. I always tell my apprentices: get your patterns smooth and your flasks sturdy. It’s much easier to sand a wooden model today than it is to try and grind out casting defects and prevention issues on a finished piece of iron tomorrow.
Mastering Metal Melting Temperatures Without Wasted Material
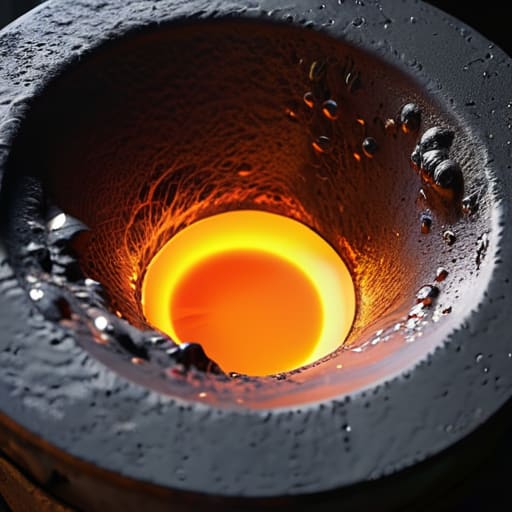
You can have the finest furnace in the shop, but if you don’t understand metal melting temperatures, you’re just playing with fire. I’ve seen too many young lads crank the heat to the max, thinking it’ll get the job done faster. That’s a fool’s errand. When you overheat the melt, you aren’t just wasting fuel; you’re inviting gas absorption and oxidation that will ruin your pour. You have to learn the temperament of the specific alloy you’re working with. It’s a slow dance between the fuel and the crucible, and you need to know exactly when that metal has reached its sweet spot.
Once you hit that target, you have to move with purpose. If you let the metal sit too long at peak temperature, you’ll start seeing casting defects and prevention become a real headache, as the metal begins to degrade. I always tell my apprentices to keep a close eye on the color and the fluidity. If you’re rushing the process to save a few minutes, you’ll end up with a brittle, useless hunk of scrap instead of a clean casting. Patience is your most important tool in the foundry.
Five Hard-Learned Lessons Before You Pour Your First Melt
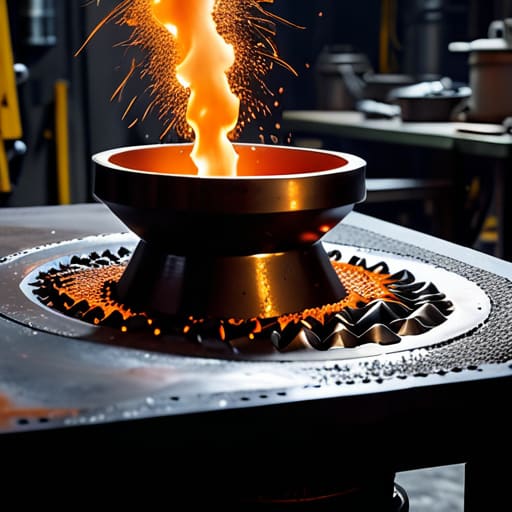
- Watch your moisture like a hawk. If there’s even a hint of dampness in your sand mold or your tools, that molten metal is going to react violently. I’ve seen more ruined pours from a little bit of trapped steam than from almost anything else. Dry everything thoroughly before you even think about bringing the crucible to heat.
- Don’t skimp on the vent holes. Beginners always want to make a solid, sealed mold, but metal needs to breathe. If you don’t provide a way for the gases to escape as the liquid fills the cavity, you’re going to end up with nothing but bubbles and holes in your finished piece. It’s better to have too many vents than too few.
- Practice your pattern making until it’s second nature. The shape you use to create the cavity is the soul of the casting. If your pattern has sharp, impossible edges or lacks a proper taper—what we call a draft—you’ll be fighting a losing battle trying to pull it out of the sand without crumbling the whole mold.
- Invest in a decent set of crucibles and don’t use cheap junk. I’ve seen guys try to save a few bucks by using whatever old tin pot they found in the shed, and they end up with a melted pot and a face full of slag. You need tools that can stand the heat consistently without cracking under the stress.
- Learn to read the color of the metal. You can’t just rely on a thermometer for everything; you need to develop an eye for how the liquid behaves and how the heat looks. It takes time, and it’ll take a few failed runs to get it right, but you’ll know it’s ready when the metal tells you it’s ready.
Lessons from the Forge: What You Can't Afford to Forget
Never skimp on your safety gear or your crucible; a cheap tool is the fastest way to turn a productive afternoon into a trip to the emergency room.
Watch your temperatures like a hawk, because trying to force a melt before the metal is ready is a fool’s errand that ruins the pour and wastes your fuel.
Respect the cooling process as much as the heating; if you rush the metal while it’s still hot, you’ll end up with cracks and flaws that no amount of grinding can fix.
The Cost of Impatience
You can buy all the fancy crucibles and high-grade fuel you want, but if you don’t respect the chemistry of the melt and the patience of the pour, you’re just burning money and wasting good metal.
Alistair Fenwick
The Long Game of the Foundry
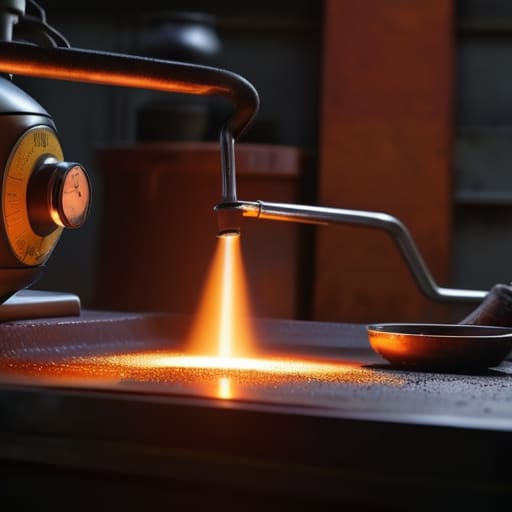
At the end of the day, successful casting isn’t about having the flashiest furnace or the most expensive molds; it’s about the discipline you bring to the shop floor. You’ve got to respect your equipment, keep your workspace organized, and—most importantly—you have to master your temperatures before you even think about pouring. If you skip the prep work or try to eyeball the heat without a proper pyrometer, you aren’t just risking a bad pour; you’re risking your safety and wasting perfectly good material. Remember, every piece of metal has its own temperament, and patience is your most valuable tool in this trade.
I know it can feel overwhelming when you’re staring at a pile of sand and a crucible of molten metal, but don’t let that stop you. Every master smith I ever worked with started exactly where you are, making mistakes and learning the hard way. There is a deep, quiet satisfaction in taking raw, scrap metal and turning it into something functional and permanent. Don’t aim for perfection on your first try—just aim to do it right. If you commit to the process and respect the craft, you’ll find that you aren’t just making objects; you’re building a legacy that can stand the test of time.
Frequently Asked Questions
What's the best way to tell if my sand mold is packed tight enough without ruining the whole pour?
You don’t want to go poking around with a screwdriver once the pattern’s out, or you’ll ruin the surface finish. Instead, use your hands. Give the sides of the flask a firm, rhythmic tap with a wooden mallet. You’re listening for a solid, dead thud. If it sounds hollow or “crunchy,” your sand is too loose. If it’s too tight, you’ll trap air. It should feel like a solid stone, not a bag of flour.
How do I know if my crucible is actually ready for the heat, or if I'm just risking a crack?
You don’t just guess with a crucible; you listen to it. Before you ever think about throwing in scrap, you need to preheat it slow. If you see any hairline cracks or deep pits in the lining, leave it alone—that’s a recipe for a molten disaster. A good crucible should look uniform and dry. If it’s popping or hissing when the heat hits, you’ve got moisture trapped inside. Dry it out properly first.
If I'm working in a small home shop, what are the absolute bare minimum safety precautions I can't afford to skip?
Look, if you’re setting up a small shop, don’t get cocky. The bare minimum? Full-face protection and heavy leather. I don’t care if it’s hot; you wear those gloves and a proper apron every single time. Most importantly, keep your workspace bone-dry. A single drop of moisture in a crucible turns molten metal into an explosion. Respect the heat, keep your eyes covered, and never work alone if you can help it.
