I remember standing in a drafty fabrication shop back in ’84, watching a kid try to force a joint together with a rivet that was clearly too short for the job. He was sweating, cursing, and hitting that metal with a frantic, uneven rhythm that told me everything I needed to know. He thought he could just muscle it into place, but all he was doing was marring the surface and wasting a perfectly good piece of stock. When you’re riveting metal, there’s a specific song the hammer should make—a steady, purposeful beat that tells you the fastener is actually spreading and biting into the material. If you’re just swinging for the sake of swinging, you aren’t building anything; you’re just making a mess.
I’m not here to sell you on some fancy, overpriced pneumatic kit that’ll be sitting in your junk drawer by next Tuesday. What I want to do is show you how to get it right the first time using the fundamentals of heat, pressure, and patience. I’ll walk you through the actual mechanics of the process so you can stop guessing and start building things that last.
Table of Contents
Choosing the Right Alloy Rivet Types for Longevity

Before you even pick up a tool, you need to understand that not all fasteners are created equal. If you’re working on something meant to endure decades of stress, you can’t just grab whatever’s sitting in the bottom of a junk drawer. When it comes to alloy rivet types, you have to match the material of the rivet to the base metal you’re joining. If you pair a soft aluminum rivet with a high-carbon steel plate, you’re asking for galvanic corrosion to eat your work from the inside out. I’ve seen plenty of folks ignore this, only to find their assembly has crumbled away after a single season of heavy use.
For heavy-duty work, I usually lean toward copper or stainless steel when the job demands real strength. These are some of the most reliable permanent metal joining methods available to us, provided you have the patience to set them correctly. Now, I know the modern crowd loves the convenience of a quick blind rivet installation for light repairs, and there’s a time and place for that. But if you’re building something structural—something that needs to hold its shape under a load—don’t settle for anything less than a solid, matched alloy.
Mastering Permanent Metal Joining Methods Without Shortcuts
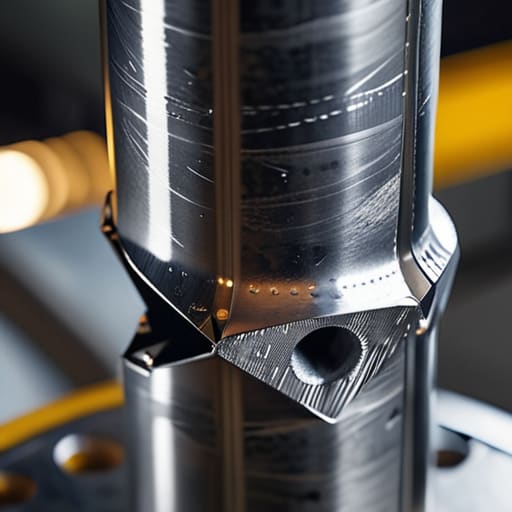
Now, once you’ve got your materials picked out, you have to actually commit to the work. When we talk about permanent metal joining methods, I’m not talking about something you can just undo with a screwdriver when you change your mind. It’s about creating a bond that’s stronger than the individual sheets you’re pulling together. I’ve seen too many youngsters try to slap a few blind rivets into a joint and call it a day, thinking they’ve finished the job. If you aren’t checking your alignment and ensuring the shank is seated properly, you’re just building a failure point that’ll rattle loose the first time it sees any real stress.
You need to respect the physics of the connection. Whether you’re using a manual hammer or getting into more complex structural riveting techniques, the goal is the same: uniform pressure and zero gaps. If you rush the setting process, you’ll end up with a loose fit that looks fine from a distance but lacks any real integrity. Take the time to feel the tension. If the metal isn’t behaving, don’t force it; adjust your setup and try again. Precision beats speed every single time in this shop.
Five Rules for a Joint That Won't Give Up the Ghost
- Don’t skimp on the hole preparation. If you’re drilling your holes and they’re jagged or slightly off-center, that rivet is going to fight you every step of the way, and you’ll end up with a loose fit that rattles the moment you put it under load.
- Watch your heat, but don’t get greedy. If you’re working with harder alloys, you might need a bit of warmth to make the metal cooperative, but if you push it too far, you’ll bake the temper right out of the material and turn a strong joint into something soft and useless.
- Always check your alignment before you strike. Once that rivet starts to set, you aren’t moving it again. Take a second to double-check that your plates are flush and your marks are true; it’s much easier to move a drill than it is to fix a crooked rivet.
- Control your hammer blows. I see too many young fellas coming into the shop trying to muscle the work with massive, swinging strikes. You want steady, rhythmic taps that allow the metal to flow into the shape you want, rather than smashing it into a distorted mess.
- Keep a close eye on the “upset.” You’re looking for that perfect, rounded head that sits snug against the surface. If the rivet looks pinched or lopsided, you’ve rushed the process, and you’ll likely find a hairline crack developing there sooner rather than later.
The Essentials of a Job Done Right
Match your rivet material to the base metal every single time; using an incompatible alloy is just a fancy way of inviting corrosion to eat your hard work.
Slow down your hammer work and watch the fit, because a loose rivet is nothing more than a glorified piece of scrap metal once the vibration starts.
Never skip the preparation of your holes, as a clean, burr-free edge is the only way to ensure a permanent, tight connection that won’t fail when the load hits it.
## The Truth About a Good Set
“A rivet isn’t just a piece of metal you’re forcing into a hole; it’s a commitment. If you don’t seat it right and respect the material, you’re just building something that’s waiting to fall apart the moment you turn your back.”
Alistair Fenwick
Doing It Right the First Time
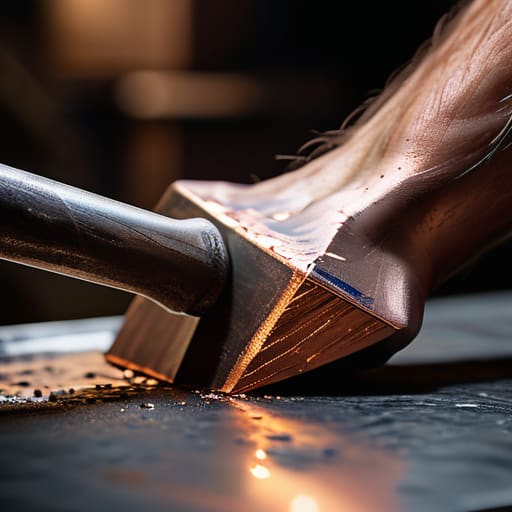
At the end of the day, successful riveting comes down to two things: choosing the right material for the job and having the discipline to follow the process. You can’t just grab whatever scrap rivet is lying on the workbench and hope for the best; you have to match your alloy to the base metal if you want to avoid galvanic corrosion down the line. Whether you’re setting a solid rivet or working with a more modern method, remember that patience is your best tool. If you don’t take the time to prep your holes and control your hammer strikes, you aren’t building something; you’re just making a mess that’ll fail the moment it’s put under real tension.
I know it’s tempting to reach for the glue or a quick weld when a project gets frustrating, but there is a unique kind of satisfaction that comes from a mechanical joint that was set with true precision. When you walk away from the anvil and look at a piece of work that’s held together by nothing but physics and careful craftsmanship, you know it’s going to outlive us both. Don’t settle for the easy way out just because it’s faster. Build it to last, do the work properly, and you’ll never have to fix the same mistake twice.
Frequently Asked Questions
How do I know when I've applied enough pressure to the rivet head without flattening the metal underneath?
You’ve got to stop looking at the rivet and start feeling the vibration in your tools. When you’re peening, the metal will tell you when it’s seated. You’ll feel a distinct change in the “rebound” of your hammer—the strike will go from a sharp, ringing snap to a duller, more solid thud. That’s your signal. If you keep going once that ring dies out, you’re just smashing the base material.
Can I use a standard hammer for setting rivets, or am I going to need a specialized anvil or dolly to get a clean finish?
You can certainly use a standard hammer, but don’t expect a miracle if you’re just swinging at thin air. If you try to set a rivet without a dolly or a solid anvil underneath, you’re just going to mushroom the head unevenly and waste your effort. I always keep a small, heavy steel dolly in my kit. It gives you that controlled, flat surface you need to seat the rivet properly without marring the surrounding metal.
What's the best way to prevent galvanic corrosion if I'm riveting two different types of metal together?
If you’re joining two different metals, you’re essentially building a little battery that’ll eat itself through galvanic corrosion. To stop that, you need to break the electrical connection. I always use a non-conductive barrier—a thin shim of nylon, a layer of heavy-duty gasket material, or even a specialized sealant like Tef-Gel between the plates. It adds a bit of thickness, sure, but it’s a small price to pay to keep your work from rotting away.
