I remember a job back in the late eighties, working on a heavy industrial frame, where a young apprentice thought he could “eyeball” a measurement to save time. He was halfway through a cut before I saw the look of pure dread on his face; he’d just turned a perfectly good piece of structural steel into an expensive pile of scrap. That’s the problem with this modern rush to get things done—people treat metalwork measuring like it’s a suggestion rather than the foundation of the entire job. If you aren’t precise from the first mark, you aren’t building anything; you’re just making a mess that someone else will eventually have to fix.
I’m not here to sell you on some fancy, over-priced laser gadget that’ll break the first time you drop it on a concrete floor. What I want to do is pass on the practical, hard-won habits that actually matter when you’re standing over an anvil or a workbench. I’m going to show you how to use the tools you already have to get dead-accurate results every single time. We’re going to focus on the discipline of the mark, ensuring that when you finally strike that metal, it stays exactly where you intended it to be.
Table of Contents
- Mastering Vernier Scale Reading Techniques Before You Strike
- Understanding Measuring Tolerances in Metalwork to Avoid Scrapped Steel
- Five Rules for Keeping Your Measurements Honest
- Three Things to Remember Before You Pick Up the Caliper
- ## The Cost of a Guess
- The Measure of a Craftsman
- Frequently Asked Questions
Mastering Vernier Scale Reading Techniques Before You Strike
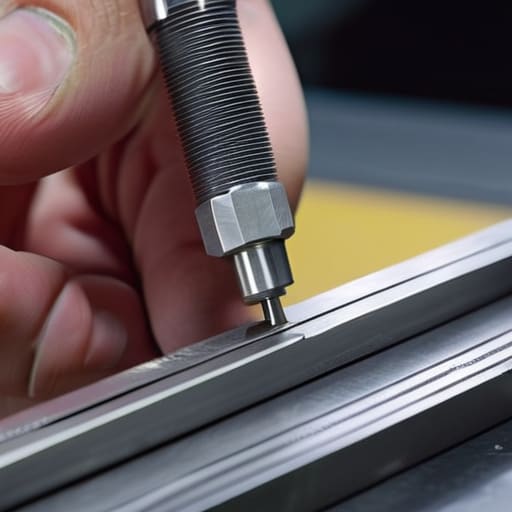
Before you ever pick up a hammer or even think about engaging a lathe, you need to get comfortable with your calipers. I’ve seen too many young fellas try to eye-ball a dimension, only to realize halfway through a cut that they’re off by a hair. Mastering vernier scale reading techniques isn’t just some academic exercise; it’s the difference between a part that fits like a glove and a piece of scrap metal headed for the bin. You have to train your eyes to look for that single line on the sliding scale that aligns perfectly with the main scale. If you’re squinting and guessing, you aren’t doing it right.
Once you’ve got the basics down, you need to respect the tools themselves. I always tell my apprentices that even the best calibrated measuring instruments are useless if you treat them like a common wrench. Keep them clean, keep them dry, and for heaven’s sake, don’t drop them on the concrete floor. If your tools aren’t reliable, your measurements won’t be either, and you’ll spend your whole afternoon fighting unnecessary tolerances that shouldn’t have been there in the first place.
Understanding Measuring Tolerances in Metalwork to Avoid Scrapped Steel
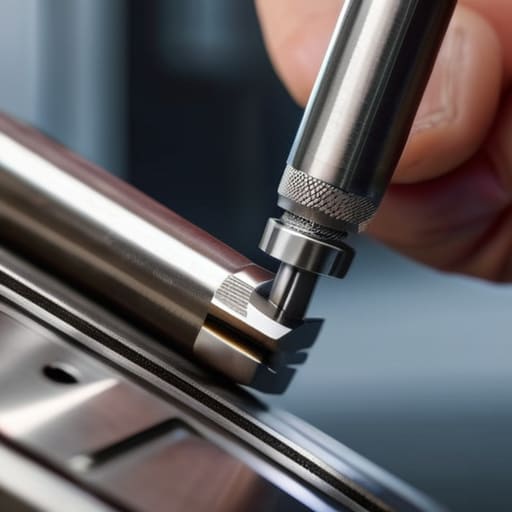
Now, here’s where most folks trip up and end up throwing good money into the scrap bin. You can have the finest calipers in the world, but if you don’t understand measuring tolerances in metalwork, those tools are just expensive paperweights. A tolerance isn’t just a suggestion; it’s the allowable margin of error that keeps a part functional. If you’re fitting a shaft into a housing and you’re off by even a hair, you aren’t just looking at a tight fit—you’re looking at a piece of junk that won’t spin.
I’ve seen too many young apprentices treat every measurement like it’s a ballpark figure. In my shop, we don’t do “close enough.” Whether you’re working with heavy plate or fine-tuned components, you have to respect the limits set by your design. Using calibrated measuring instruments is the only way to ensure you’re actually hitting those marks. If you ignore the tolerance levels, you’ll find yourself fighting the material instead of shaping it, and that’s a fast track to a wasted afternoon and a pile of useless steel.
Five Rules for Keeping Your Measurements Honest
- Clean your tools and your workpiece every single time. I’ve seen more mistakes caused by a stray chip of steel or a thin film of oil under a caliper than I have caused by actual math errors. If the surface isn’t clean, your reading is a lie.
- Don’t trust your eyes over the tool. It’s easy to think you’re looking at the scale straight on, but parallax error will bite you. Always position your head so you’re looking directly perpendicular to the scale; if you’re viewing it at an angle, you’re just guessing.
- Check your zero point before you even start. Pick up your calipers or your micrometer and make sure they actually read zero when closed. If they don’t, don’t try to “math your way out of it” mid-job—just calibrate them or find a tool that works.
- Learn the feel of the tool, not just the numbers. When you’re using a micrometer, you shouldn’t be cranking it down like you’re tightening a lug nut. Use the ratchet stop to find that sweet spot where the tool meets the metal with just enough pressure to be certain.
- Write your measurements down immediately. My memory isn’t what it was when I was twenty, and even if it were, a distraction in the shop can wipe a number right out of your head. Keep a scrap of paper or a notebook handy so you aren’t relying on your brain to hold the tolerances.
Three Things to Remember Before You Pick Up the Caliper
Don’t trust a measurement you haven’t verified twice; a single misplaced decimal point is the fastest way to turn expensive steel into scrap metal.
Respect your tolerances, because trying to force a part to fit when the math says it won’t only leads to stressed joints and ruined work.
Keep your tools clean and your eyes sharp, because even the best Vernier scale is useless if you’re reading through a layer of grease and grit.
## The Cost of a Guess
“A slip of the eye on a caliper might only cost you a second, but a slip of the mind on a measurement will cost you the entire workpiece and a whole lot of wasted sweat.”
Alistair Fenwick
The Measure of a Craftsman
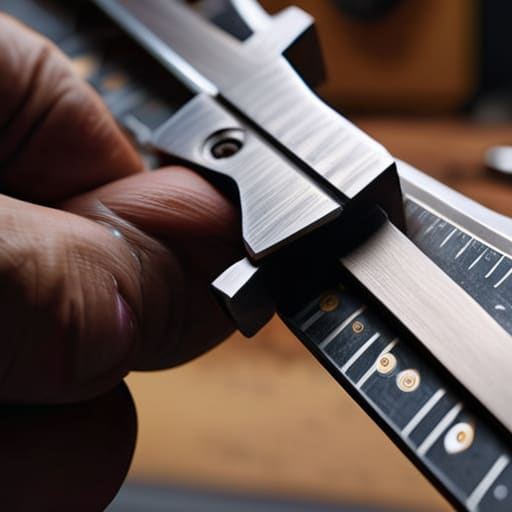
At the end of the day, getting your measurements right isn’t just about following a set of numbers on a blueprint; it’s about respecting the material in front of you. We’ve covered how to read those tricky Vernier scales without squinting your eyes shut and, more importantly, why you need to respect your tolerances so you aren’t tossing expensive steel into the scrap bin. If you can master the tools and understand the margin of error inherent in every cut, you’ve already done the hardest part of the job. Don’t let a sloppy measurement turn a long afternoon of grinding into a wasted week of re-doing work. Precision is your best defense against frustration.
I’ve seen plenty of young hands rush into a project, thinking they can just “make it fit” once the sparks start flying. That’s a fool’s errand. Real craftsmanship is built in the quiet moments before the hammer ever hits the anvil—it’s built in the steady hand that holds the calipers and the patient eye that checks the scale one more time. Take your time, trust your tools, and remember that accuracy is a habit, not a lucky break. If you treat your measurements with the respect they deserve, the metal will reward you with a piece that stands the test of time. Now, get back to the bench and do it right.
Frequently Asked Questions
How do I know if my calipers have been bumped out of alignment or if the tool itself is lying to me?
You don’t guess with a tool like that; you test it. Close your calipers completely and check the zero mark. If they don’t seat flush or the reading is off, you’ve got a problem. Next, grab a known standard—a micrometer or even a precision gauge block—and see if the numbers match up. If the tool is lying to you, it’s not just a nuisance; it’s a recipe for ruined work.
When is it worth the extra time to pull out a micrometer instead of just trusting a standard tape or ruler?
If you’re just marking out a rough cut for a piece of scrap, a tape or a rule will do fine. But the moment you’re dealing with anything that needs to fit, mate, or slide—like a bearing housing or a precision shim—you put the ruler away. If a fraction of a millimeter determines whether a part works or becomes expensive kindling, you use the micrometer. Don’t guess when the metal won’t forgive you.
What's the best way to account for material expansion if I'm measuring something right after it's come off the forge?
You can’t measure hot steel with a cold eye. If you try to size a piece straight off the forge, you’re chasing a ghost. The metal’s going to shrink as it sheds that heat, and if you don’t account for it, your finished part will be undersized every single time. My rule is simple: let it soak and cool until it’s closer to ambient temperature. If you’re in a rush, calculate the thermal contraction, but patience beats math every day.
